Pinout
The following diagram shows the different pins available including its functionality.
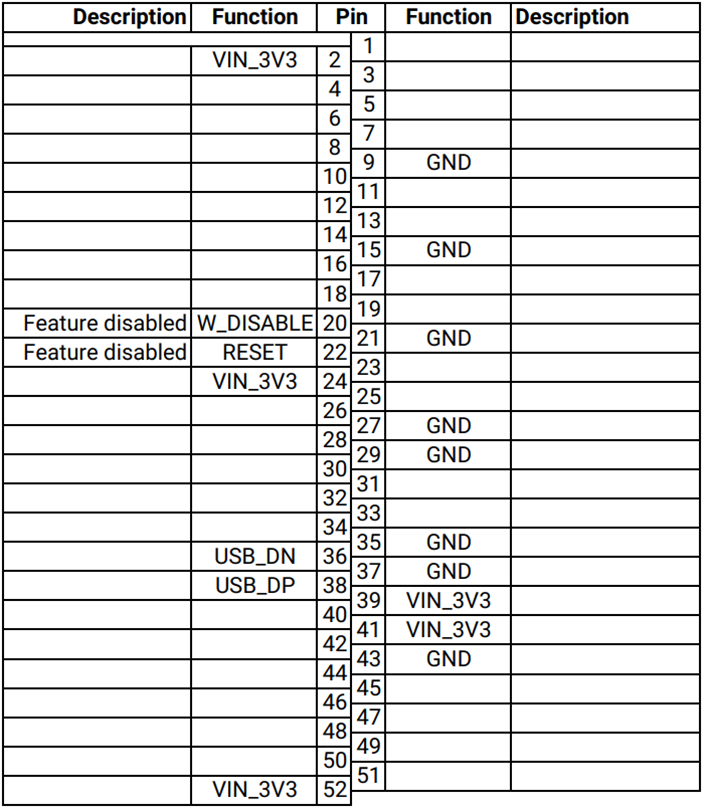
Currently only power and USB lines are implemented to be 100% compliant with the standard. If you have any specific needs you can always contact us.
 and
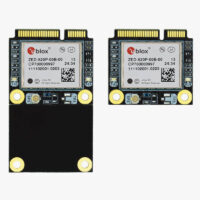
and  How to get a quotation
The following diagram shows the different pins available including its functionality.
Currently only power and USB lines are implemented to be 100% compliant with the standard. If you have any specific needs you can always contact us.