 and
and 


-

-
-
-
-
-
-
-
-
-
- Accessories
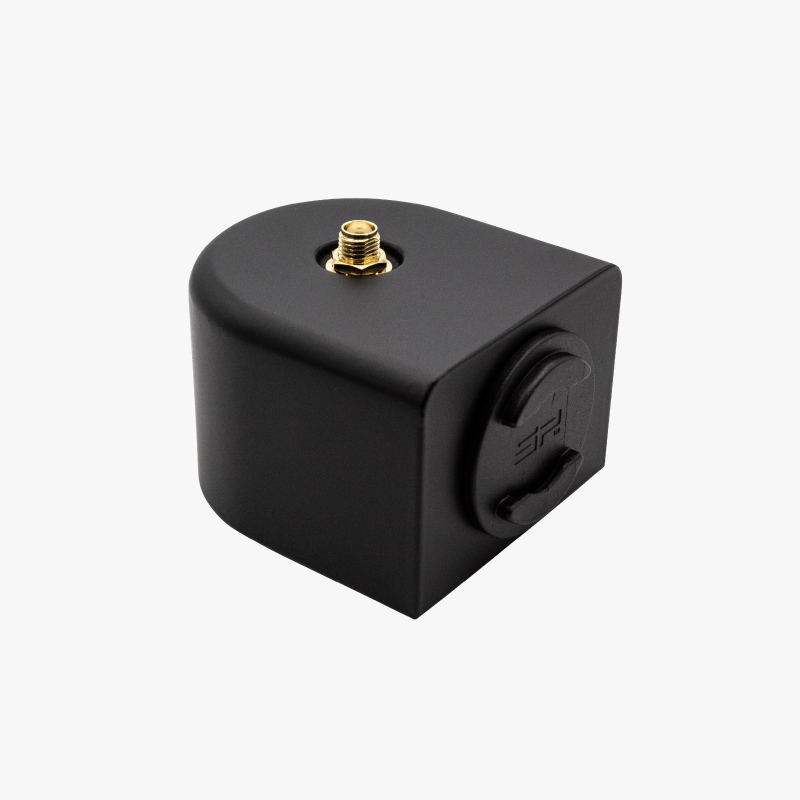
Waterproof Transport Case IP67
From 59,00€ This product has multiple variants. The options may be chosen on the product page -
-
- RTK2B Boards
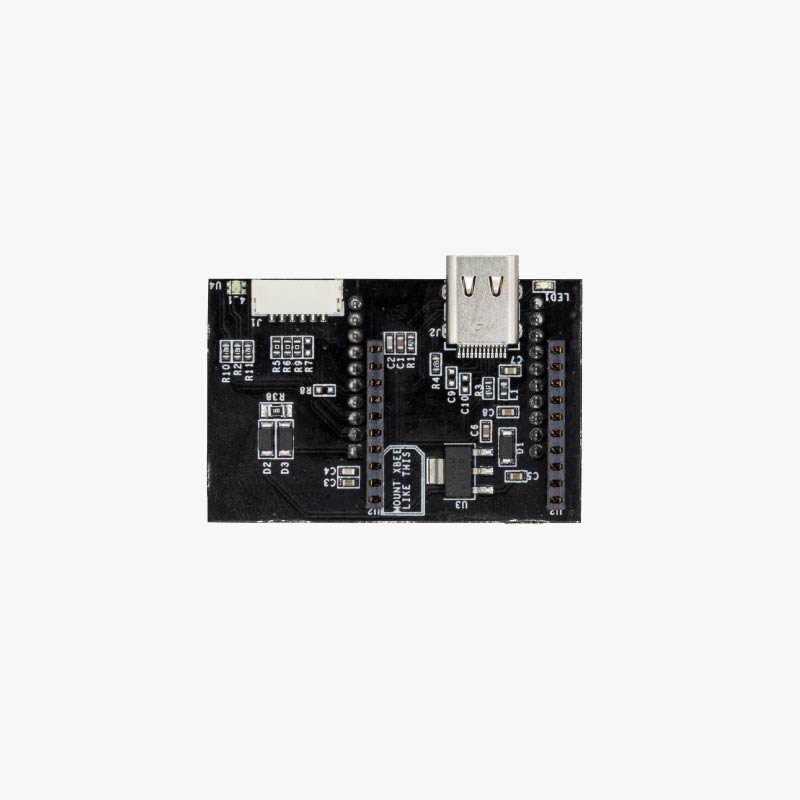
simpleRTK2B Micro
From 199,00€ This product has multiple variants. The options may be chosen on the product page - RTK4 Boards
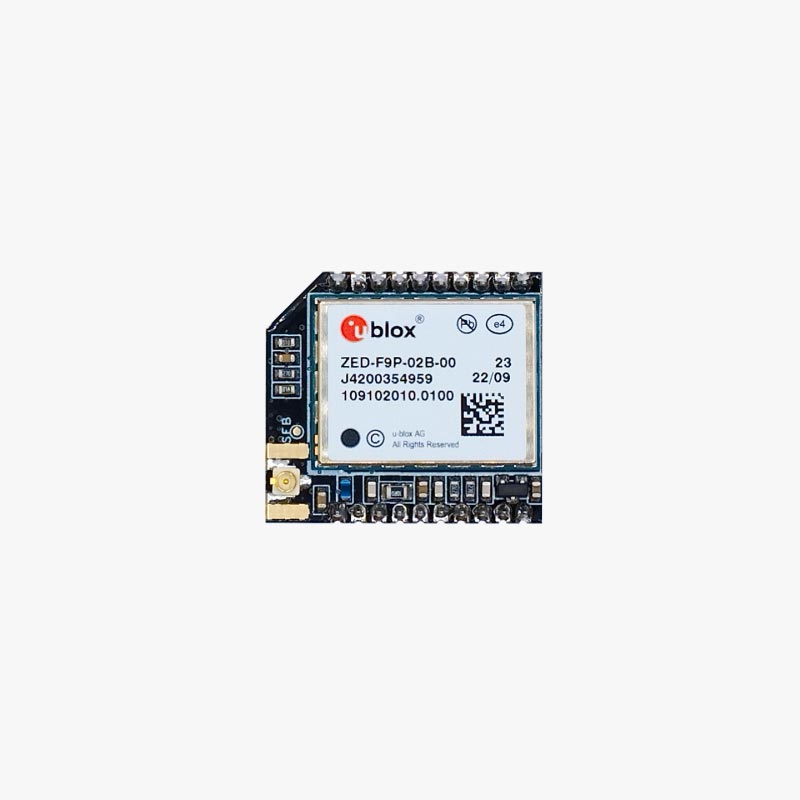
Micro u-blox ZED-X20P
From 253,00€ This product has multiple variants. The options may be chosen on the product page - RTK3B Boards
simpleRTK3B Micro Unicore
From 276,00€ This product has multiple variants. The options may be chosen on the product page

