User Guide: RTK base and rover MR, LR and XLR Starter Kit
Product overview
These RTK Base + RTK Rover kits are built for full autonomy – perfect for remote locations without NTRIP service and without internet access, large job sites, or when you want total independence. Everything you need to create your own professional-grade RTK setup is in the box.
Get started
Step A
Unboxing
→
Step B
Set up the Base
→
Step C
Set up the Rover
Before start: We recommend not changing any configuration or updating the firmware. Your receiver comes pre-configured as Base and Rover.
Step A: Unboxing the kit
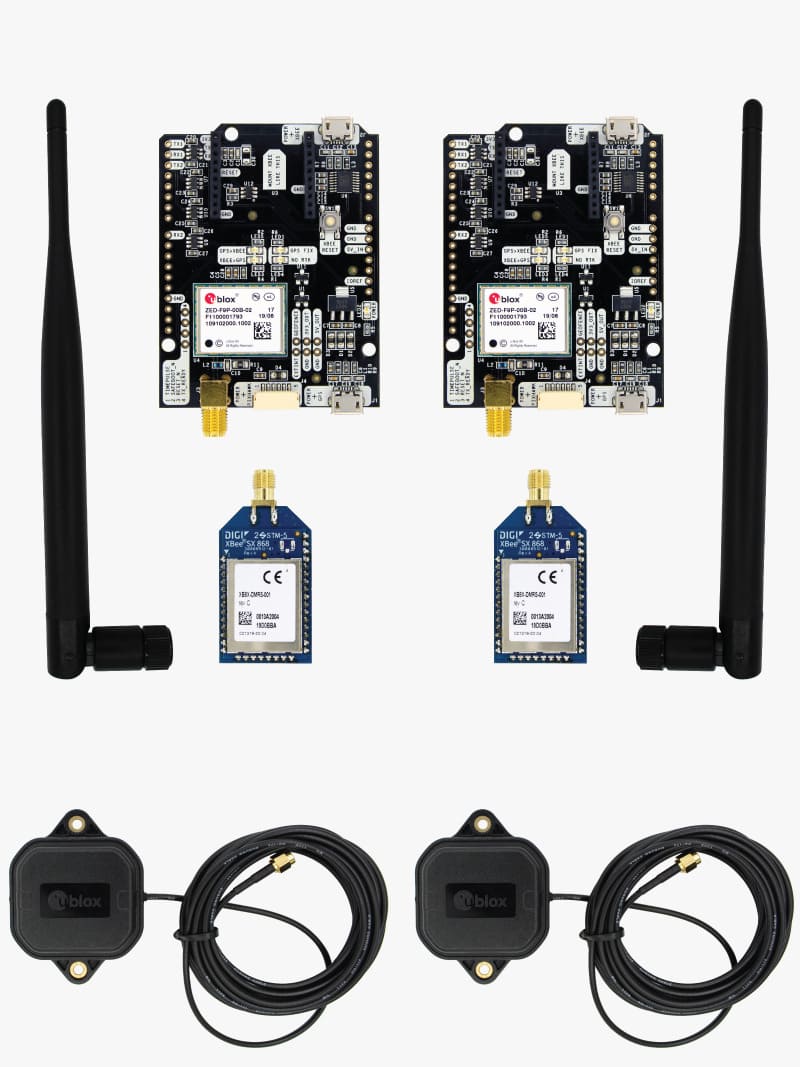
- Take a few minutes to open the box and understand the elements of your kit:
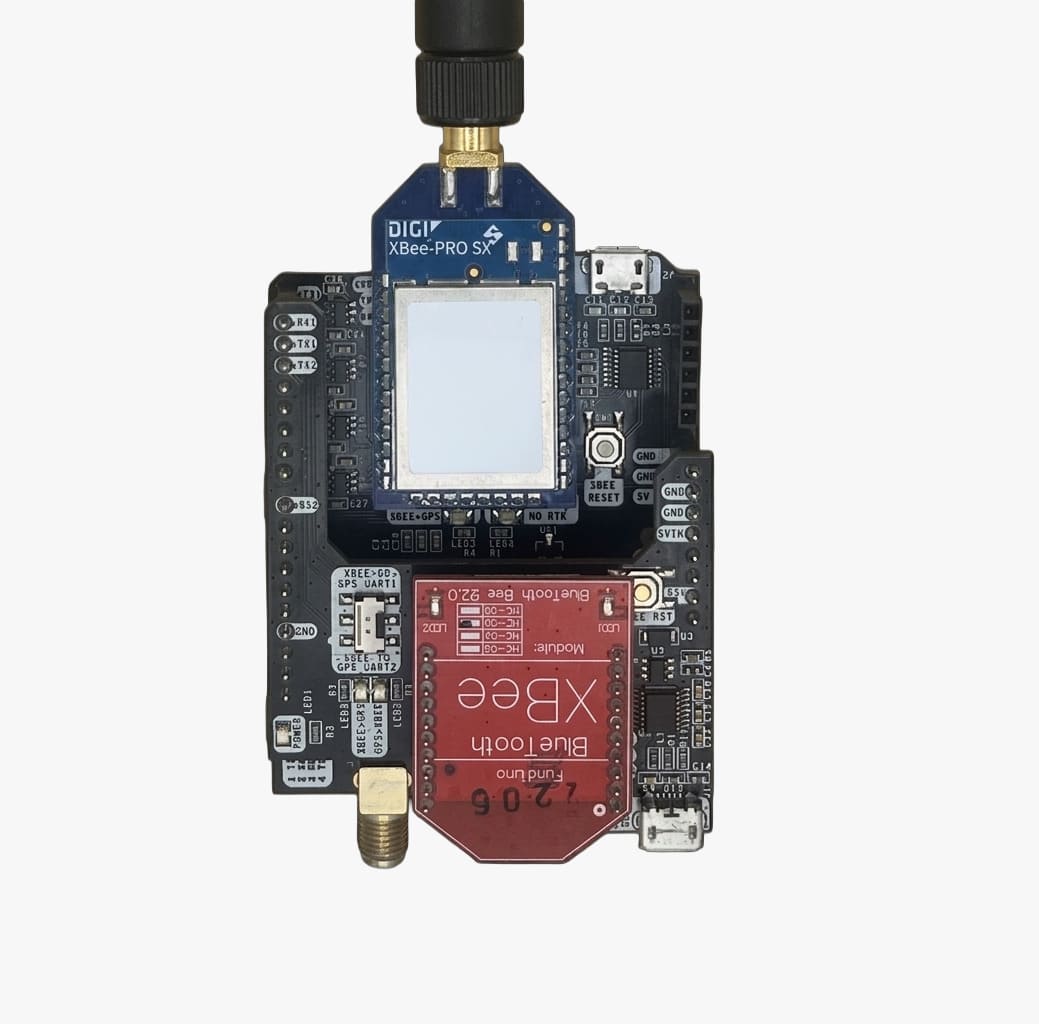
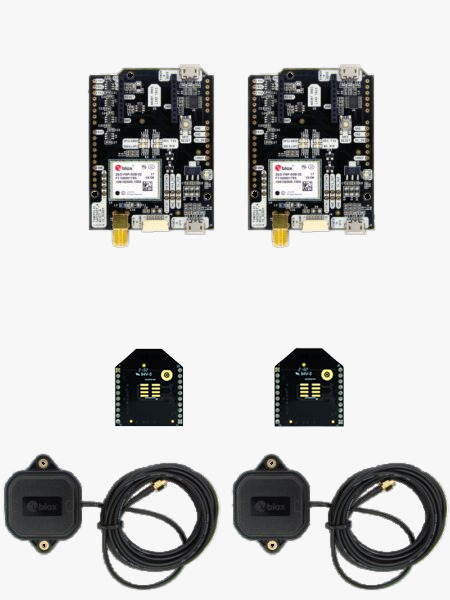
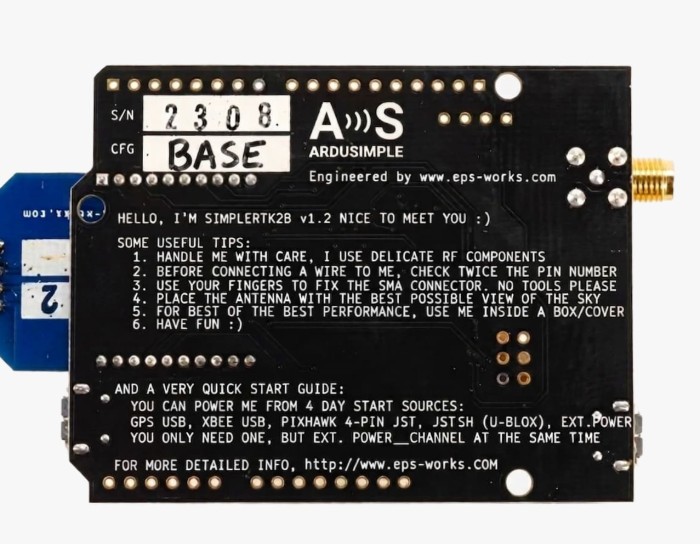
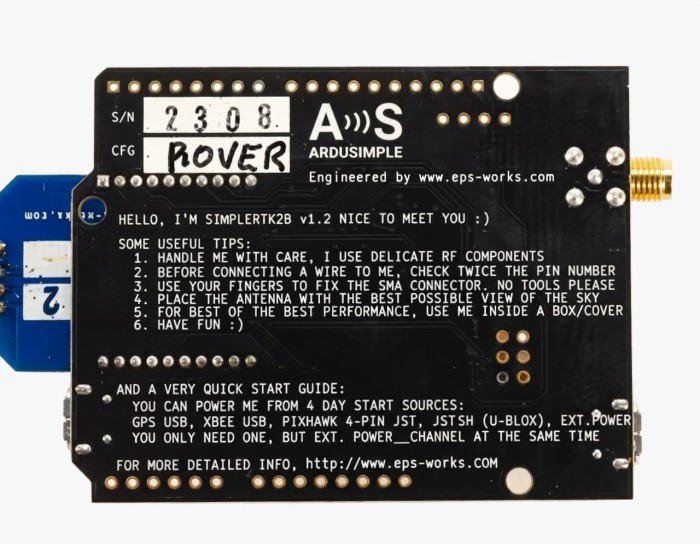
- 2x simpleRTK2B boards (one base & one rover, check the bottom of the board)
- 2x GPS/GNSS Dual Band Antennas
- (only in the LR and XLR kits) 2x Radio Link Antennas
Note that you will need the USB cables to power the boards.
- If you want to connect the boards to a PC, make sure you use a cable that can carry both power and data (many powerbank cables only carry power, but no data).
- For the base station, if you just want to power it, you can use any cable together with its wall adapter.
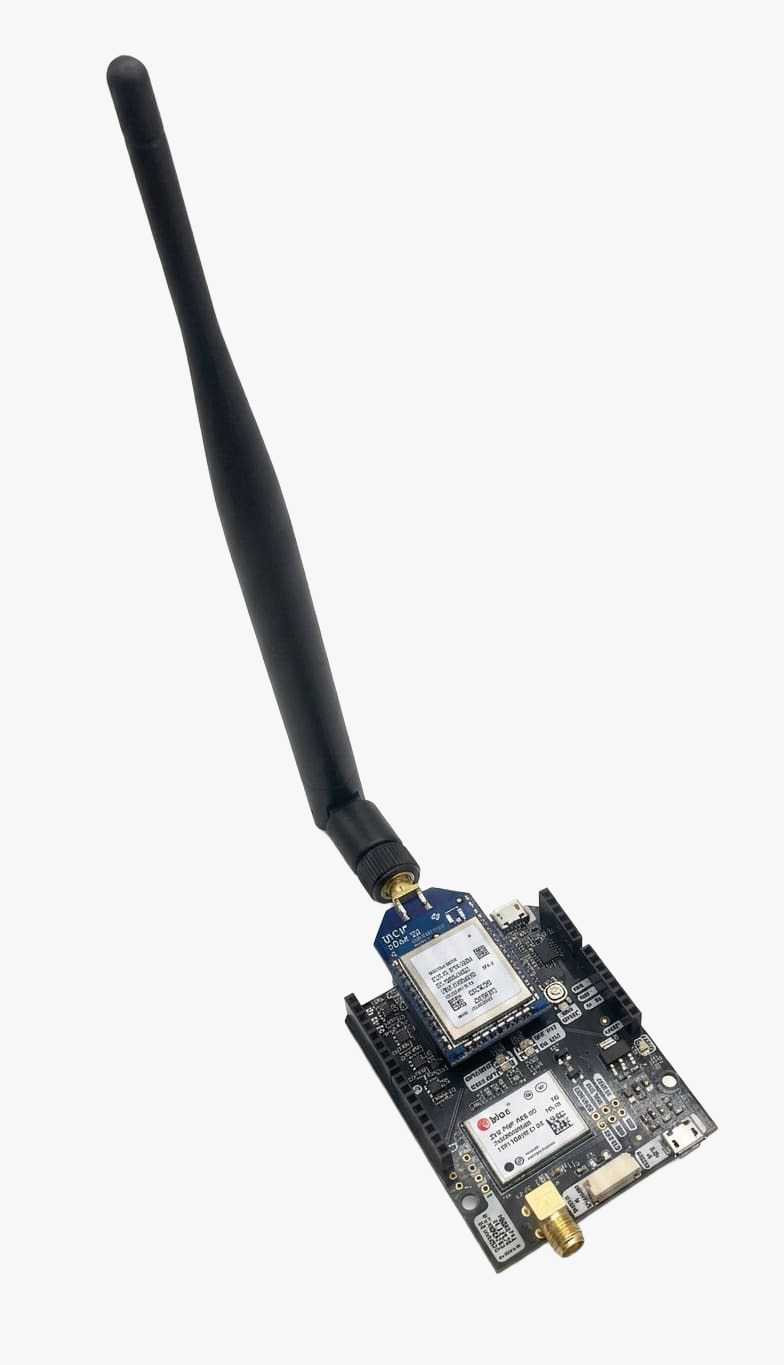
- Assemble your Base and Rover by adding the plugins and dipole antennas. No special tools are needed.
Step B: Set up the Base
- Start with the simpleRTK2B board labelled as “BASE”. Do not power the board until the installation is finished. Because once the board is powered, it is very important to not move the GPS/GNSS antenna nor obstruct its visibility from the sky.
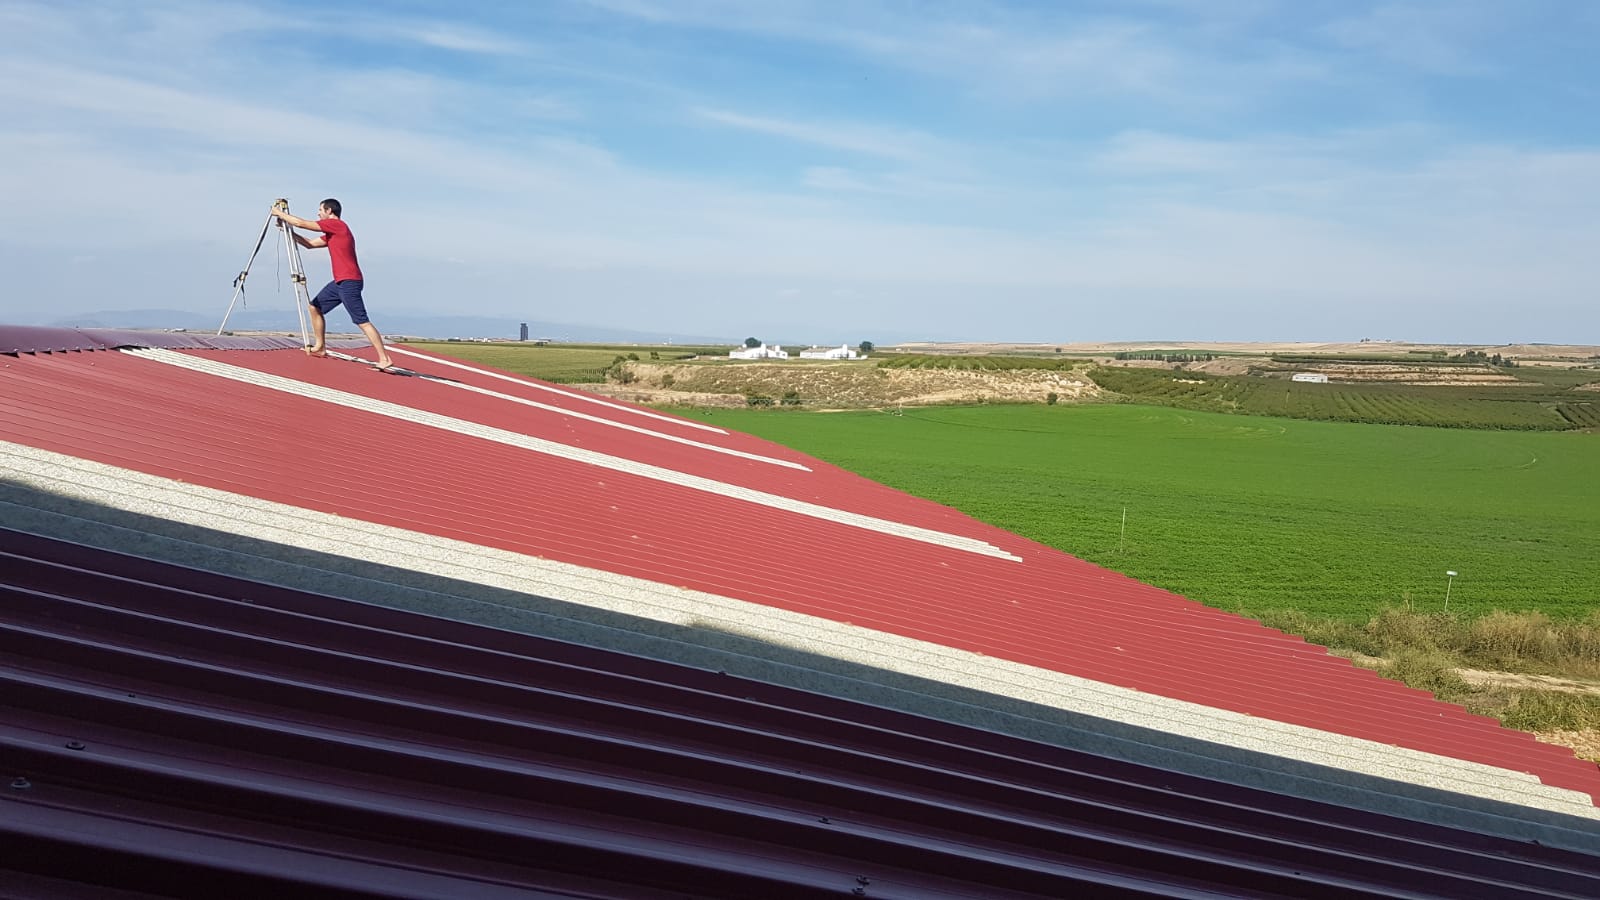
- Take the BASE unit and its antennas and install them in a fixed location with a clear line of sight to the area where the other unit will operate.
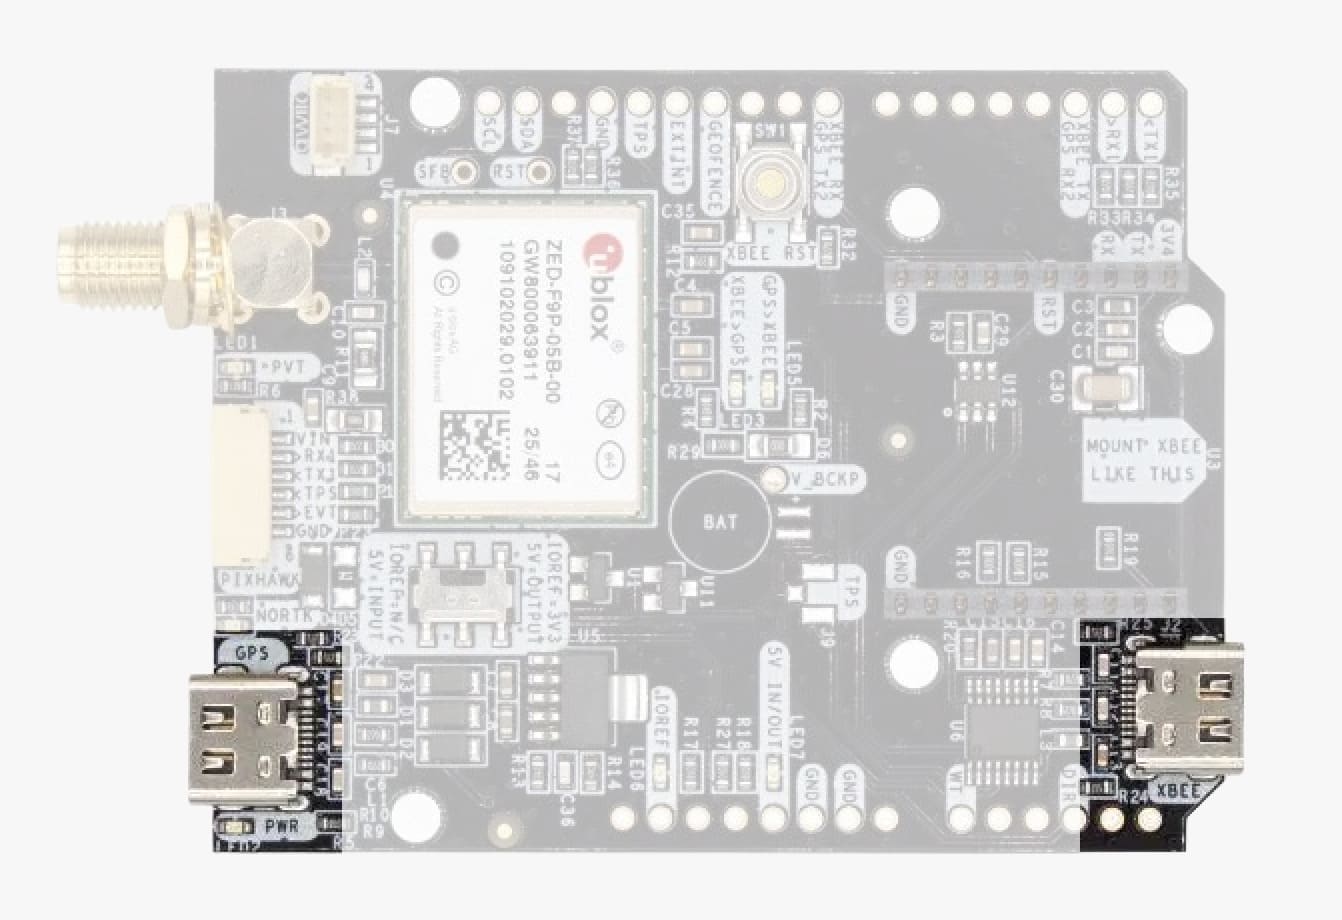
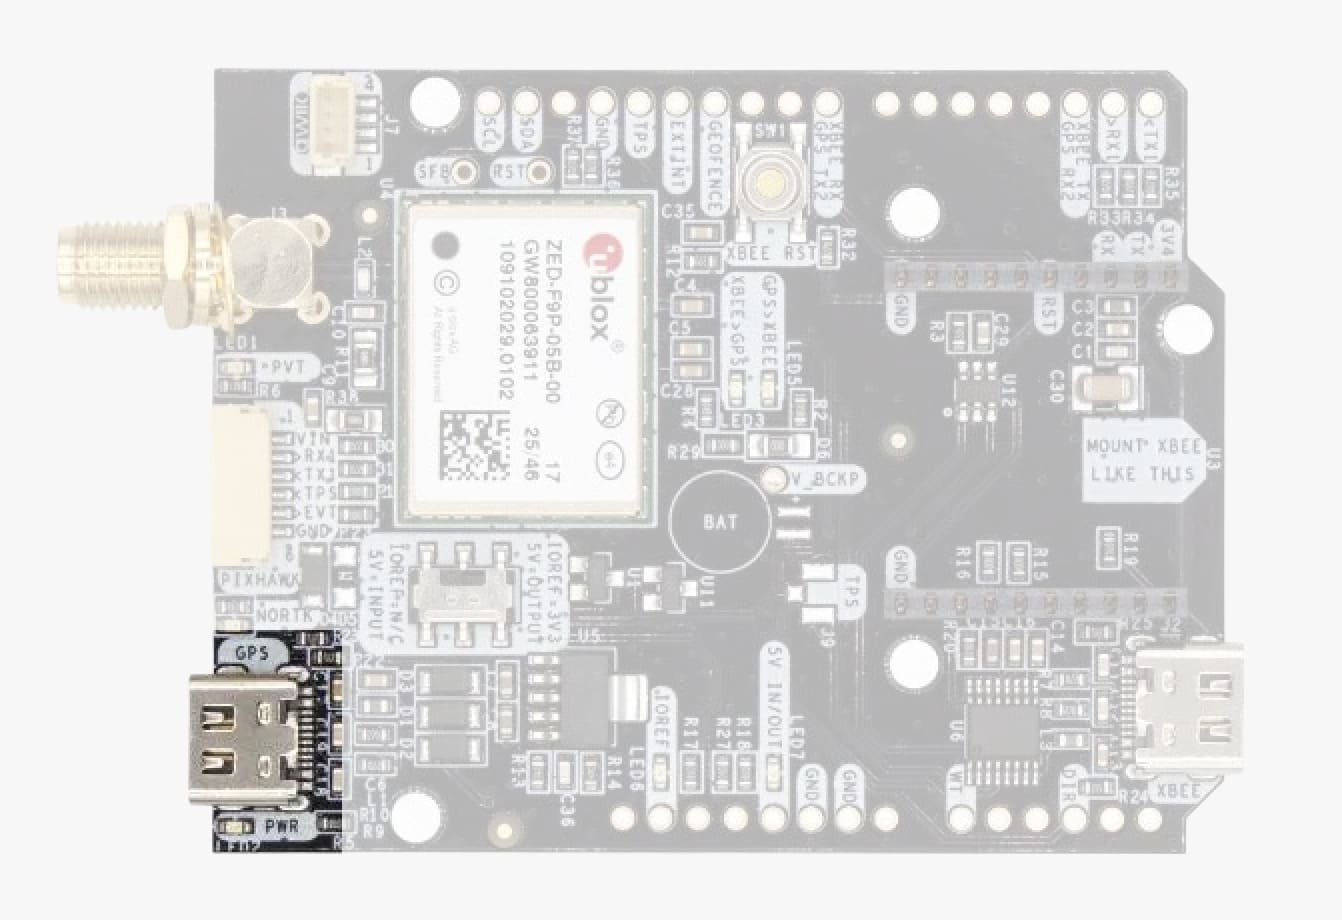
- Connect “XBEE+POWER” to a wall adapter. If you are an advanced GPS user and would like to check the base station parameters, you can do this by connecting the “GPS+POWER” to your PC.
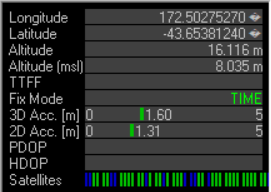
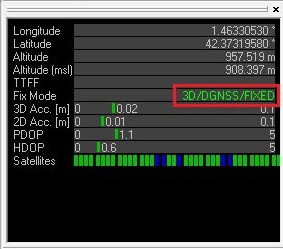
- The BASE unit comes pre-configured so that once you power it up, it calculates its absolute position with an accuracy of 2.5 meters. This process takes around 10 minutes. If you are not sure if the process finished, connect to the base and confirm that the fix type = TIME.
- If you want to verify the status of The Base in u-center, open u-center and select the COM port to connect your receiver. You should see the following “TIME” text in this Window. If you don’t find this window in your u-center, you can open it via the Menu Bar > View > Docking Windows > Data.
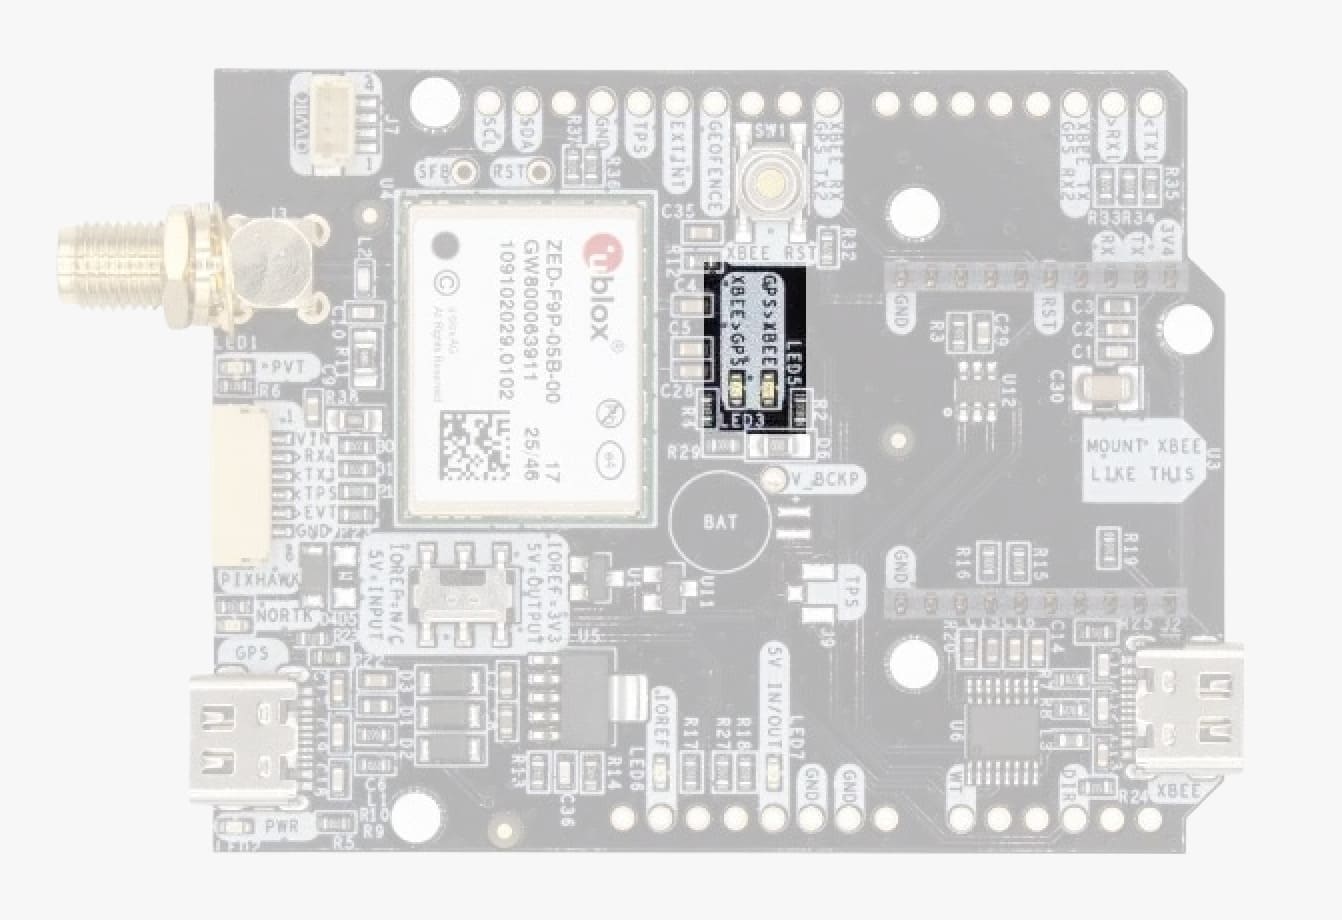
- Once the base is in TIME mode, the unit will start sending corrections so that the rover can start calculating its relative position within centimeters. You will also notice that the LED “GPS>XBEE” will increase its activity.
- If high relative accuracy is not enough for you, and you need high absolute accuracy, you have 2 options:
- You can re-configure the base, to calculate its position with better absolute accuracy.
- You can use the message UBX-CFG-TMODE3 for that.
- You can monitor the status of this calculation with message UBX-NAV-SVIN.
The better absolute accuracy you want, the longer it will take to calculate it.
To give you an idea, with 6 hours of observation you can achieve decimeter accuracy.
- If you know the exact position of the base station, you can also set it directly. While you wait, you can start setting up the rover.
Step C: Set up the Rover
- Take the other simpleRTK2B board labelled as “ROVER”.
- Get a USB cable and connect it to the USB labelled as “GPS+POWER”.
Connect the other end to your preferred mobile phone, tablet, or PC.
- Once you power the board, start monitoring the LEDs:
- simpleRTK2B is powered: “POWER” LED will indicate that the board is powered.
- simpleRTK2B is receiving data from the base unit: Monitor the “XBEE>GPS” LED to confirm.
- With good view of the sky, it will take 20-40 seconds until “GPS FIX” LED starts blinking: once it blinks once per second it means you have the first position fix.
- To know if the position fix is with standard accuracy or RTK accuracy, you can monitor “NO RTK” LED: blinking when receiving RTCM data, OFF when RTK fix
We know this LED codes for FIX and RTK are not ideal, but they are the default u-blox configuration.
- You are now ready to start enjoying high precision. During the first minutes, we recommend that you check regularly the LEDs for RTK FIX to be sure that everything is working OK.
- A RTK system is not like traditional GPS receivers, they don’t work with the antenna inside or next to the window. Make sure your GPS/GNSS antennas are placed outdoors. If you want to achieve the best positioning accuracy, we recommend having a read of the GPS/GNSS Antenna installation guide.If you want to achieve the best range for the radio link, we recommend you to read our XBee antenna installation guide.
Bonus section
Bonus feature of LR & XLR kits: Monitoring the position of your rover from the base station This feature is not available on the MR kit, and is only available on the LR & XLR kits when used only with 1 rover. If you are connected via PC to the base station, you can also monitor real-time the position of your rover up to 1Hz. You can read more about this feature in our dedicated tutorial for reading the rover’s position from the base station.
Hardware
To check the hardware specification, refer to the following user guides of the parts:
Accessories
You can add second XBee plugin to your board:
- Sale!Made in Europe
- Plugins
4G NTRIP Master
156,00€ This product has multiple variants. The options may be chosen on the product page - Sale!Made in EuropePlugins
PointPerfect L-Band Corrections Receiver NEO-D9S
125,00€Original price was: 125,00€.99,00€Current price is: 99,00€. - Sale!Made in EuropePlugins
Japan CLAS Corrections L6 Receiver NEO-D9C
126,00€Original price was: 126,00€.99,00€Current price is: 99,00€.
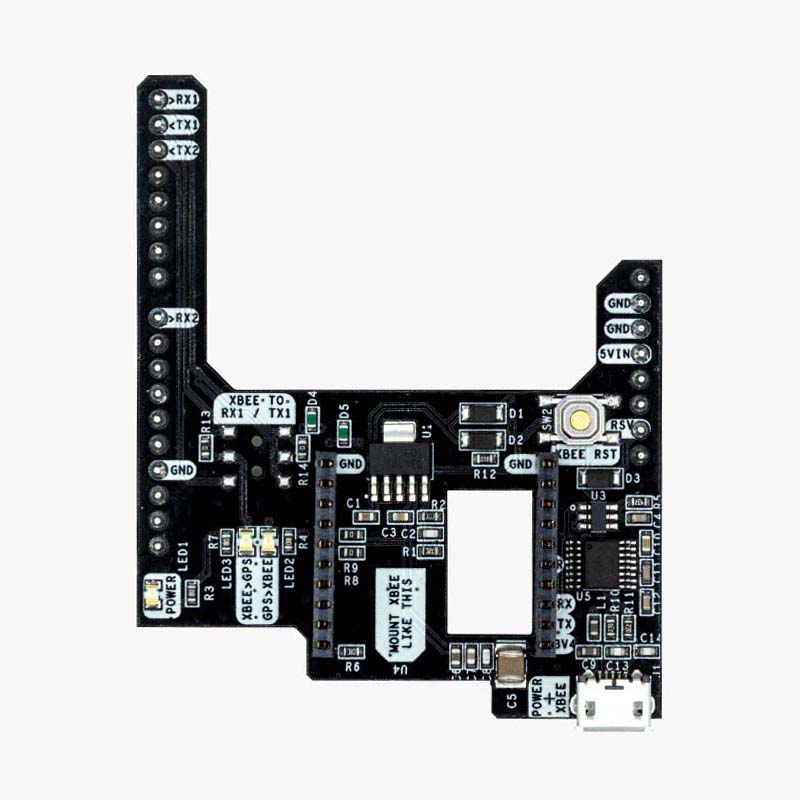
How to add second plugin
- To connect the second communication plugin to the XBee socket, you will need to solder Shield for second Plugin Socket to your board.
- Insert the additional plugin of your choice into the second XBee connector on the board. That’s it!
- Sale!Made in EuropeRTK starter kits
Long Range Radio – RTK Starter Kit
592,00€ This product has multiple variants. The options may be chosen on the product page - Sale!Made in EuropeRTK starter kits
Medium Range Radio – RTK Starter Kit
512,00€Original price was: 512,00€.499,00€Current price is: 499,00€. - Sale!Made in EuropeRTK starter kits
Extra Long Range Radio – RTK Starter Kit
699,00€ This product has multiple variants. The options may be chosen on the product page