Update (04/05/2024): We have plenty of stock of all our products, find us also in and    Shop now

User Guide: PointPerfect RTK-SSR Receiver (Internet or L-band)

Overview

With RTK-SSR Receiver with PointPerfect (Internet or L-Band), you will be able to enjoy plug-and-play centimeter accuracy in Europe and continental North America from any area with cellphone coverage or satellite view. Just plug power, wait a few minutes and enjoy centimeter precision.

Package

You got your new RTK-SSR Receiver with PointPerfect (Internet or L-Band)? First things first, you are in the right page to get your kit set up quickly.

Remember all the component parts of this professional kit:
simpleRTK2B Pro powered by ZED-F9P RTK receiver with L-Band Point Perfect correction receiver or 4G NTRIP Master + 1 SIM Card with 1 year unlimited service inside a plastic case
– 1 year subscription to L-Band or Internet PointPerfect correction service
Calibrated Survey GNSS Tripleband + L-band antenna (IP67) or Survey GNSS Multiband antenna (IP66)
Magnetic stand for survey GNSS Multiband antenna
– 1 USB – type C cable

The kit is pre-configured to send NMEA over JST-GH connector and USB at the same time.

Unboxing

For building RTK-SSR Receiver with PointPerfect (Internet or L-Band), there is no need for special tools nor nothing of the sort, by hand will be enough.

1. Take your Magnetic Stand for Survey GNSS Antenna and screw the stand together.

2. Add antenna on top of the stand turning it delicately to the right until it stops.

3. Connect the TNC-K end of the cable to the Survey antenna.

4. Connect the TNC-K to SMA cable to the SMA connector of the receiver.

5. Connect the USB cable to the USB port of your receiver.

6.Place antenna is a place with open sky view or near the window for testing functionality.

7. Now power your receiver. Just connect your receiver to you laptop or PC via USB.

8. If you own an Internet version of RTK-SSR Receiver with PointPerfect, skip this step. If you own an L-Band version, you will need to store a credential file (*.JSON) on your receiver. We sent you the credentials file by e-mail.
    • Download and open u-center (make sure you use v22.05 or newer).
    • Go to the menu bar to Receiver->Connection and select the right COM port.
    • Go to Receiver-> MQTT Client… > and select *.JSON file.
    • Check Subscribe to key topic, uncheck the rest of the options.
    • Click OK.
    • If you want to check that your key has been stored, you can go to View->Messages View->UBX-RXM-SPARTNKEY and you should see some data there.
 

9. The first ever power up might take up to 5 minutes to start getting RTK. This is because there’s a one-time automatic activation. You should start seeing RTK after 1-2 minutes.

10. And that’s it! Now you can enjoy 2-4 centimeter CEP accuracy in all the coverage area!

(Optional) How to check RTK status with Windows PC?

If you only have one COM port in your PC, u-center will connect automatically to your kit and you will start seeing data on the screen right away. If it doesn’t, go to the menu bar to Receiver->Connection and select the right COM port. If you selected the right COM port, you should immediately start seeing data displayed on your screen.

Let’s now do a couple of checks together.

In order to achieve RTK, we need good GNSS signals:

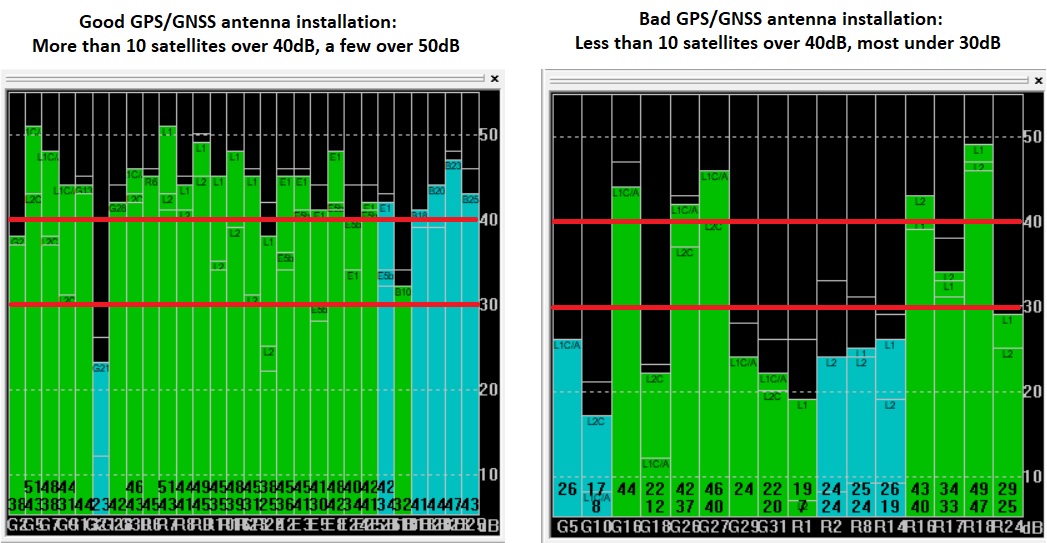
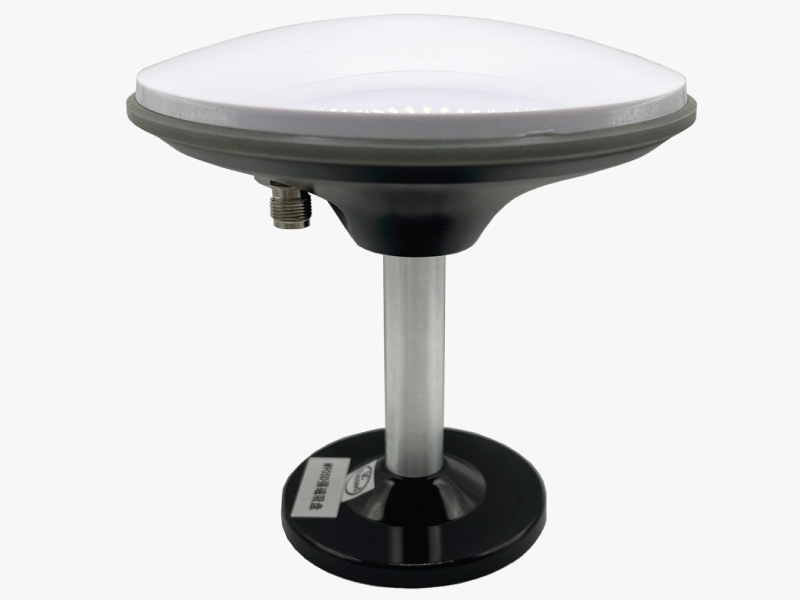
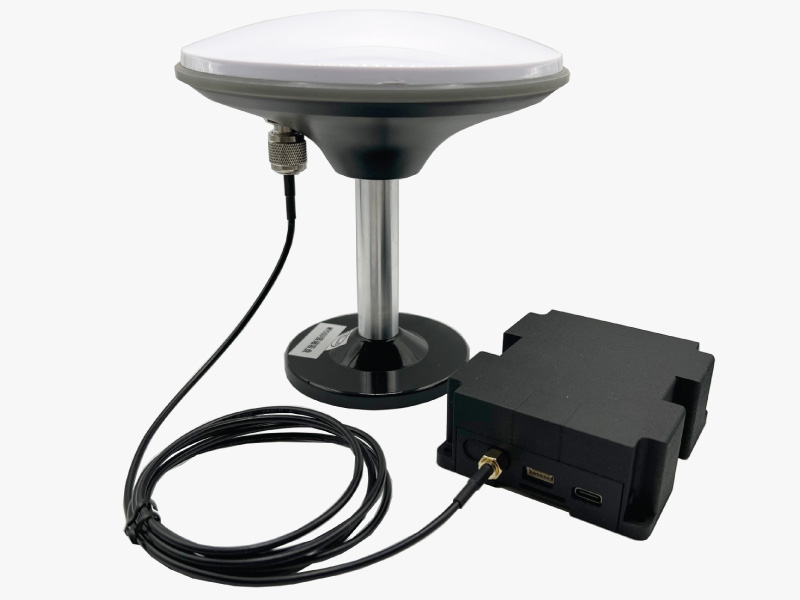
If you don’t find this diagram or you closed it by accident, you can reopen it going at the menu bar to View->Docking Windows->Satellite Level.

Once you are confident that the signal levels are good enough, just wait to see RTK FIX and enjoy 🙂 If you don’t know how to install the GPS/GNSS antenna better, have a look at our simpleANT2B GNSS antenna installation guide.

A second interesting window is the Data window, that you should find at the top right, otherwise at the menu bar go to View-> Docking Windows-> Data. It will show you information like GPS FIX and accuracy estimate.
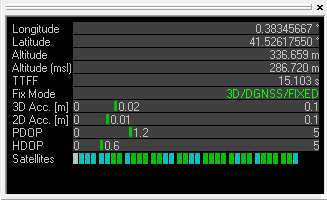
How to connect RTK receiver to the computer / PC?

Once you have your RTK Receiver connected to the PC via USB, you can follow simple steps, which we discribed in the video:

How to connect to your smartphone?

We will explain how to use your Android device with RTK-SSR Receiver with PointPerfect (Internet or L-Band).

  1. Make sure your device supports USB OTG capabilities and your Android language is set to English, since some users reported compatibility problems with other languages.
  2. Connect receiver to your your Android device. You will need additional USB on-the-go (OTG) cable (not included) to do that.
  3. Place your antenna in a location with good view of the sky, or near a window for testing the functionality.
  1. Download compatible software/app which you prefer to use from Google Play and install it in your device. We prepared step-by-step instructions how to use RTK-SSR Receiver with PointPerfect (Internet or L-Band) with several software/app:

How to use PointPerfect RTK-SSR Receiver (Internet or L-band) with SW Maps?

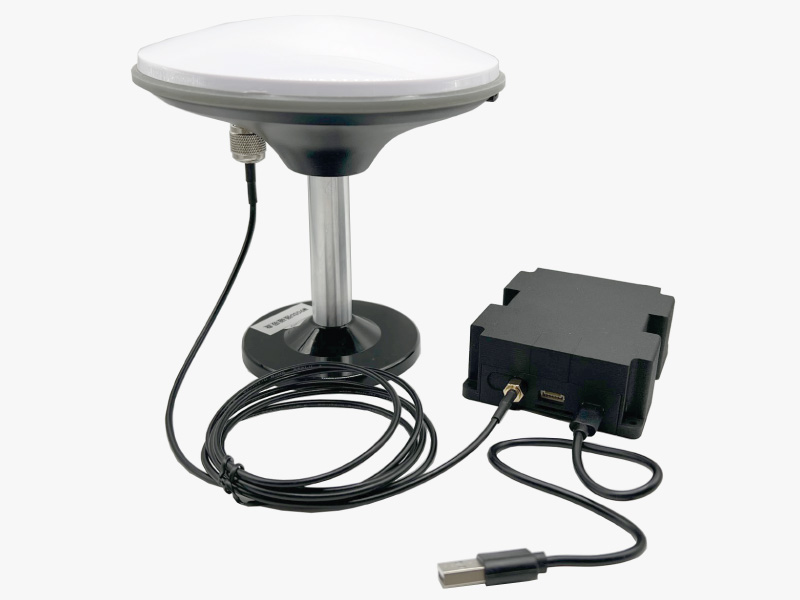
The best option (if your device supports it) since you can power and communicate with it at the same time
    1. Open SW Maps app and give permissions (first time only).
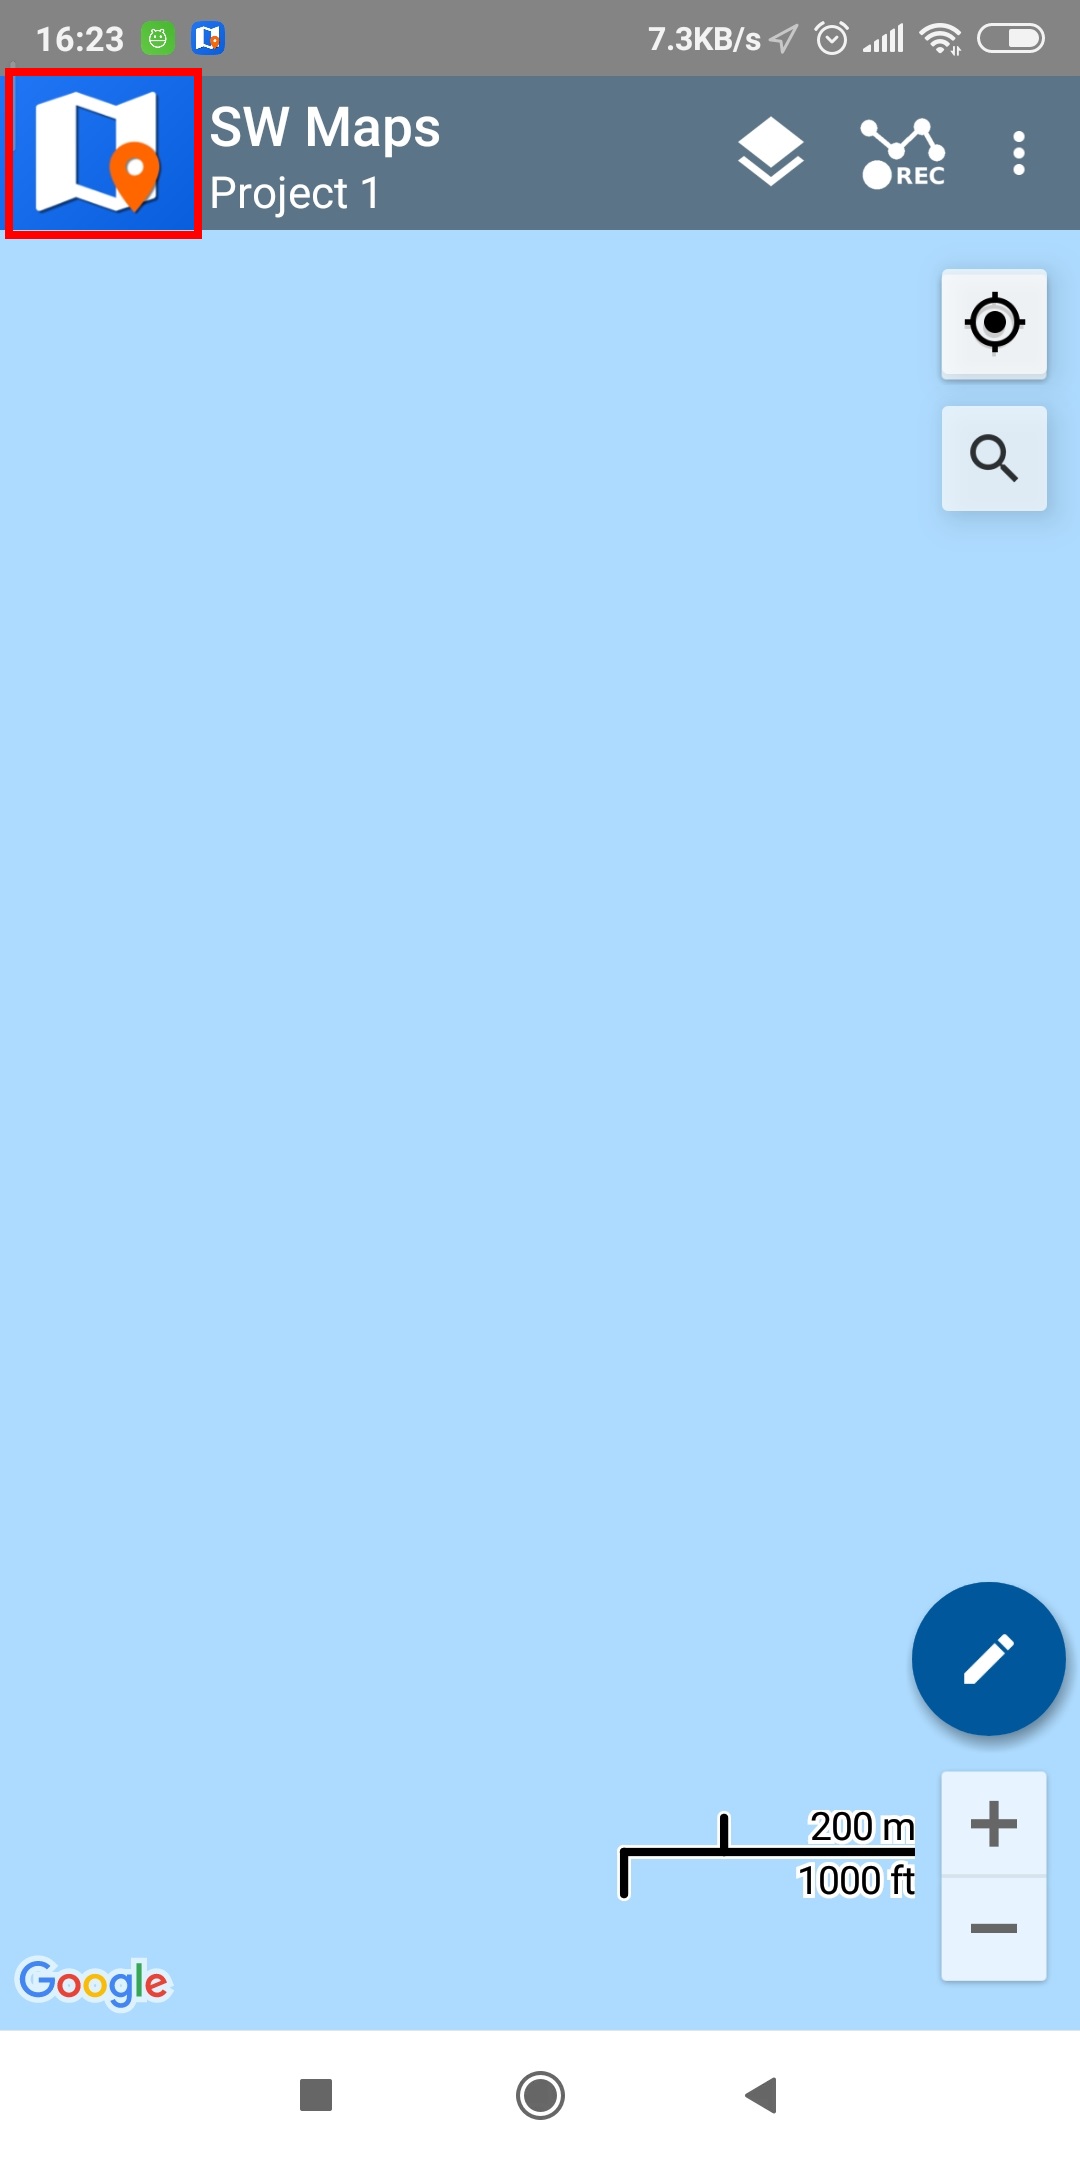
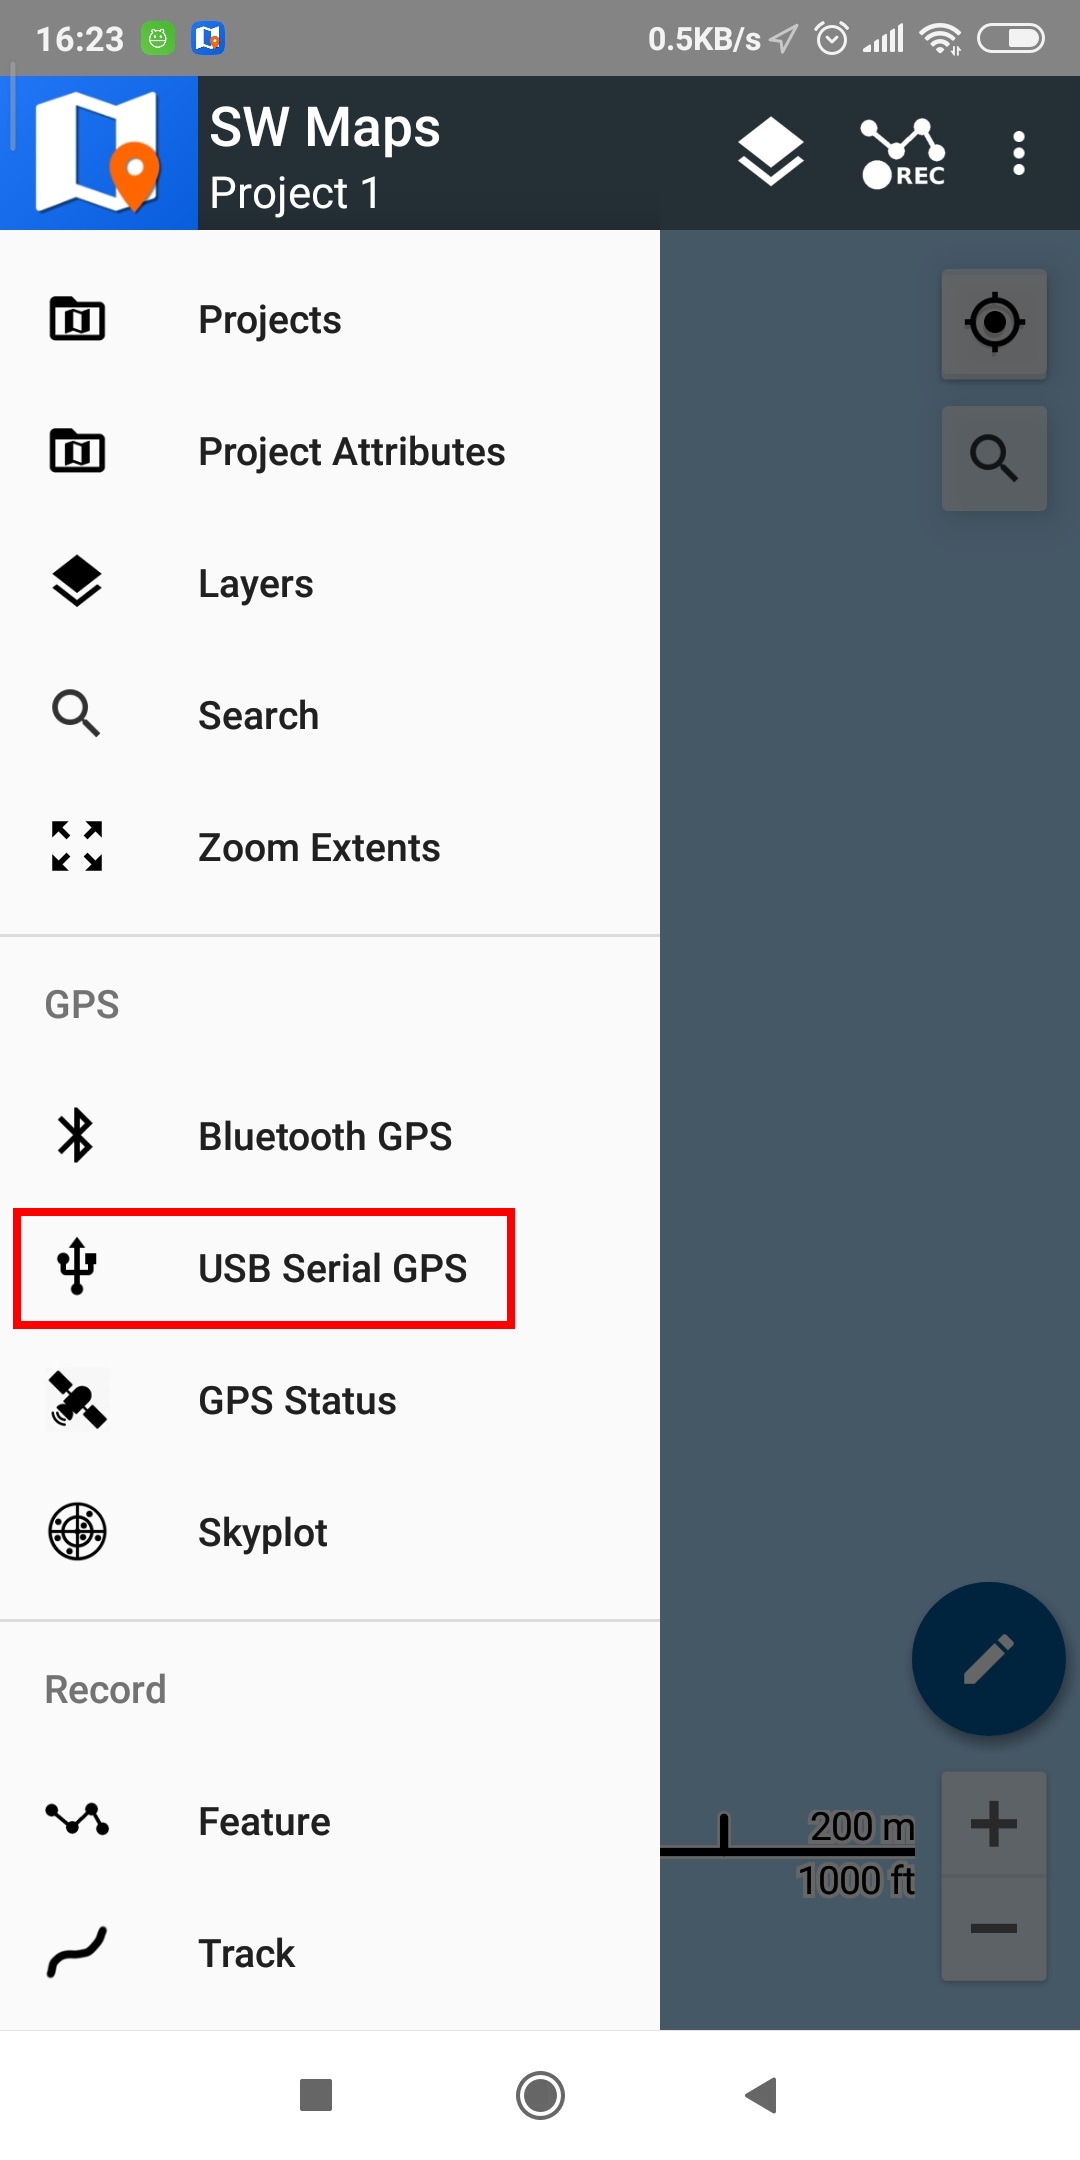
    2. Click on the SW Maps icon to show the app menu.
    1. Select USB Serial GPS.
    1. Under Devices, you should see FT232R USB UART. Set BaudRate to 115200 bps.
    2. Set Instrument Model to u-blox RTK.
    3. Click CONNECT button.
    4. When you click the CONNECT button, grant permissions (if asked).
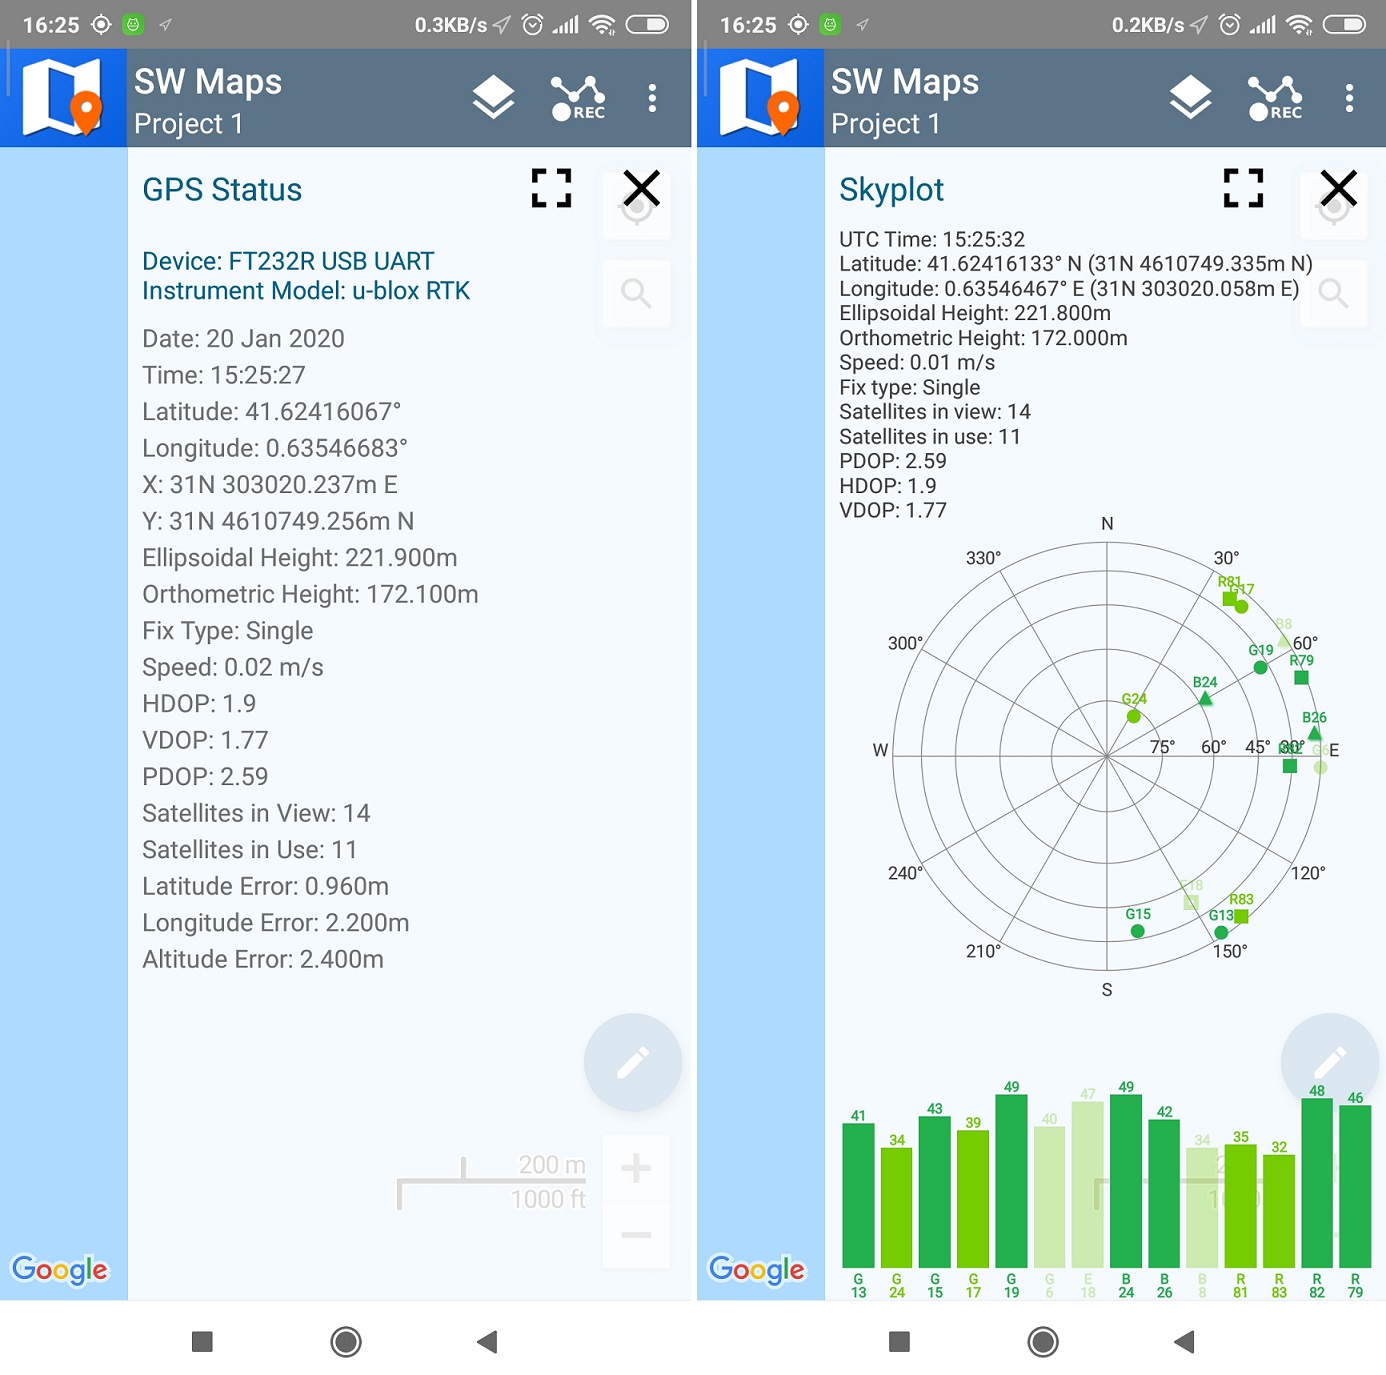
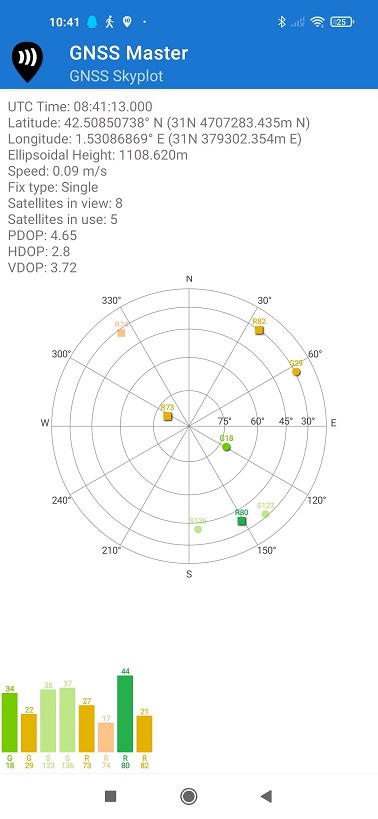
  1. You can see some details of your Ardusimple receiver by going to the SW Maps menu and selecting GPS Status or Skyplot.how to use ArduSimple productc with SW maps on Android device4
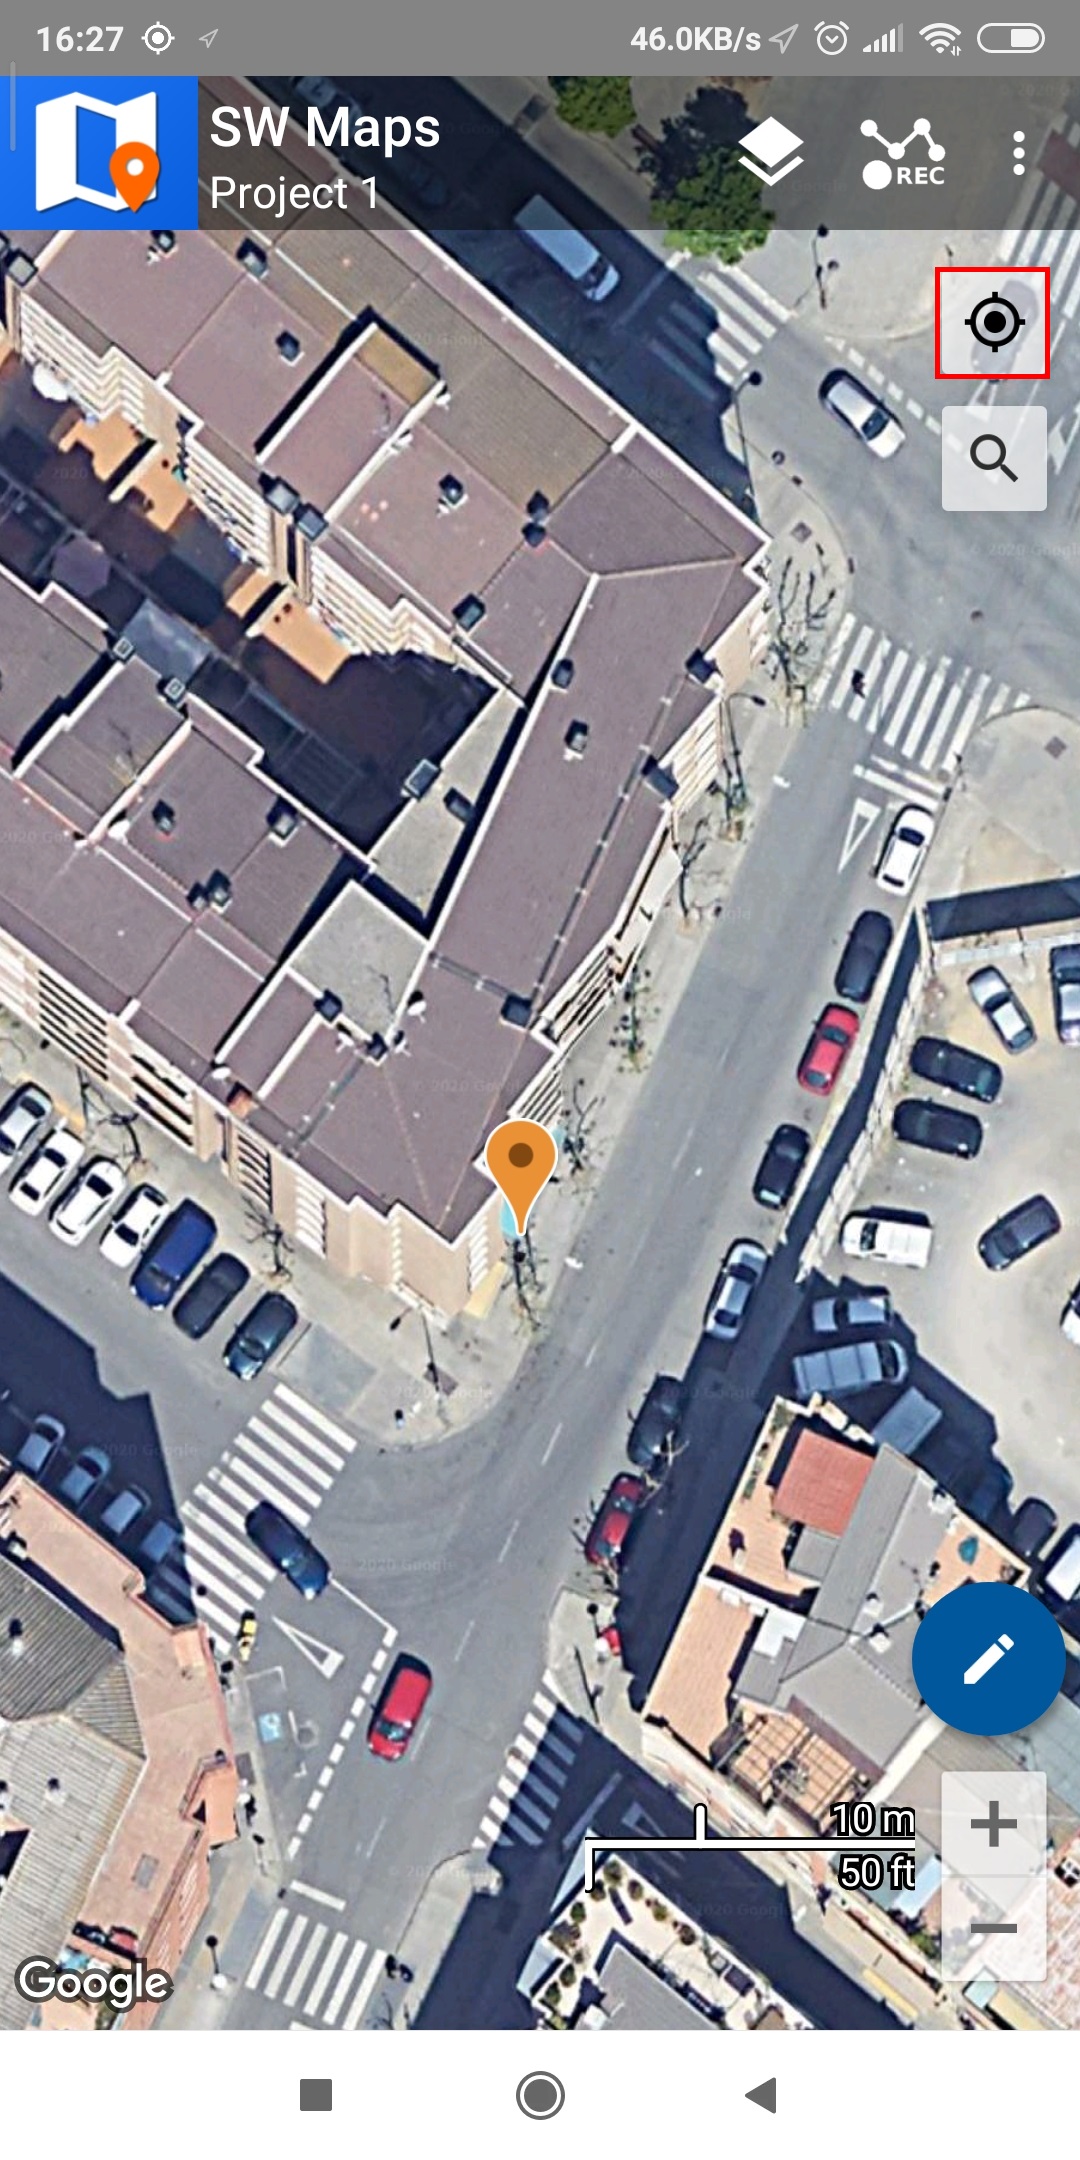
  2. On the main screen, you can click the button shown in the below picture to make the app center the map in your receiver location. The pointer showing your location will change its color depending on the fix status of your receiver. Additionally, you have the option to adjust the map layer, include points, tracks, as well as import or export recorded locations, among other features.
  3. You can get used to the SW Maps app by exploring its various options.  If you prefer a guide, you can access the User Manual here.

How to use PointPerfect RTK-SSR Receiver (Internet or L-band) with Mapit GIS?

Firstly, pair your receiver to your Android smartphone or tablet.

  1. Power your RTK receiver by connecting USB cable to the power supply (smartphone/tablet/ compatible powerbank). If you get any pop-up message to connect the USB device with any app, you can ignore it.
  2. Enable the Bluetooth of your smartphone or tablet , and pair it with your RTK receiver.
    When pairing your device, notice that it will appear as RTK_GNSS_***. The password is always 1234.
    The pairing only needs to be done once. Unlike other Bluetooth devices, it won´t show as “connected” until you click “connect” button in an app.
  1. Place RTK antenna in a location with good view of the sky or near a window for testing the functionality.

Secondly, connect your receiver to Mapit GIS via Bluetooth.

  1. Open Mapit GIS. Go to Settings. Tap on External GNSS.
  1. Enable Direct Connection to External GNSS.
  1. In the pop-up window choose the device you paired in step 2.
  1. Back to the main screen, tap on the antenna icon you will see you are using External GNSS and with location and satellites information.

How to use PointPerfect RTK-SSR Receiver (Internet or L-band) with any other software?

If you need to use kit with any other software, we will explain how to configure Ardusimple RTK receivers to be used as mock location for Android smartphones/tablets in order to get centimeter position accuracy.

If you are not familiar with the term, mock location means that you cheat your Android device to use an external GNSS receiver as if it was its own internal one. This has the advantage that any GPS/GNSS app that works with your Android device can benefit of centimeter level accuracy.

Firstly, install GNSS Master app and enable mock location in your Android Device.

This step only needs to be done once.

  1. Install GNSS Master app on your Android device from the Google Play Store. When you first open the app, you will be asked to allow certain permissions to GNSS Master.
  • Location Permission
  • Display Notifications
  • Once you accept the permissions, the page will load, showing the current status of the app. We will configure it later.
  1. To enable mock locations in Android we will need to get Developer permissions. The procedure may vary slightly between different Android versions and smartphone models (you can Google your “Smartphone model + enable mock location” if you can’t find the exact options).
  2. On Android 4.1 and lower, the Developer options screen is available by default. On Android 4.2 and higher, you must enable this screen. To enable developer options, tap the Build Number, MIUI version or similar option 7 times.
  1. You can find this option in one of the following locations, depending on your Android version:
  • Settings –> About Phone –> Build Number
  • Settings –> System –> About Phone –> Build Number
  1. Once you have access to Developer options, you can go to Settings –>Additional Settings and at the bottom you will find Developer options. In this big list, tap Select mock location app and select GNSS Master from the list.

Secondly, connect to your receiver.

  1. Connect the GNSS antenna to your device, in a location with good view of the sky, or near a window for testing the functionality.
  2. Connect RTK receiver with your Android device with USB OTG cable.
  3. Open GNSS Master app. Check Mock Location and Output to SW Maps.

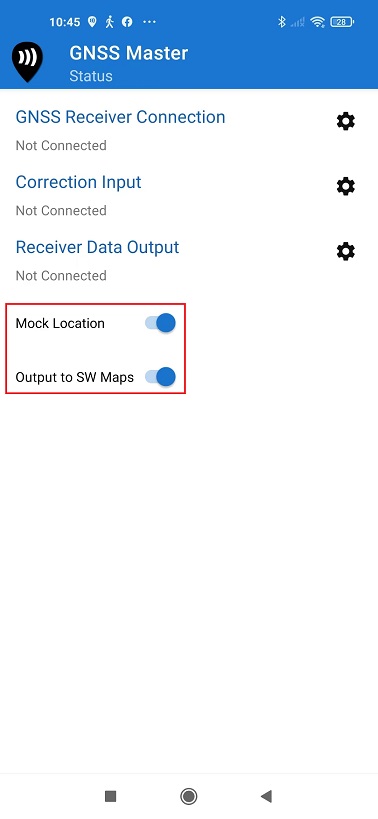
  1. Click the gear icon on the right side of GNSS Receiver Connection to enter the setup menu.

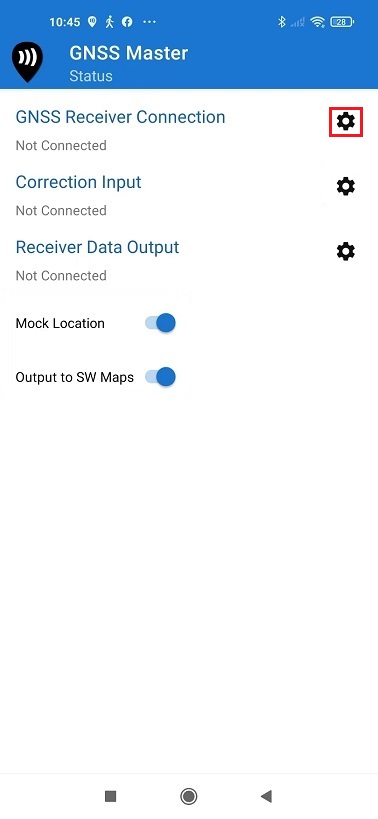
  1. Choose USB Serial at Mode. Set Baud Rate to 115200 bps. At Connected USB Device, it will automatically recognize your receiver with name ***** USB UART.
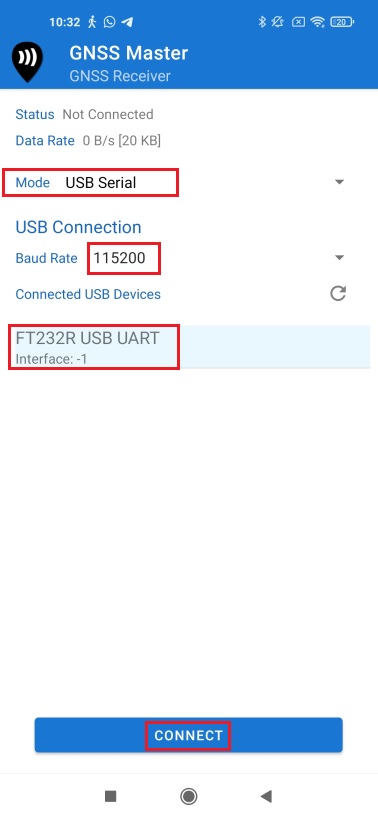
  1. Press CONNECT.
  2. Go back to main menu. Now you should see in GNSS Receiver Connection it says Connected and with data transfer. You can check your location and available satellites in Skyplot.
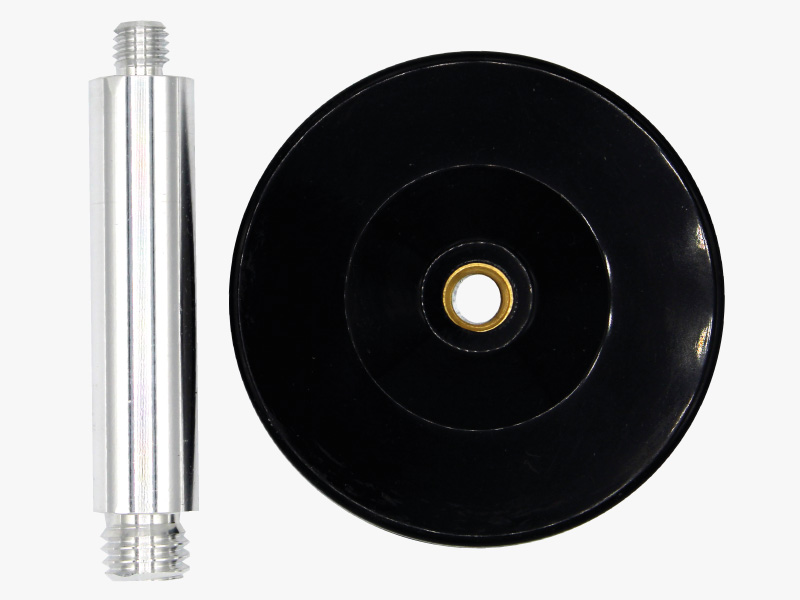
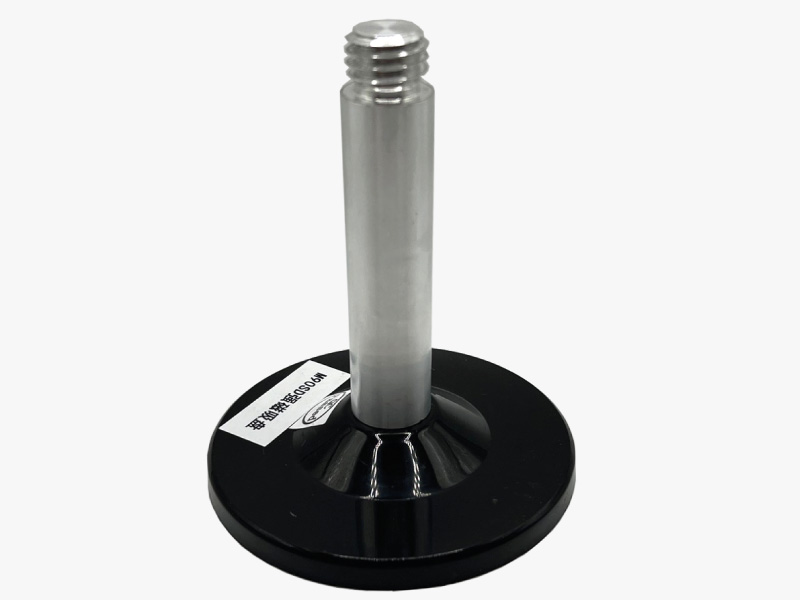
  1. Open your favorite GPS/GNSS application and use it as usual. You will be using the external RTK GNSS receiver instead of the smartphone/tablet internal GPS receiver.
  2. We have tested this functionality with many apps, you can find them in this link. If you test it in other apps, you can send us an email at info@ardusimple.com and we will add it to the list. The Android robot is reproduced or modified from work created and shared by Google and used according to terms described in the Creative Commons 3.0  Attribution License.

Related tutorials

How to reset the kit to Factory settings?

The kit is pre-configured to send NMEA over JST-GH connector and USB at the same time.

If you want to reset the kit to factory settings, follow the steps:

  1. Connect the receiver with your computer or laptop via the USB.
  2. Run u-blox u-center (you can download it here) and connect to the proper COM port.
  3. Download configuration file:
  4.  In u-center Open Tools->Receiver Configuration, pick your file that you dowload on step 6 and click Transfer File->GNSS button.
  5. Once the configuration is done, go to Receiver->Action->Save Config to save the configuration of the RTK receiver.

Accessories

Here you can find affordable accessories for RTK-SSR Receiver with PointPerfect (Internet or L-Band).

EU Conformity & RoHS Certificates

Any questions?
Contact us to get answer within 24hours!

Got any questions or requests?
Contact us! We'll answer <24 hours!

Icon
Contact ArduSimple
Close

Want to learn more about GPS/RTK?

1. Our engineering team will contact you to solve any questions
2. We will keep you updated about promotions and new product releases
3.You will only hear from us when we have important news, we won’t spam your email