 and
and 


CONNECTION VIA USB OTG
CONNECTION VIA BLUETOOTH
CONNECTION VIA USB OTG
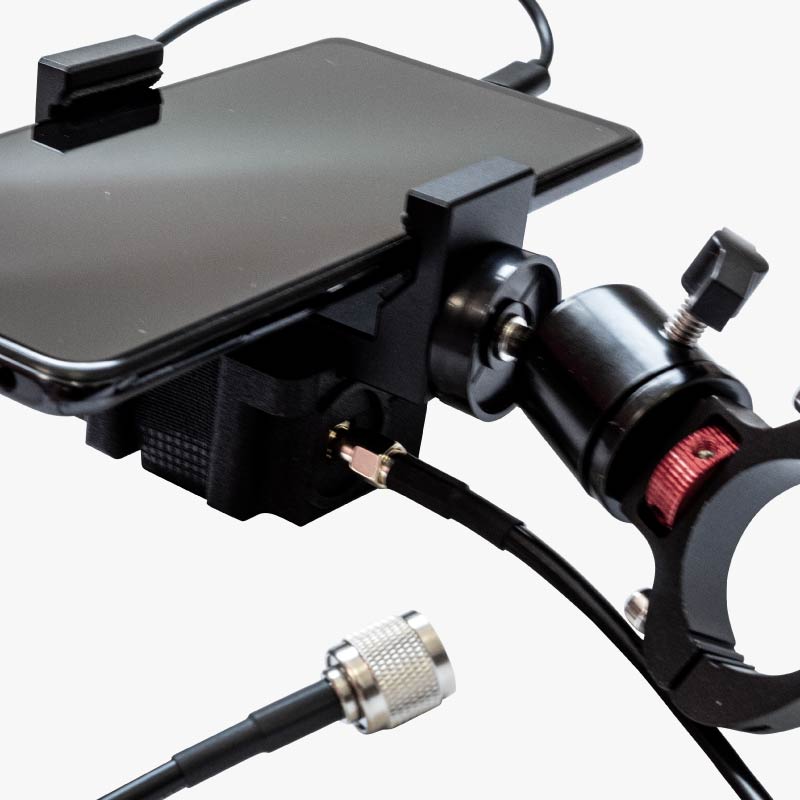
The best option (if your device supports it) since you can power and communicate with it at the same time
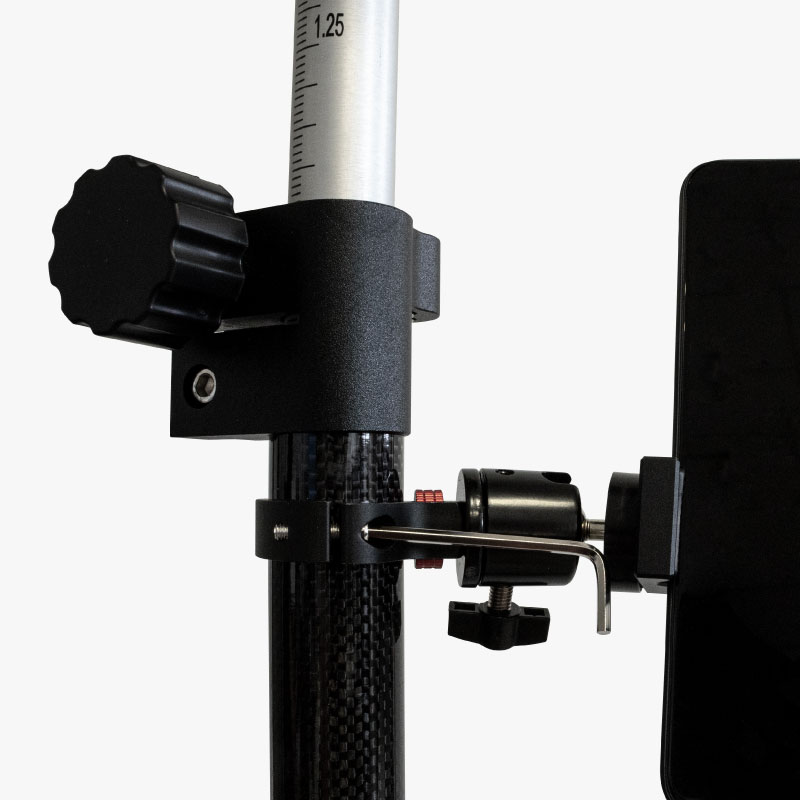
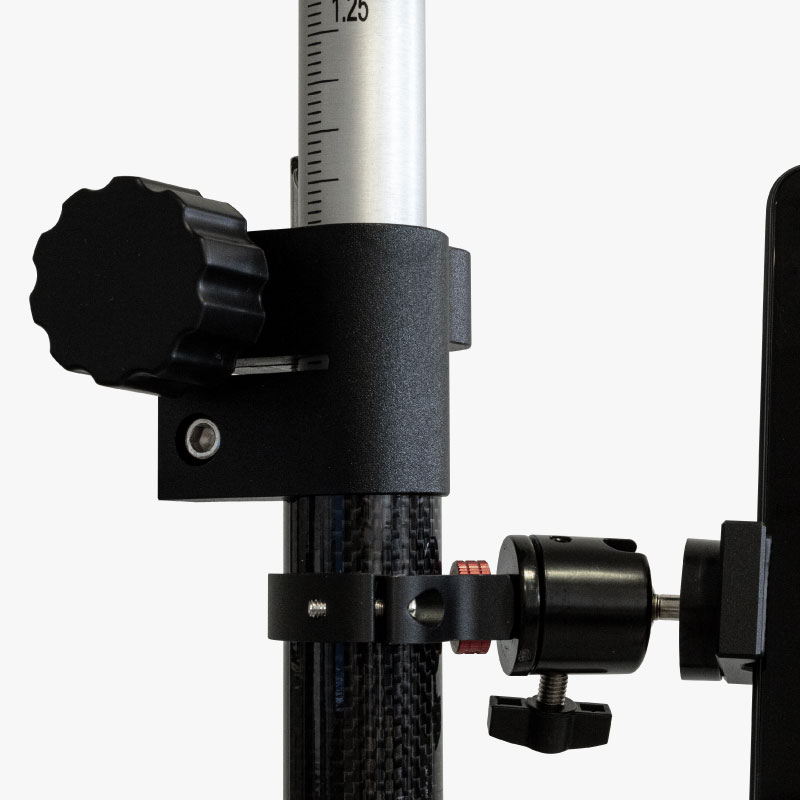
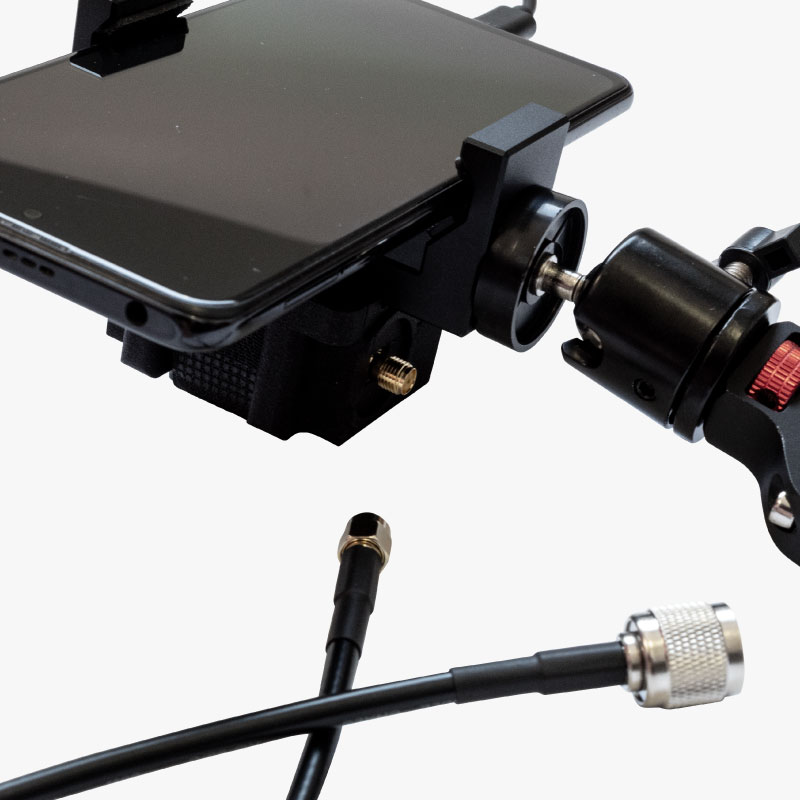
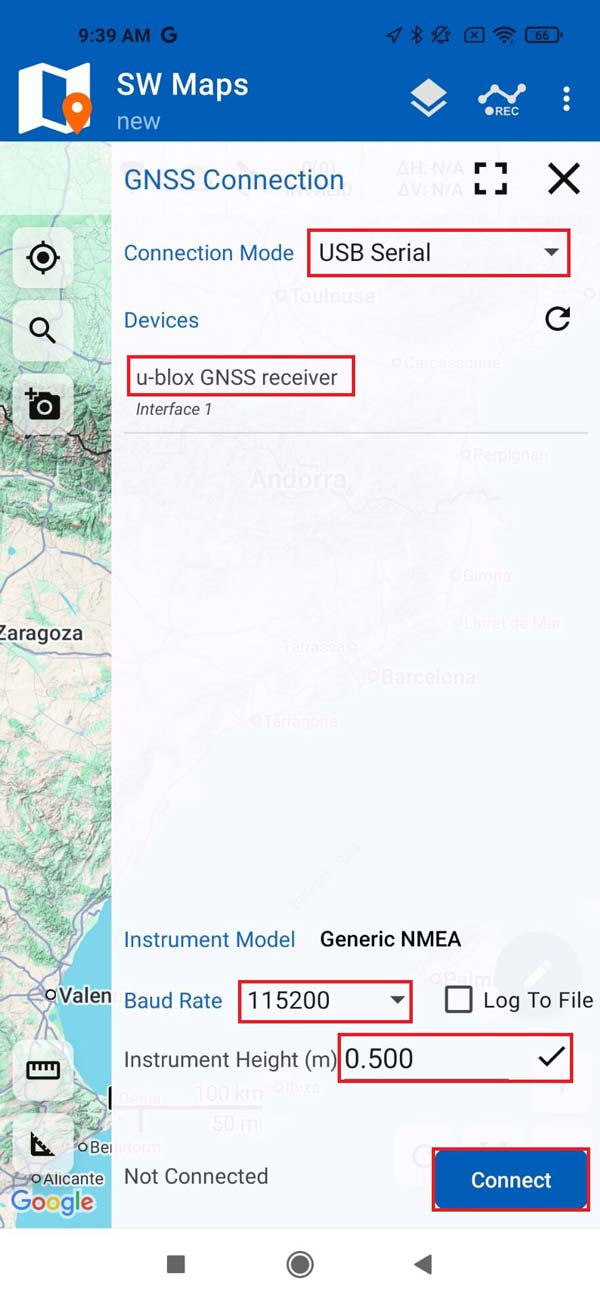
- Connect the receiver to your mobile device with the USB OTG cable. Open SW Maps app and give permissions (first time only).
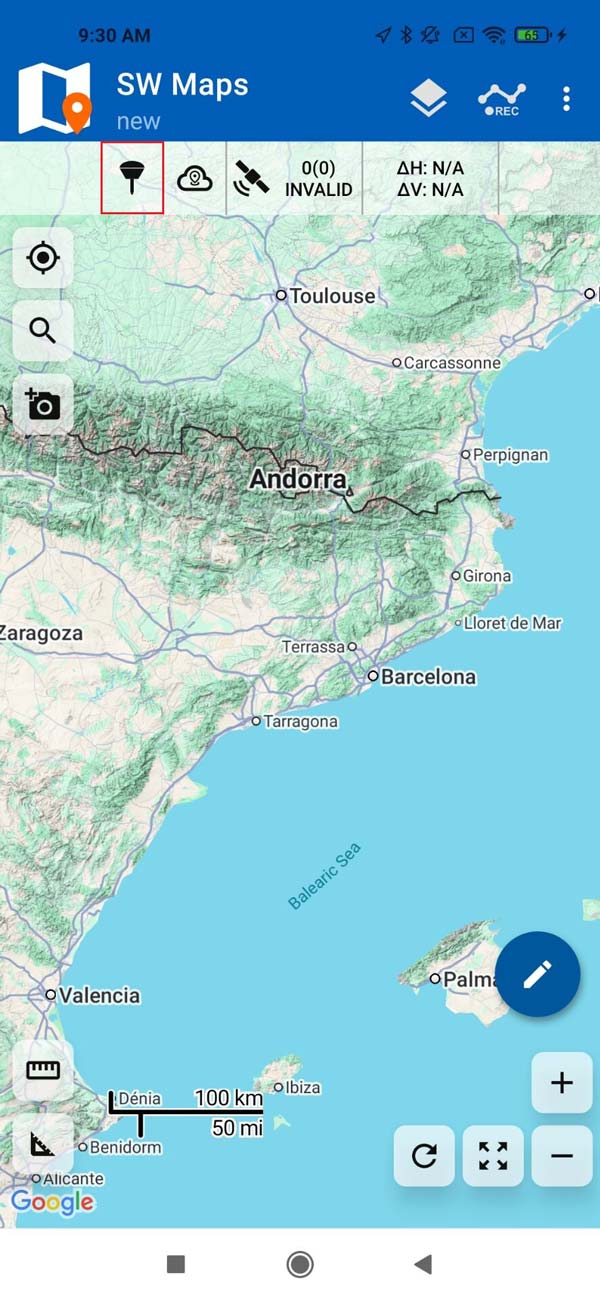
- Click on the antenna icon to show the app menu.

- At Connection Mode select USB Serial.
- Under Devices, tap u-blox GNSS receiver. Set BaudRate to 115200 bps (if you ordered your Professinal kit before 09.10.2023, set BaudRate to 38400 bps).
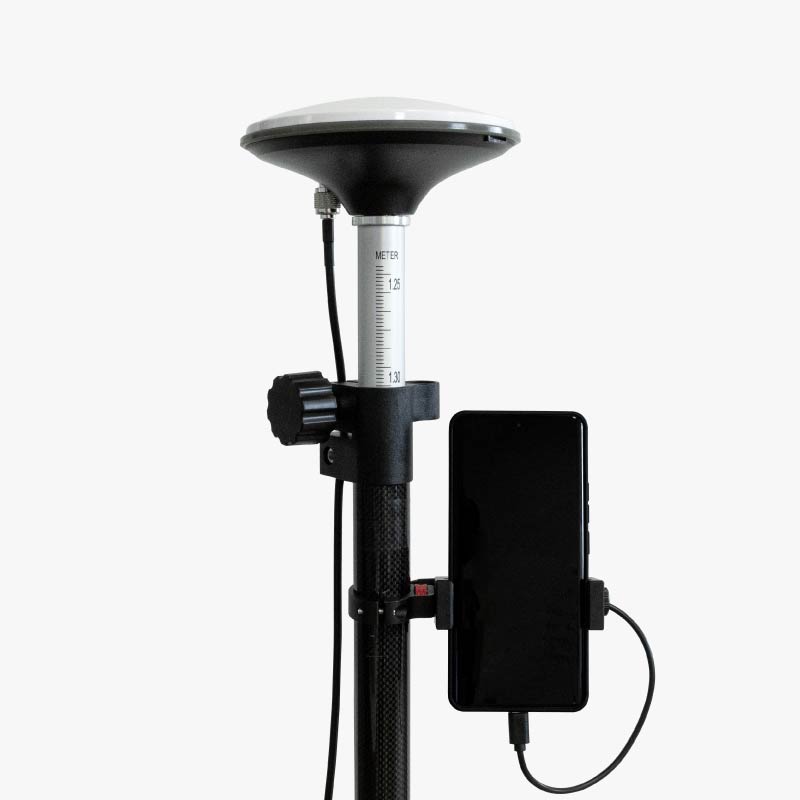
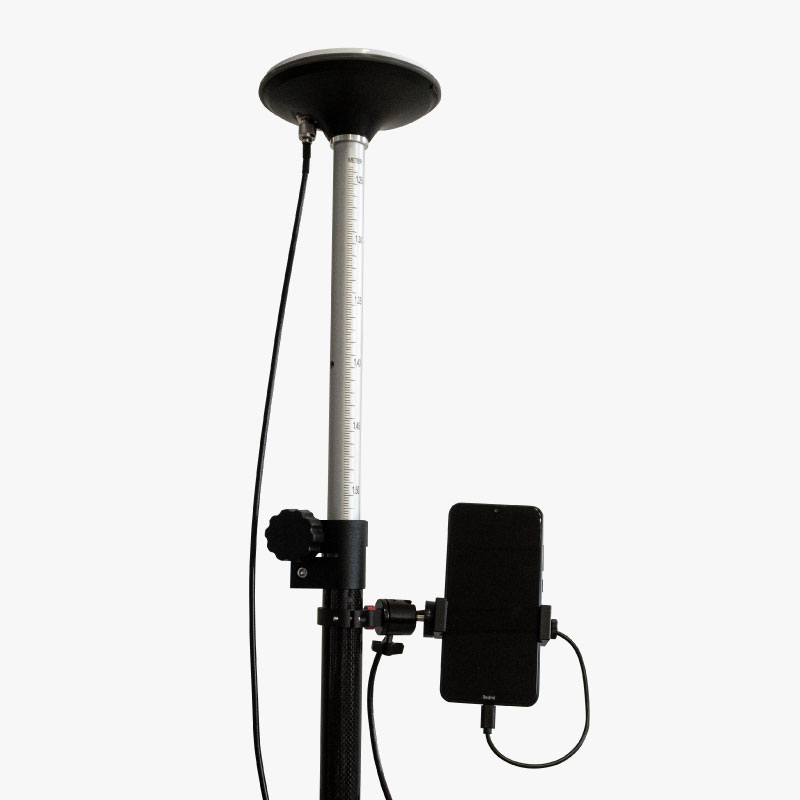
- Set Instrument Height according to the height of your pole or antenna, if you want to measure the location of the ground.
- Tap the CONNECT button. GPS data will start streaming in.
CONNECTION VIA BLUETOOTH
- Power your Ardusimple kit using its USB connector. Use a USB power bank, power wall adapter, smartphone, laptop etc.
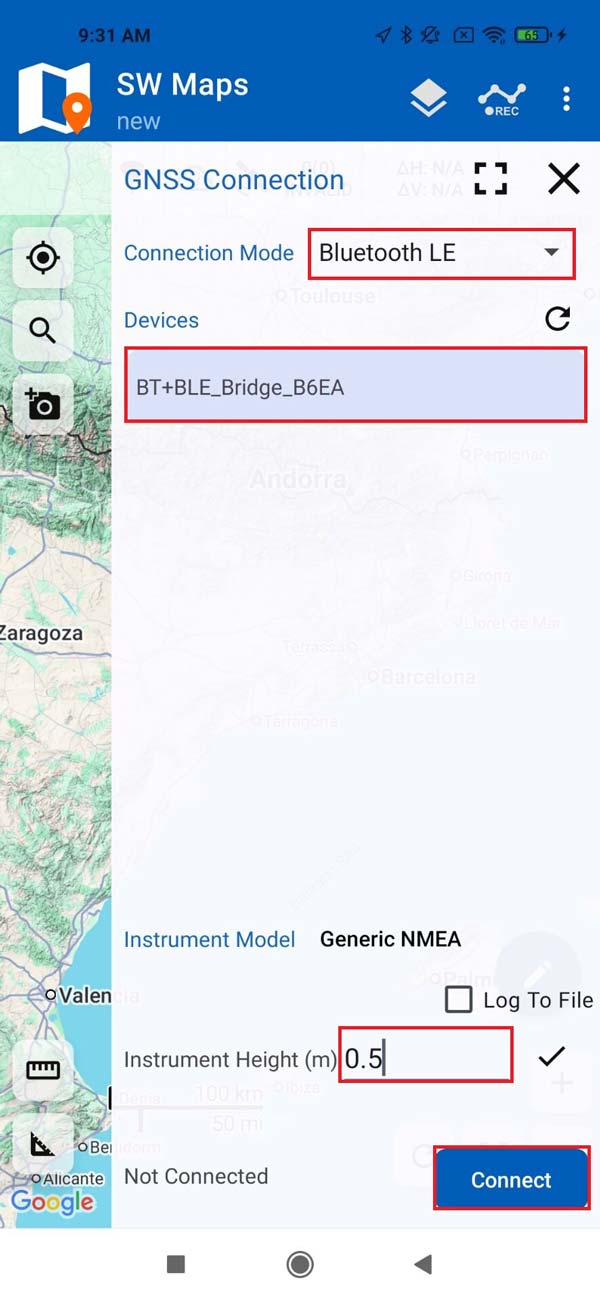
- Enable the Bluetooth connection on your device.
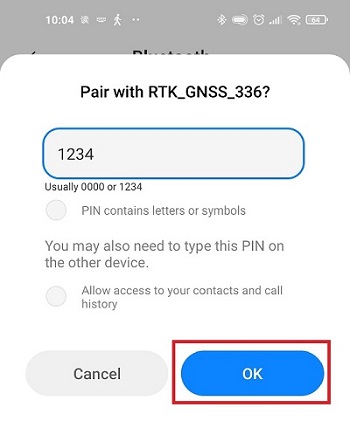
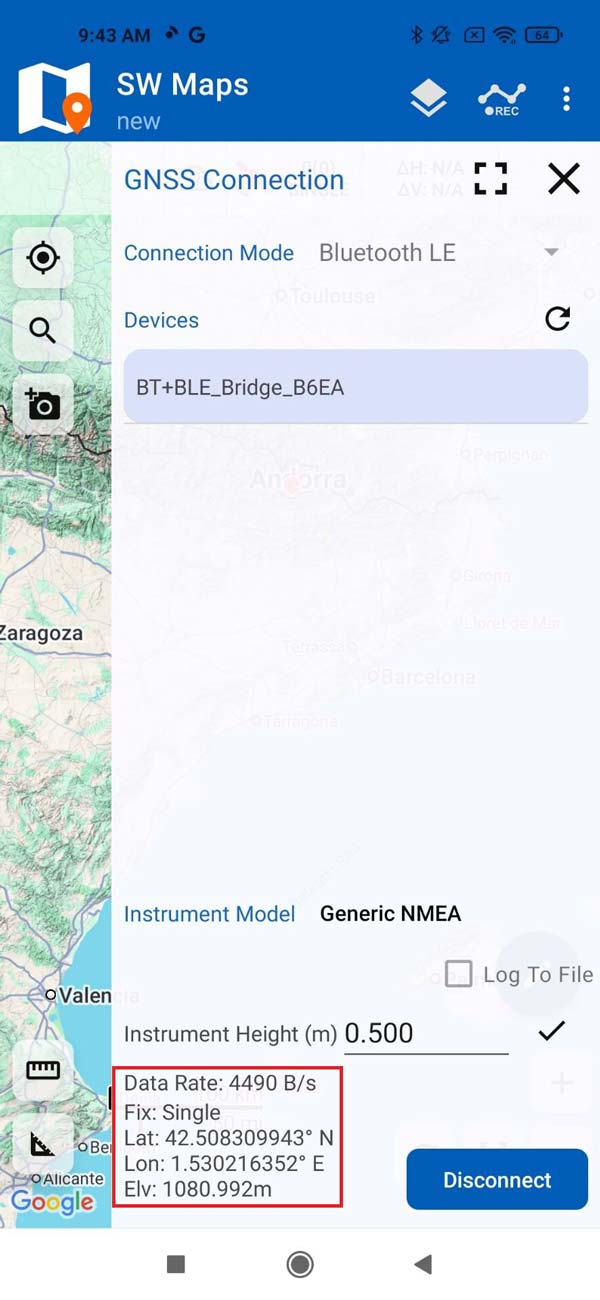
- Pair the Ardusimple board in the Android Bluetooth menu. When searching for devices, you may see only the MAC address, but once paired the name will update to BT+BLE_Bridge_XXXX, where XXXX is a random number. Password is 1234. The pairing only needs to be done once. Unlike other Bluetooth devices, it won´t show as “connected” until you click “connect” button in an app.

- Open SW Maps app and give permissions (first time only). Tap the antenna icon.
- Select Bluetooth LE. Under Devices, select the one you paired before. Set the Instrument Height according to the height of your pole or antenna, if you want to measure the location on the ground. Tap the CONNECT button.
- GPS data will start streaming in.
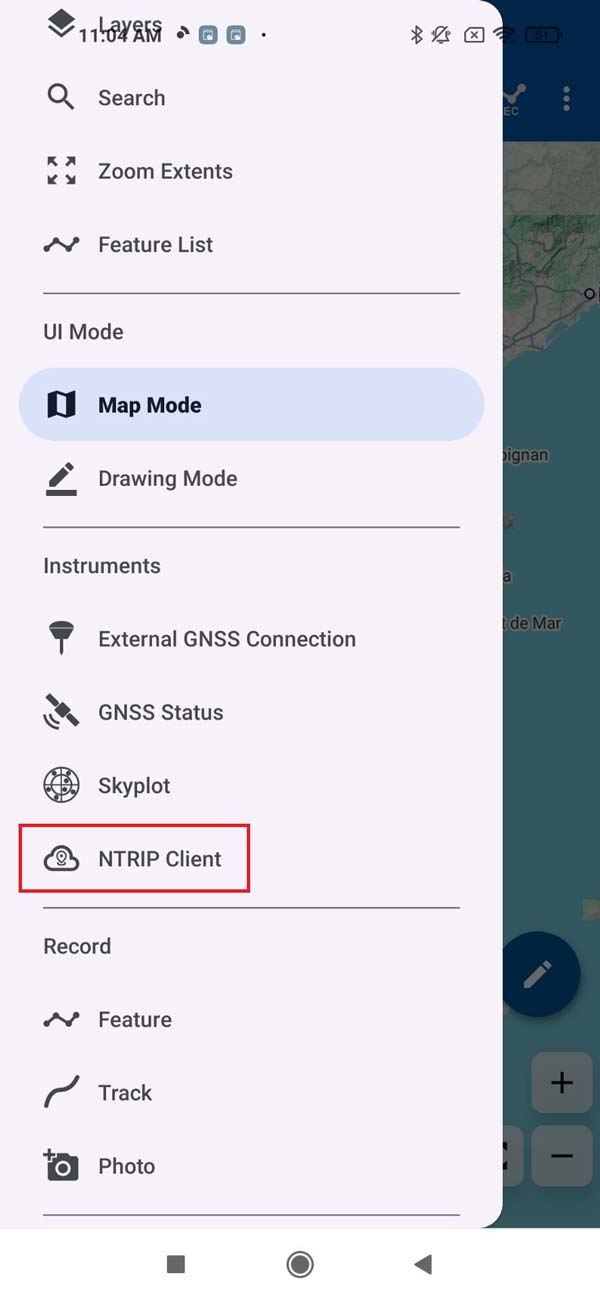
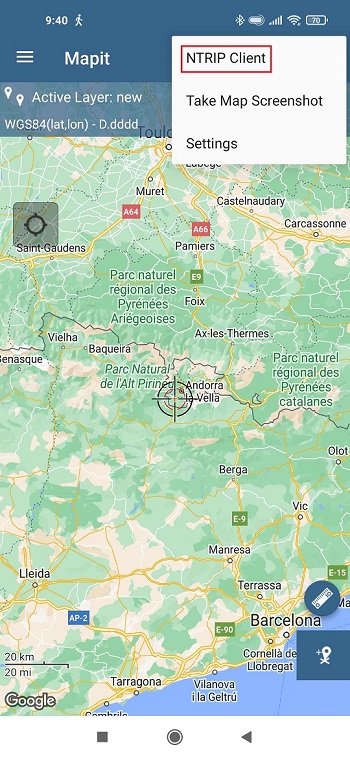
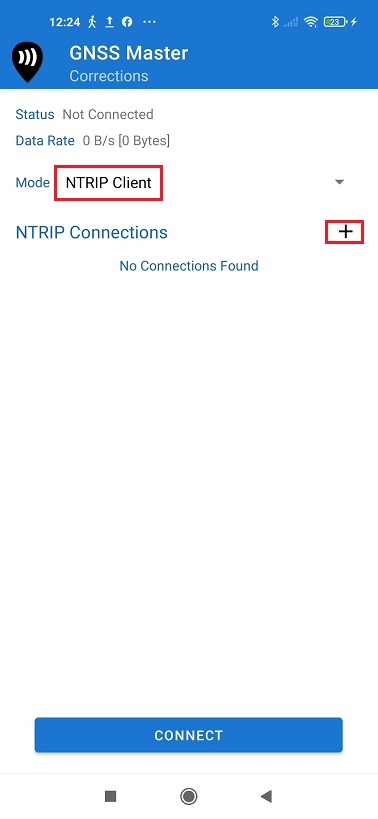
- Since you have a RTK capable GNSS receiver, let’s connect it to a NTRIP server to get cm accuracy. Go back to SW Maps menu and select NTRIP Client.
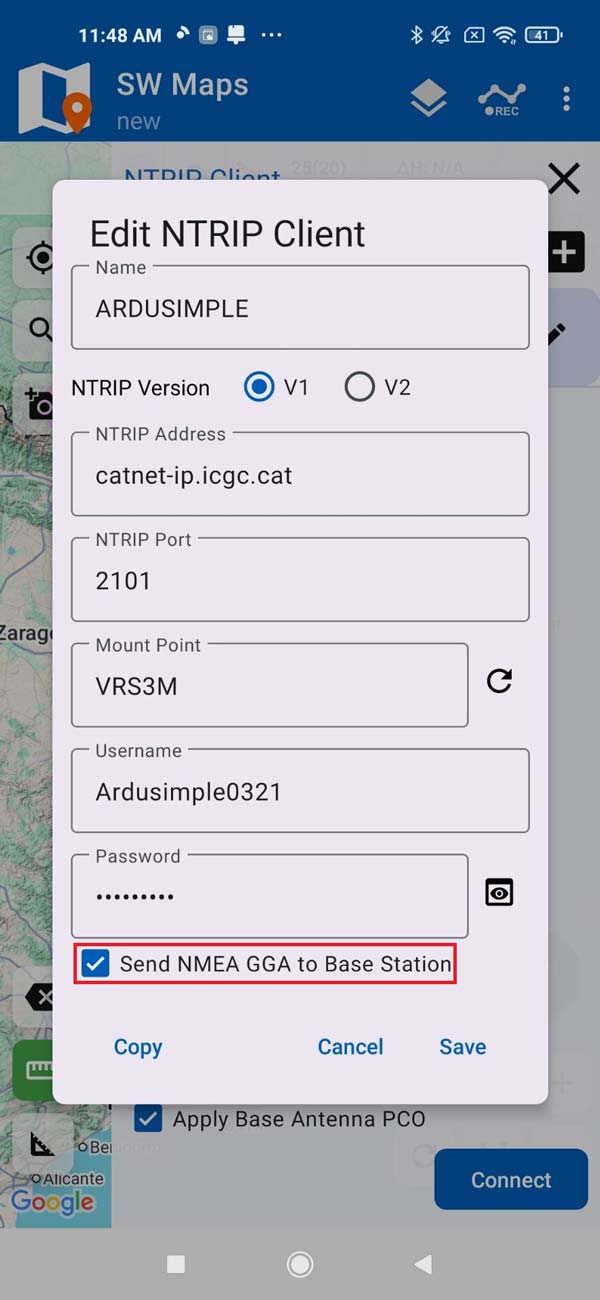
- Fill all the fields with your NTRIP provider data. If multiple mountpoints are listed, choose the one closest to your current location for the best accuracy and performance. VRS (Virtual Reference Station) is usually a good default choice, as it provides location-adaptive correction data based on your position. Make sure to check Send NMEA GGA to NTRIP Caster if you are connecting to a VRS. If you do not know how to find NTRIP provider in your area, we have prepared a list of RTK Correction Services in your Country, check the page to find suitable service for you.
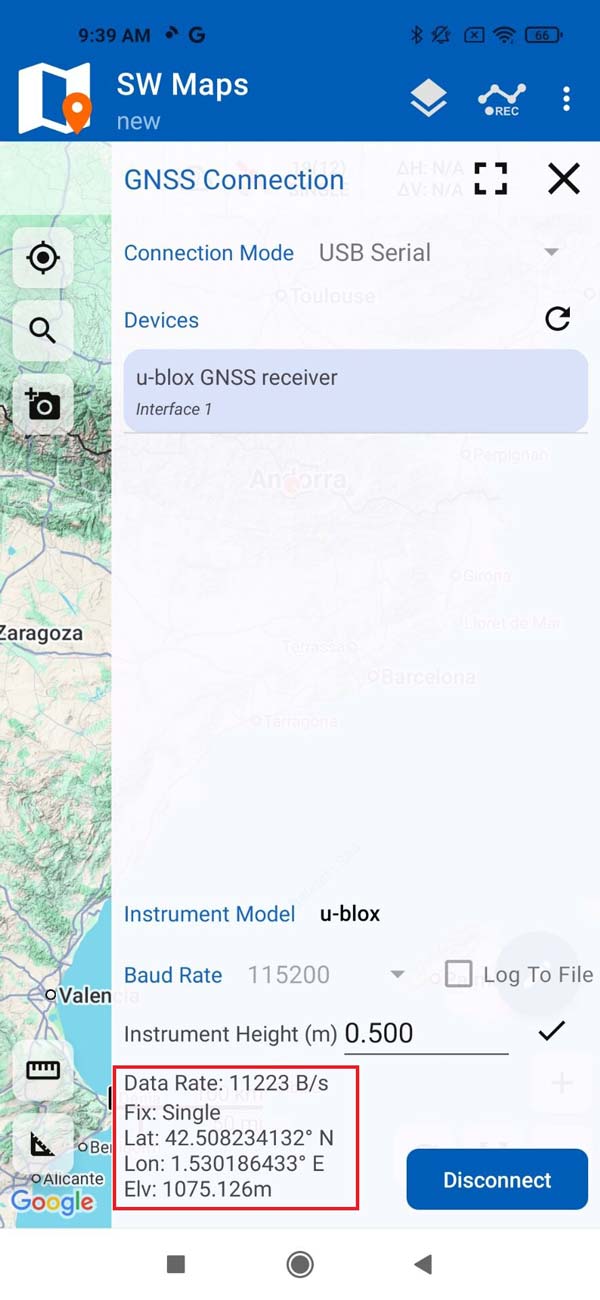
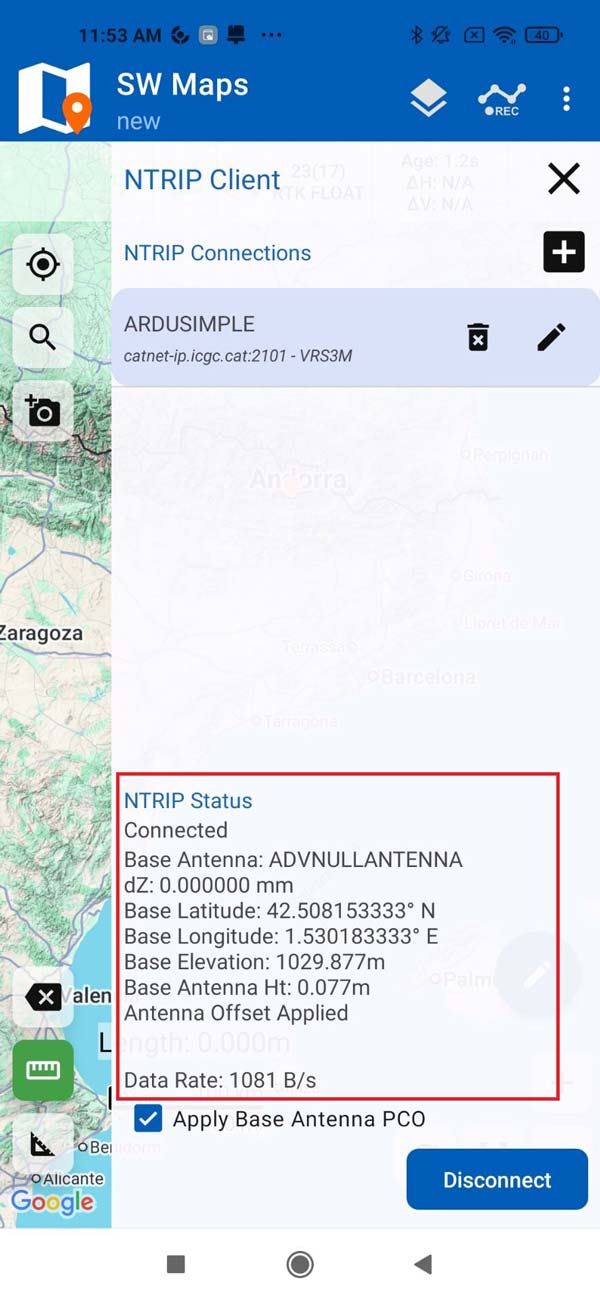
- When you click CONNECT, if everything worked, you will see the data stream alive.
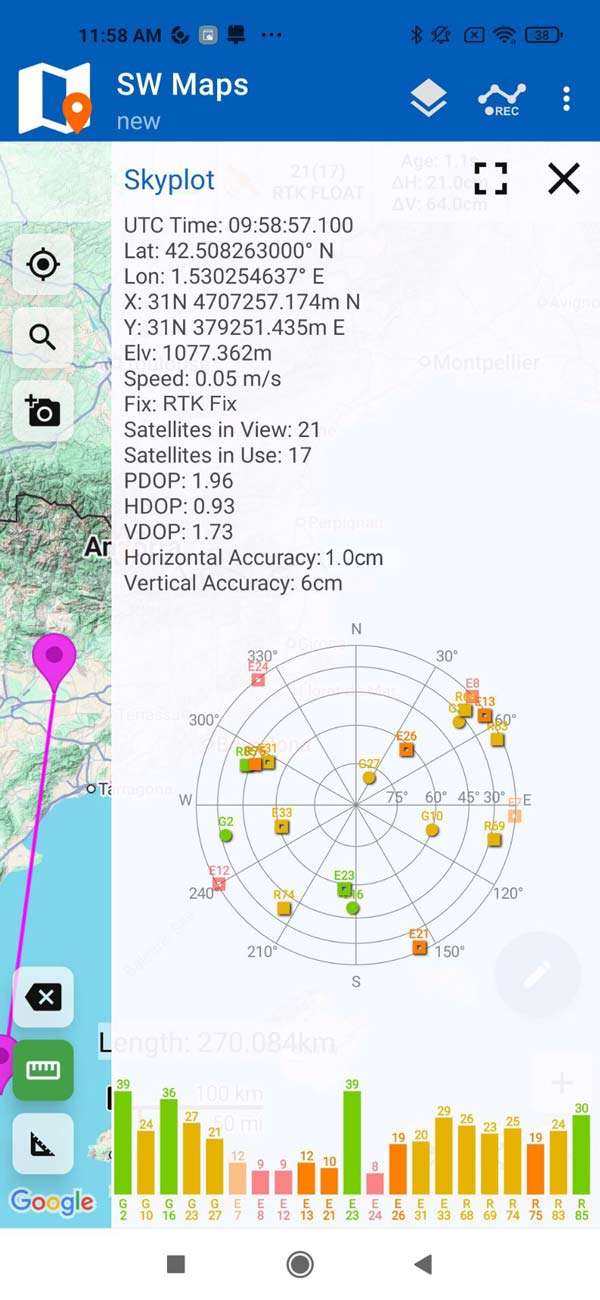
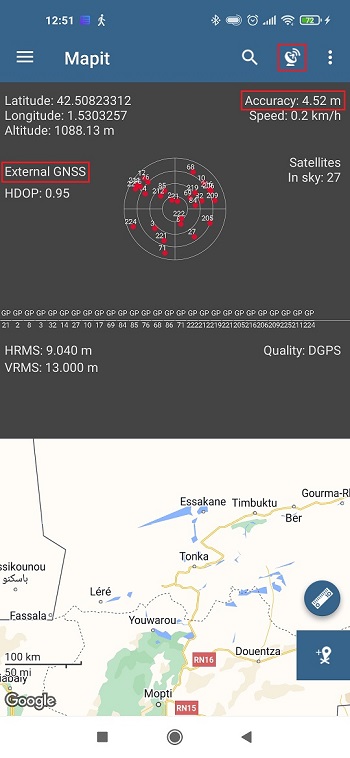
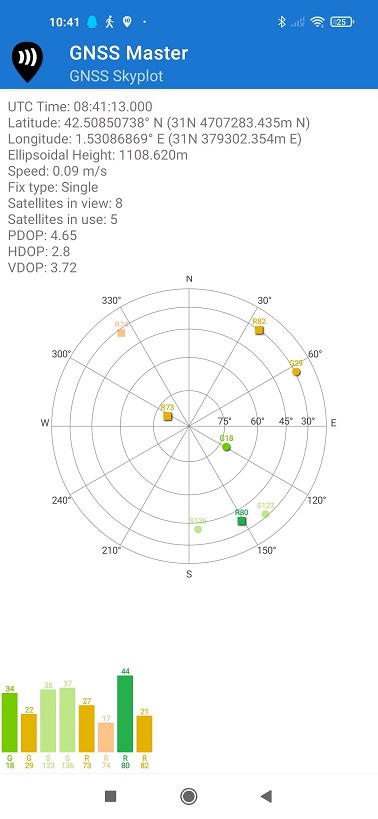
- Go to the SW Maps menu and select Skyplot. You can see the Fix type is RTK Float or RTK Fix and actual position with centimeter accuracy.
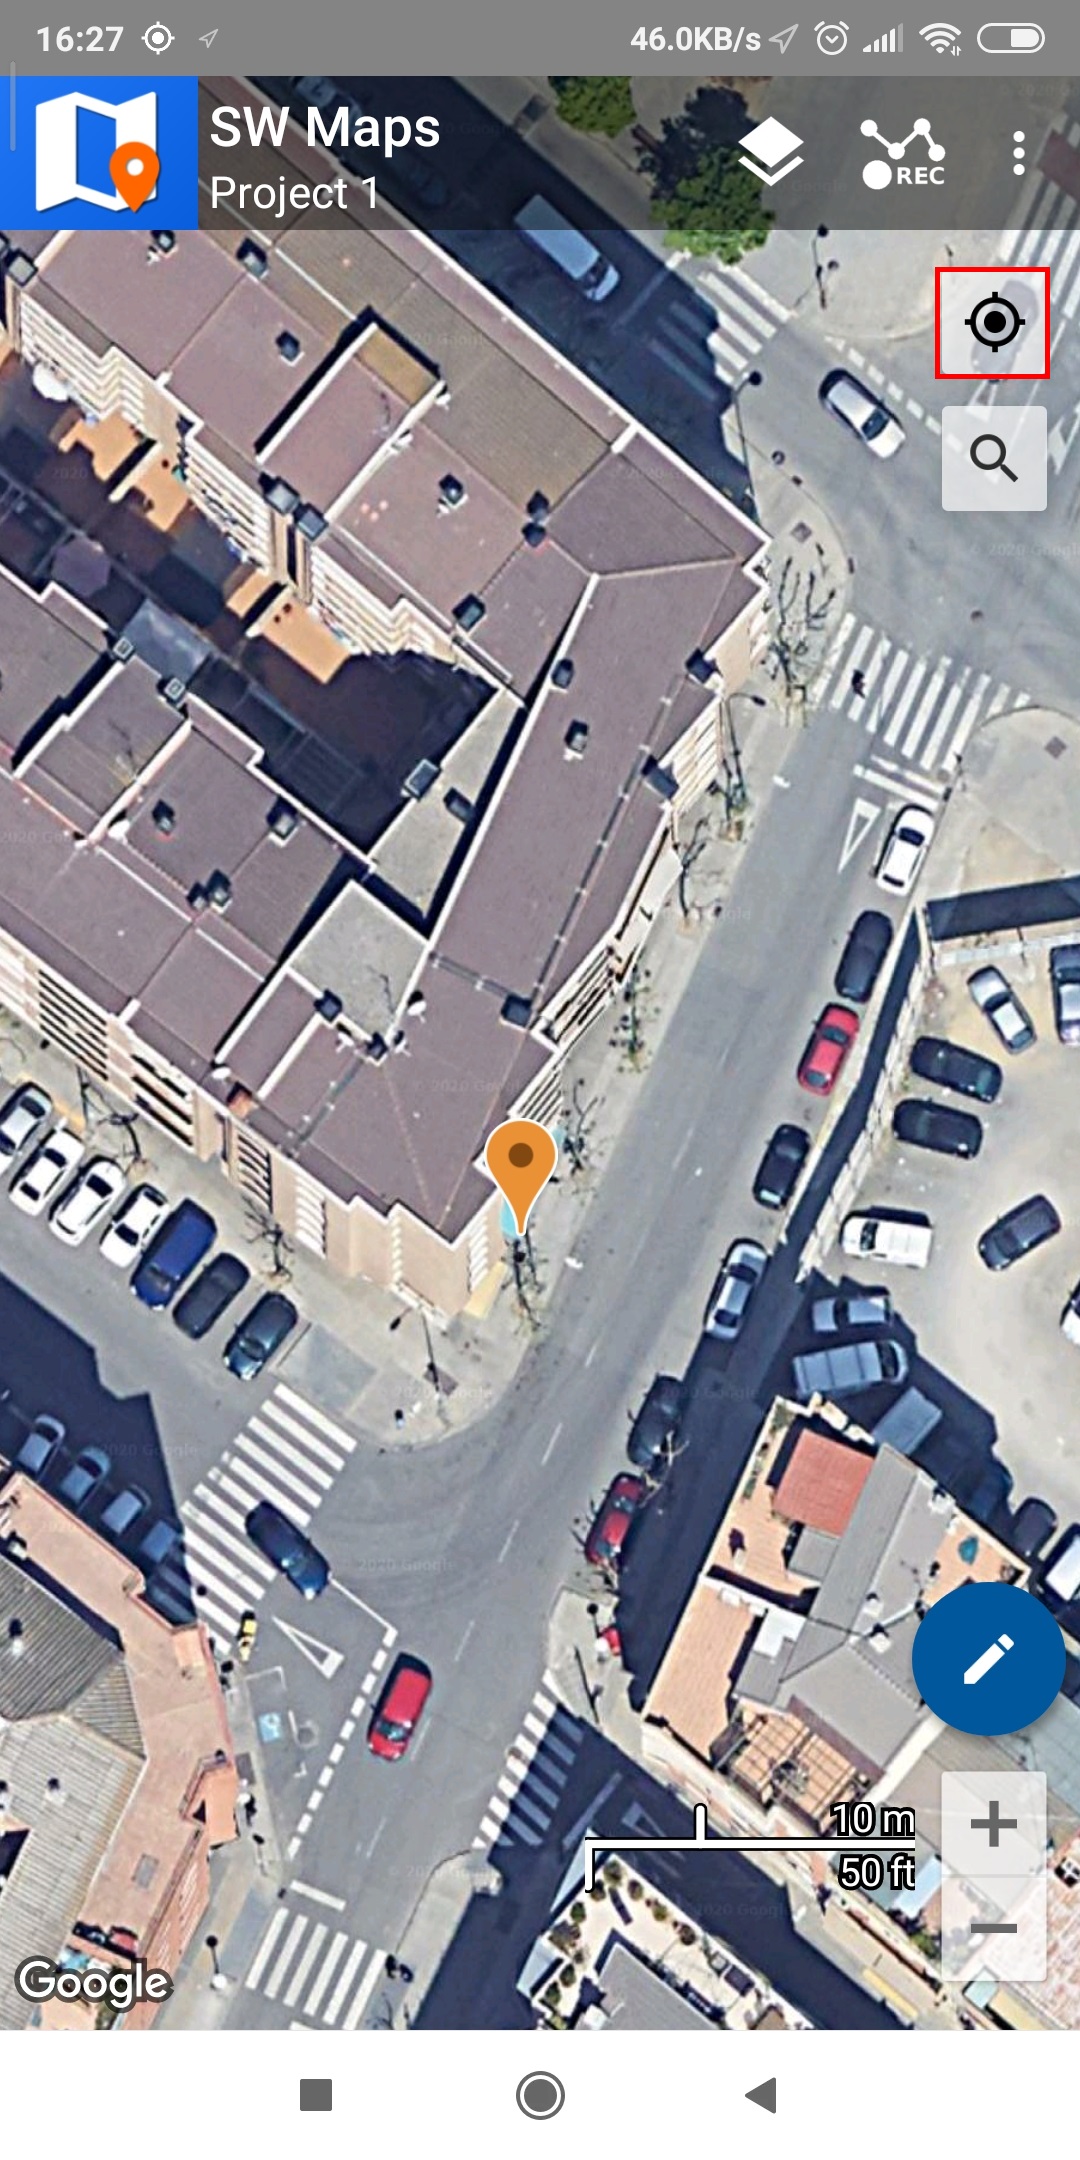
- You can click the button that is highlighted in red to make the app center the map in your receiver location. The pointer showing your location will change its color depending on the fix status of your receiver. Additionally, you have the option to adjust the map layer, include points, tracks, as well as import or export recorded locations, among other features.

- You can get used to the SW Maps app by exploring its various options. If you prefer a guide, you can access the User Manual here.

NTRIP Client function in Mapit
GNSS Master app
NTRIP Client function in Mapit
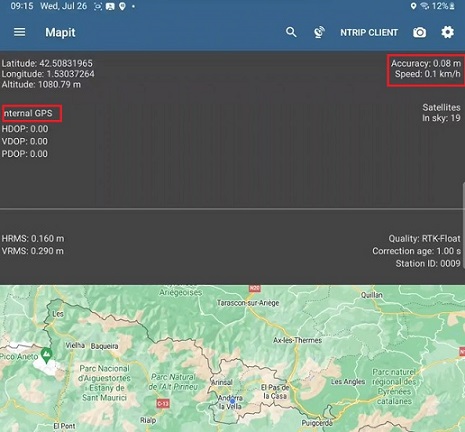
- In the menu tap NTRIP Client and set your corrections.
GNSS Master app
- GNSS Master app has built in NTRIP and PointPerfect capability to send corrections directly to your GNSS receiver.
“Mock Location” is a functionality of Android OS that allows you to “fake” the position of the internal GPS, and use instead the position of your fancy external RTK GNSS receiver.By using mock location, you can receive centimeter accuracy on MapitGIS.
Follow ArduSimple tutorial How to use centimeter GPS with any Android app (mock location) to enable correction service on GNSS Master app and use mock location on MapitGIS.
Connection via USB OTG
Connection via Bluetooth
Connection via USB OTG
The best option (if your device supports it) since you can power and communicate with it at the same time.
- Connect RTK receiver with your Android device with USB OTG cable.
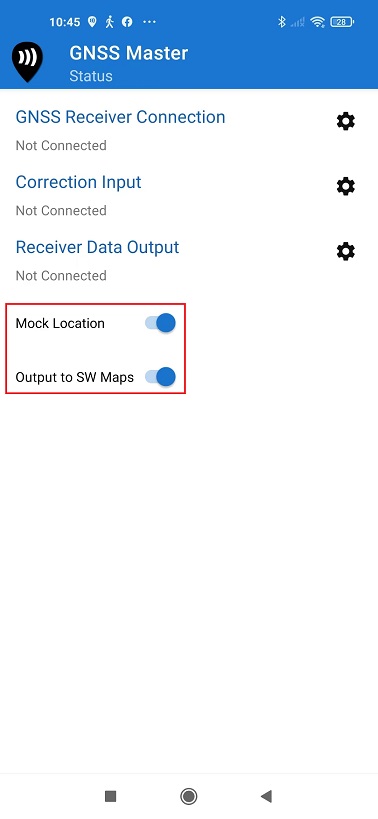
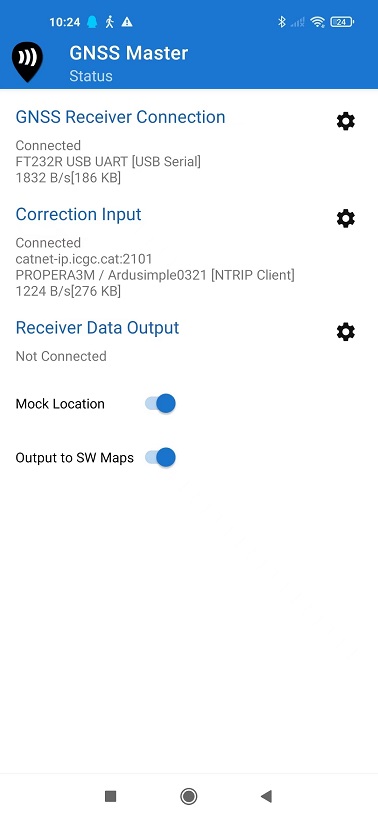
- Open GNSS Master app. Check Mock Location and Output to SW Maps.

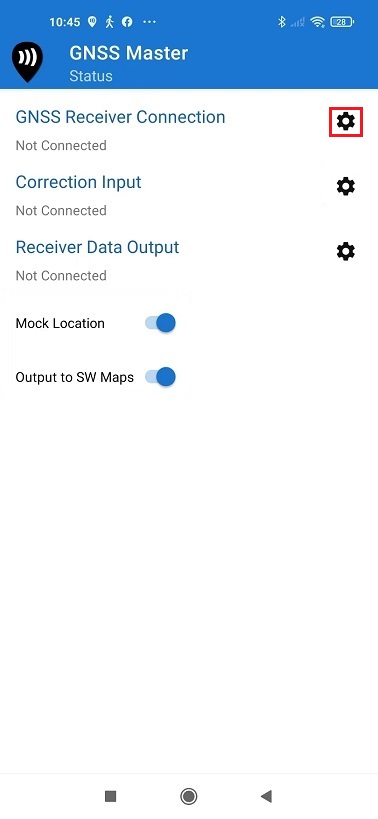
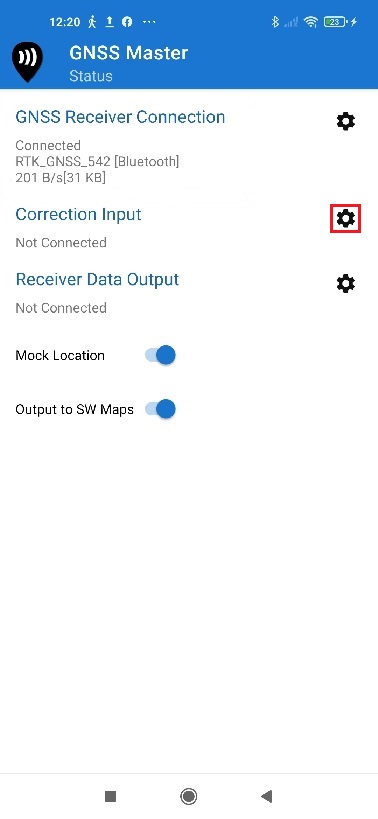
- Click the gear icon on the right side of GNSS Receiver Connection to enter the setup menu.
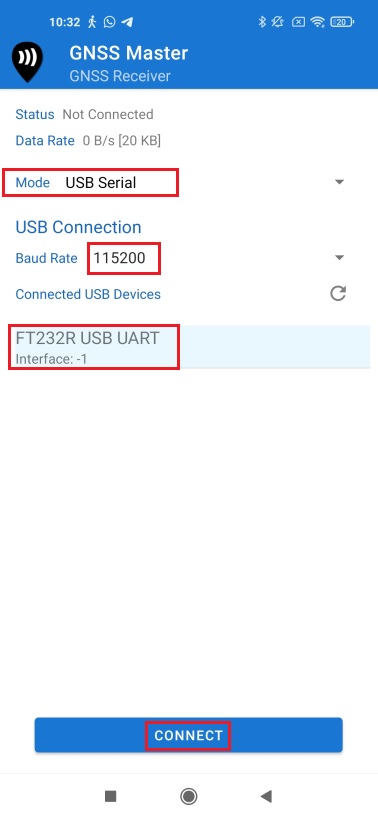
- Choose USB Serial at Mode.
Set Baud Rate to 115200 bps (if you ordered your ArduSimple Proofessional kit before 09.10.2023, set Buad Rate to 38400 bps. If you use a different receiver, the Baud Rate should match with your receiver configuration).
At Connected USB Device, it will automatically recognize your receiver with name ***** USB UART. - Press CONNECT.
Connection via Bluetooth
- Power your RTK receiver by connecting USB cable to the power supply (smartphone/tablet/ compatible powerbank). If you get any popup message to connect the USB device with any app, you can ignore it.
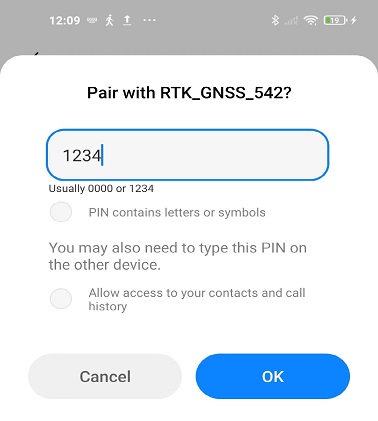
- Enable your smartphone/tablet Bluetooth, and pair it with your RTK receiver.
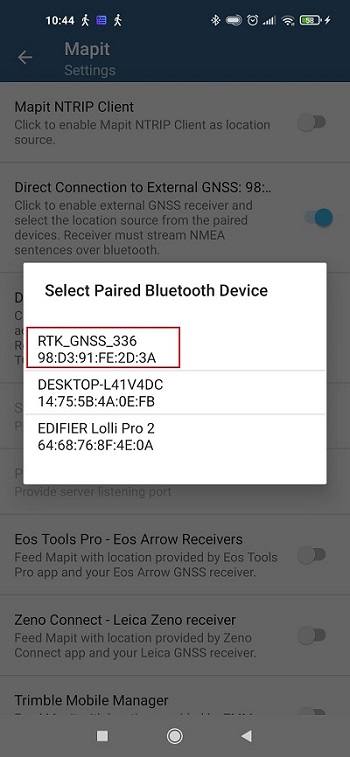
When pairing your device, notice that it may appear as RTK_GNSS_*** or as a generic MAC number (e.g.: F0:0A:95:9D:68:16). The password is always 1234. The pairing only needs to be done once.
- Open GNSS Master app. Check Mock Location and Output to SW Maps.
- Click the gear icon on the right side of GNSS Receiver Connection to enter the setup menu.
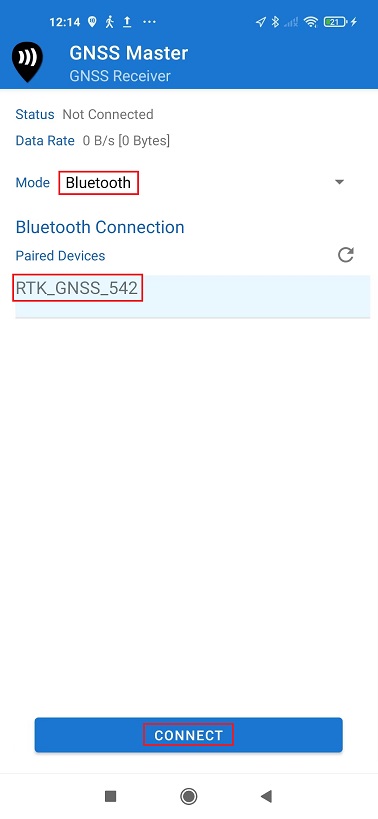
- Choose Bluetooth at Mode.
In Paired Devices chose the one you paired in step 8.
Press CONNECT.


-

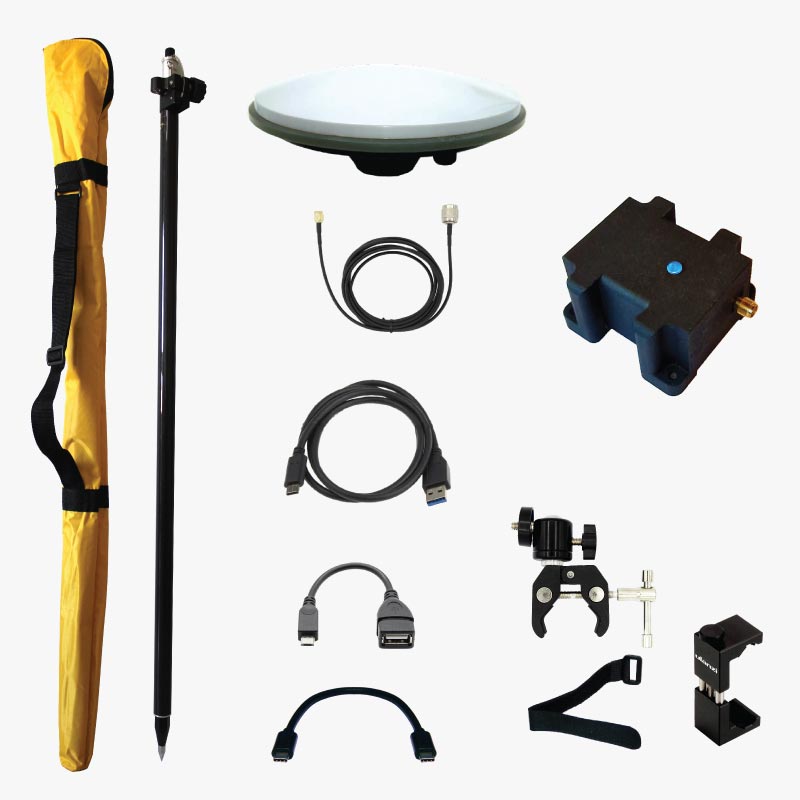
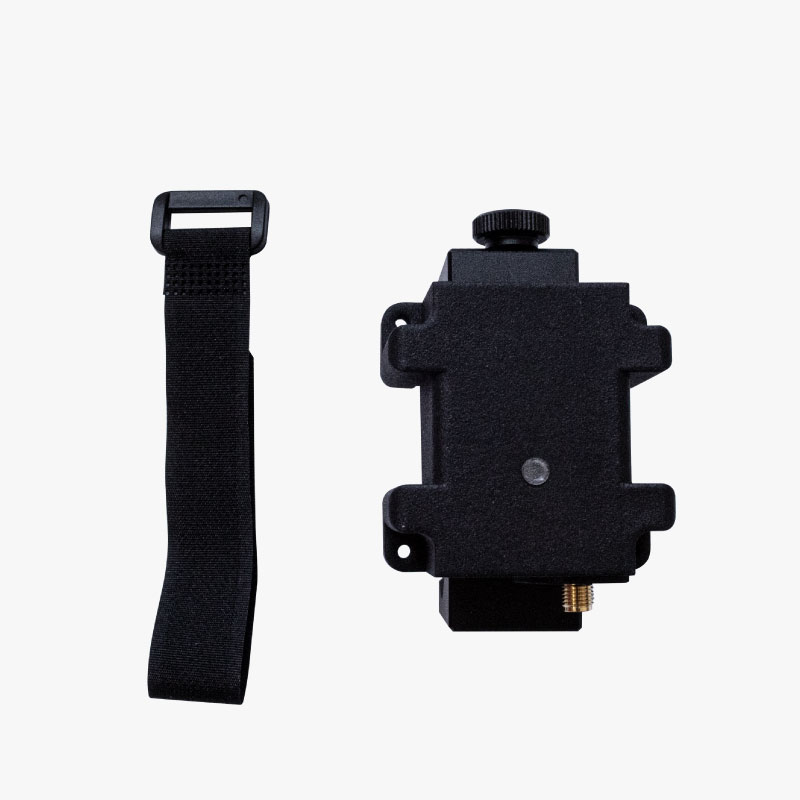
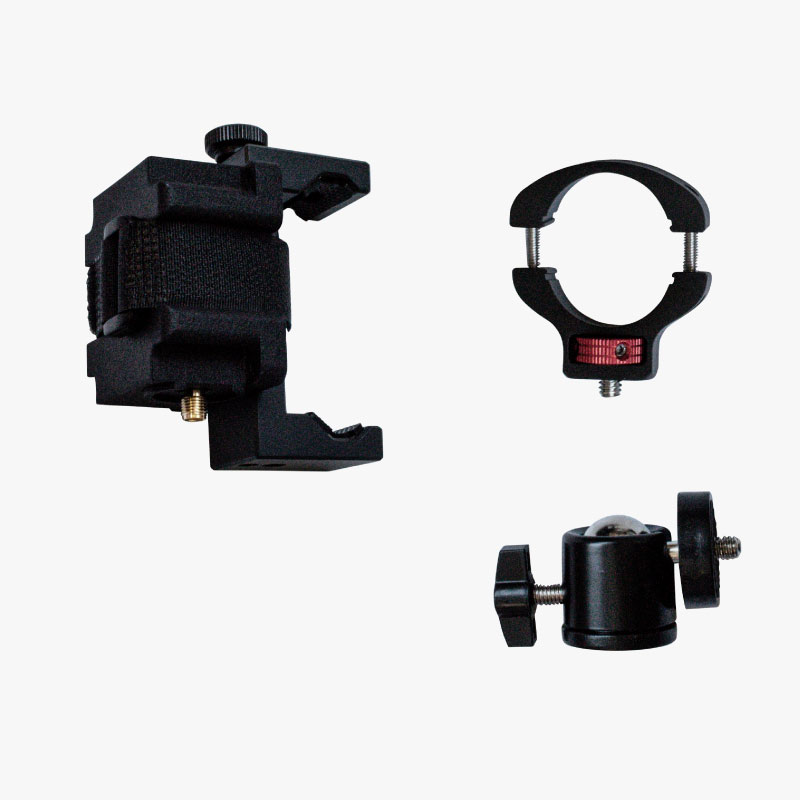
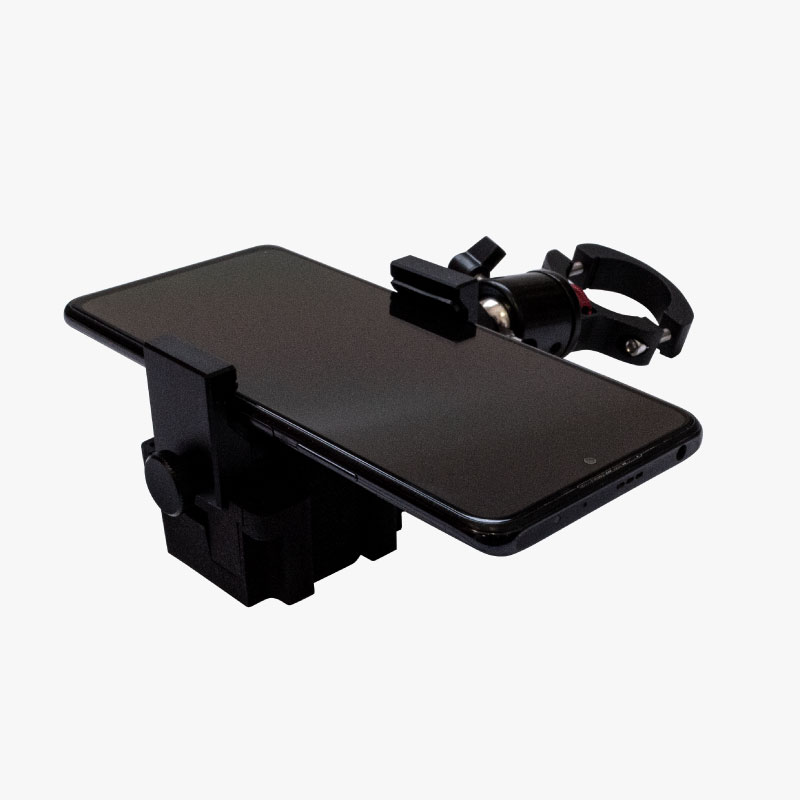
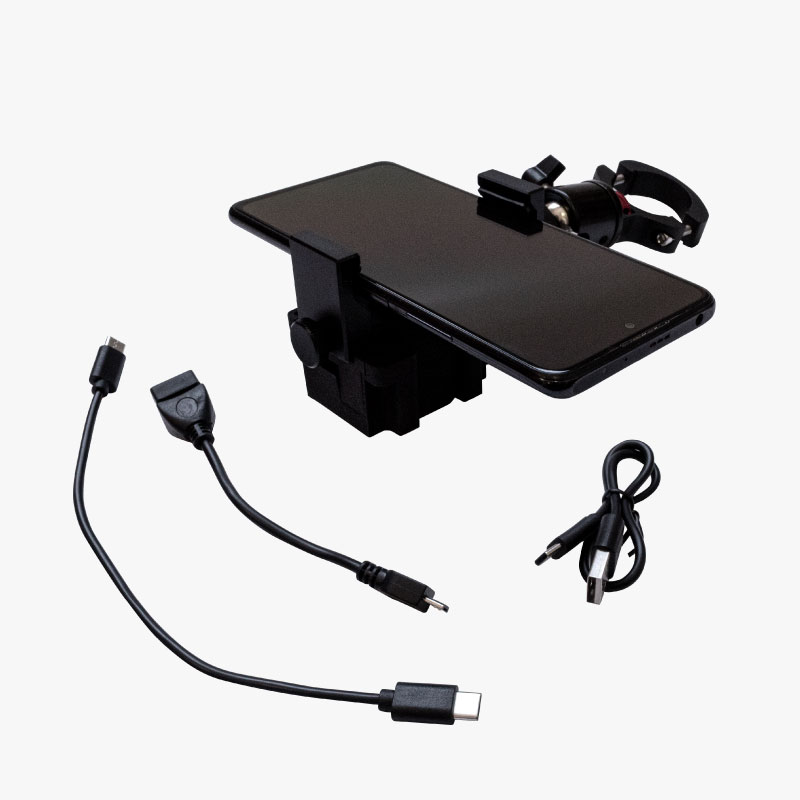
- Accessories
Waterproof Transport Case IP67
From 59,00€ This product has multiple variants. The options may be chosen on the product page -
-

