and
and 
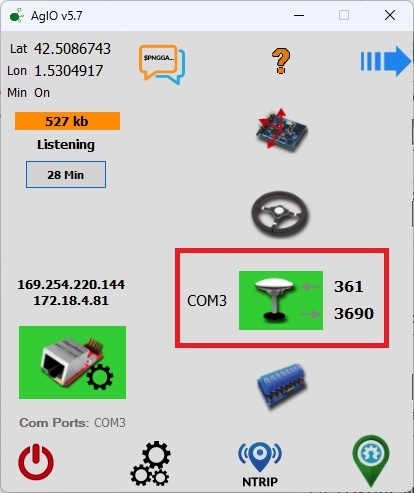
Access to NTRIP correction services
Free corrections via built-in 4G modem
Free corrections via Ethernet interface
Access to NTRIP correction services
- Make sure you have credentials to connect to NTRIP service (username, password and the parameters of the connection). If you do not, register on a NTRIP server and get the username, password and the parameters of the connection.
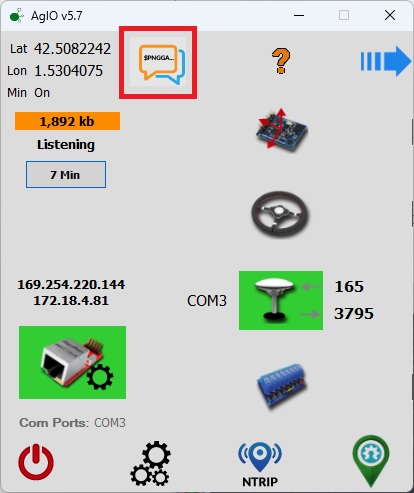
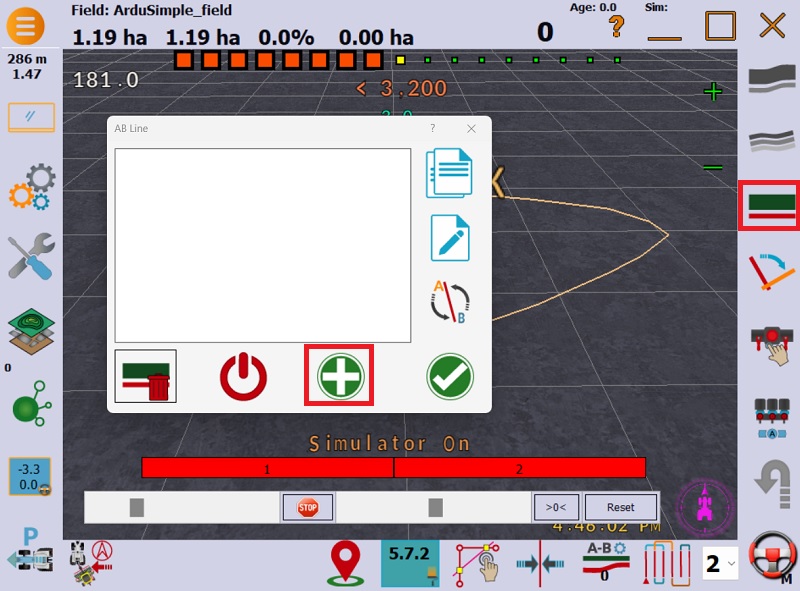
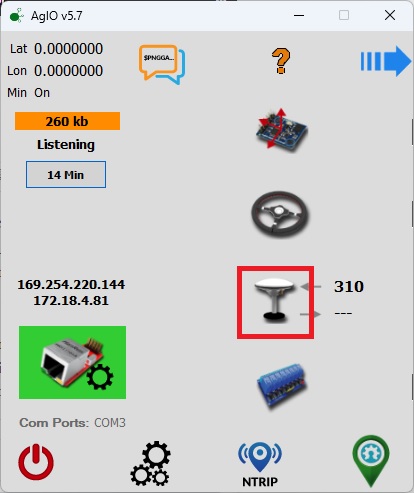
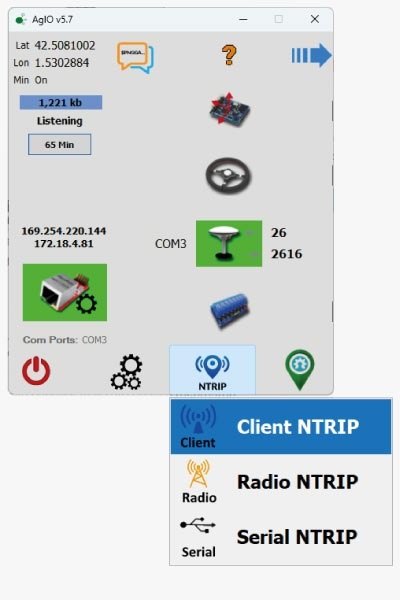
- Press NTRIP and choose NTRIP Client.
- Enter username and password, Broadcaster url or IP.
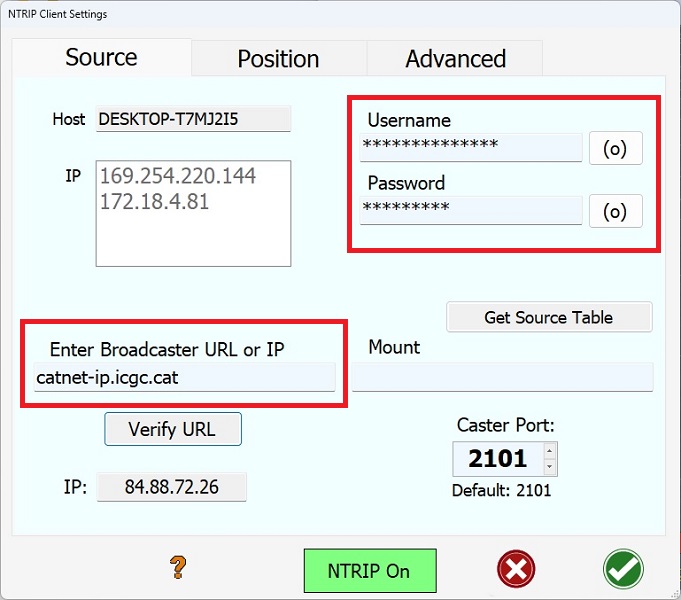
- Press Get source table.
In the window you will see details of the different stations that belong to your NTRIP service provider. Some of them broadcast generic information while others send you corrections.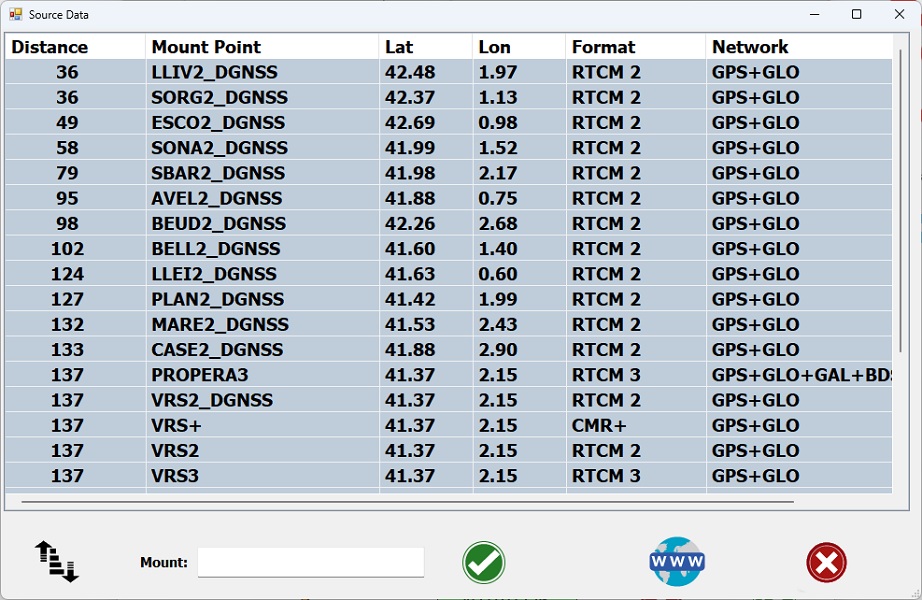
- Choose the mountpoint that you want to use and click OK.
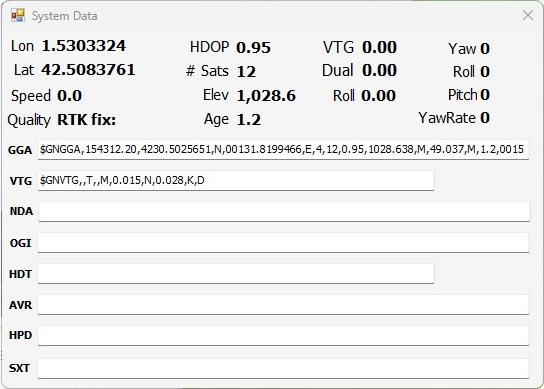
- Open Position Tab.
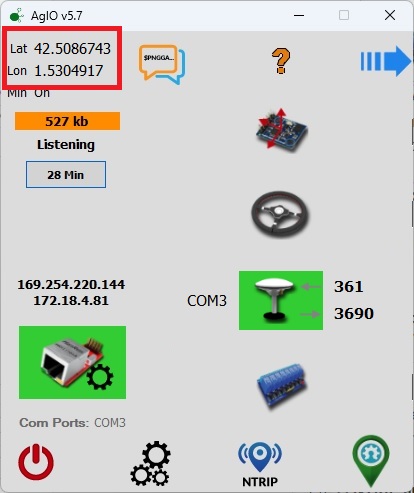
- Use the current GPS Fix to fill in the Manual Fix entry. Saves a lot of typing.
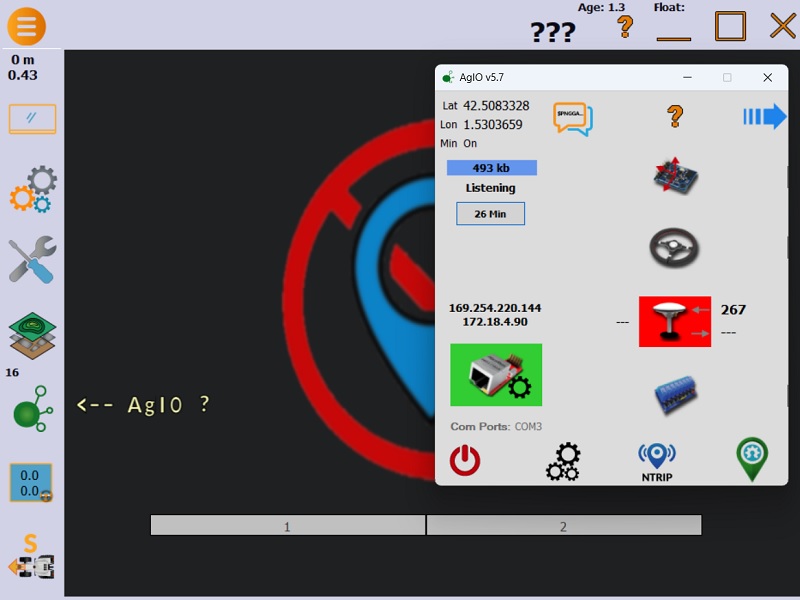
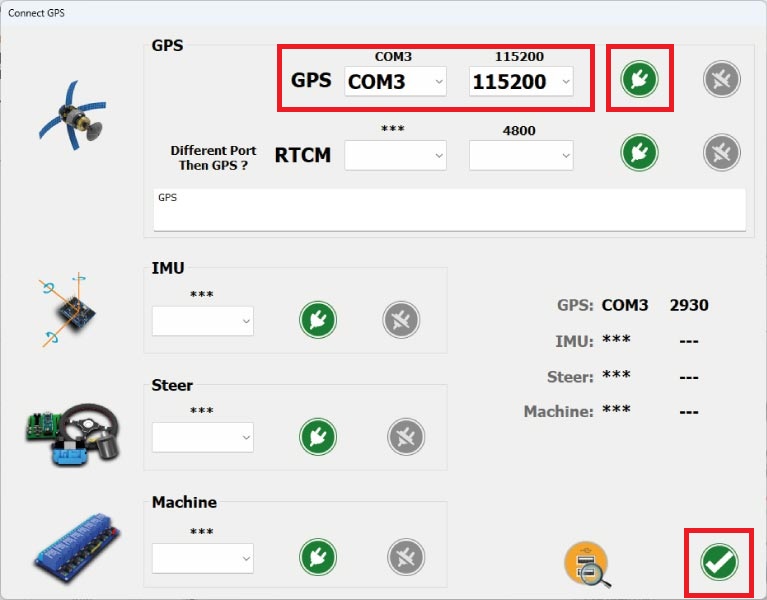
- Select serial or UDP and the port to send to. If using one but not the other, turn off the one you are not using. (most often is the case).
- Set GGA Interval (how often a GGA sentence gets sent back to the caster). More often uses more data. And set to 0 if you want it off completely to not send at all.
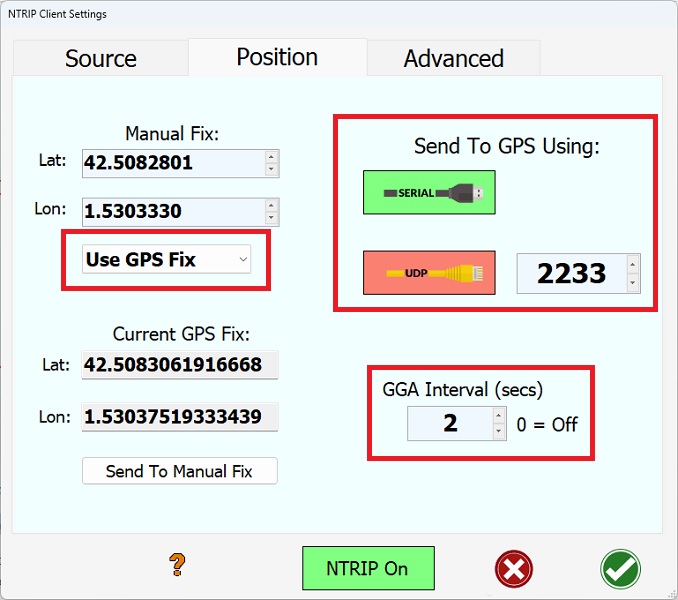
- Click OK.
Free corrections via built-in 4G modem
- Follow the tutorial How to use PointPerfect with u-blox receivers.
Free corrections via Ethernet interface
- Follow the tutorial How to use PointPerfect with u-blox receivers.