Unboxing RTK Calibrated Surveyor Kit
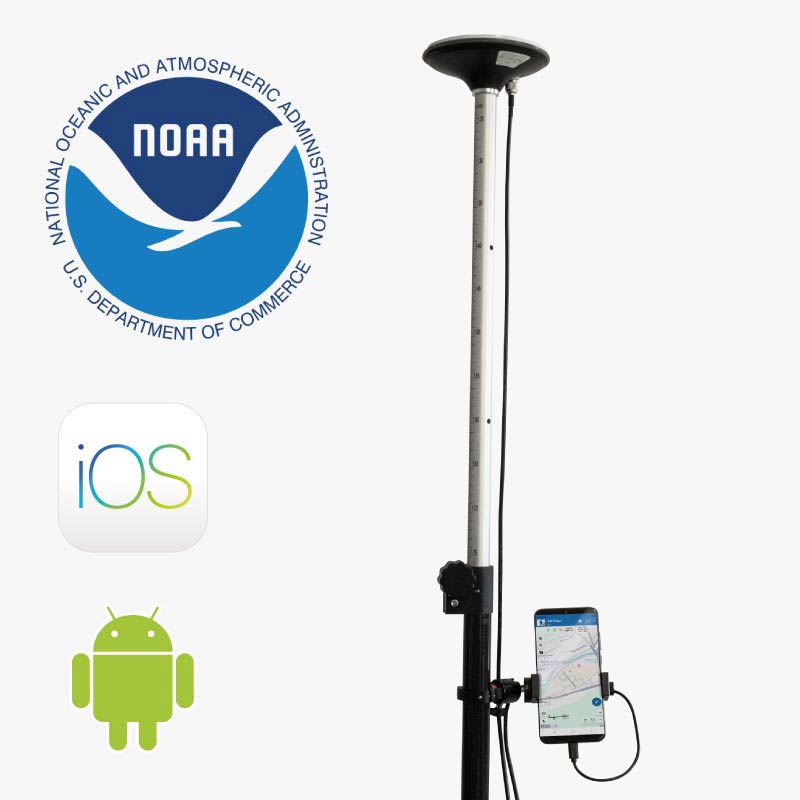

Your RTK Calibrated Surveyor Kit comes in several pieces carefully packed in a box. Along with an ArdusSimple Pole for survey GNSS antenna (or a surveying pole of your own), assemble together all its parts following this guidelines and be ready to get professional!
These are all the component parts of the surveyor kit:

– Calibrated Survey antenna with 1.5m TNC-SMA cable
– simpleRTK2Blite with XBee to USB adapter
– Bluetooth 2.0
– Plastic case for simpleRTK2Blite
– Mini USB cable
– USB OTG microUSB-B (14cm)
– USB OTG type C (22cm)
– Universal smartphone holder
– Clamp (in 3 separate pieces)
– Surveying pole
– Velcro strap (20cm)
Building this kit is easy-peasy, no need for special tools, by hand is enough.
Setting up the RTK receiver
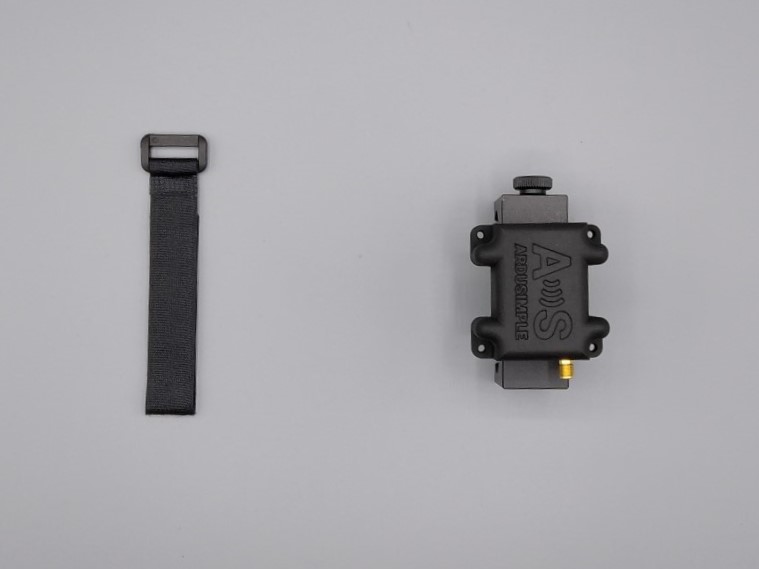
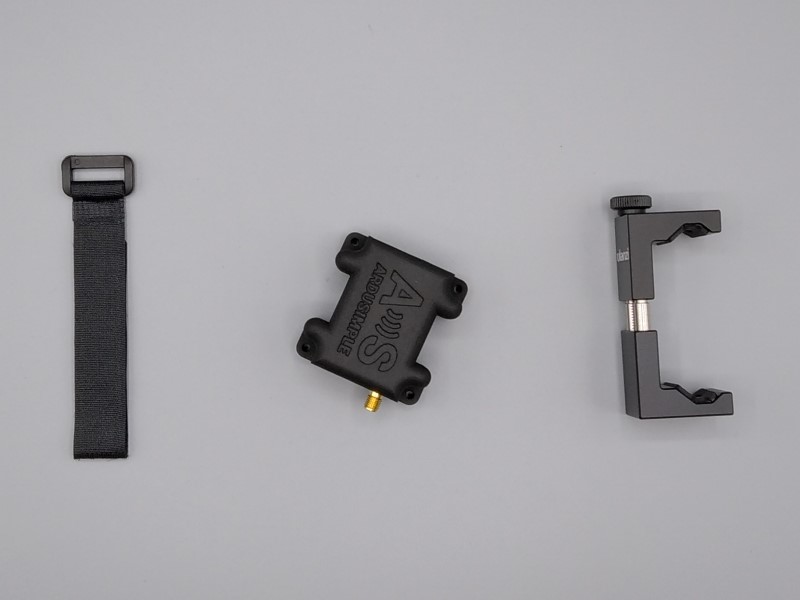
- Start by mounting the receiver to the smartphone holder. You will need the velcro strap, the plastic case (simpleRTK2Blite + Bluetooth 2.0 within) and the universal smartphone.
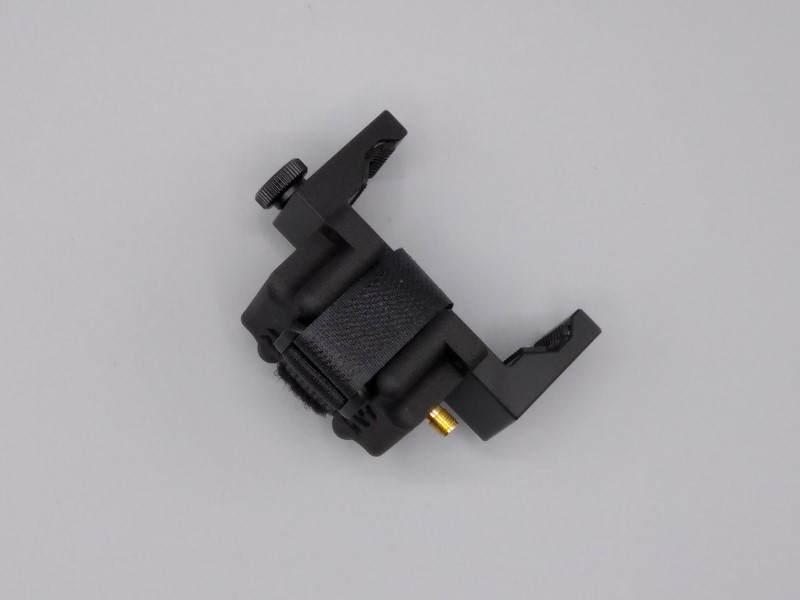
- Place the case together with the smartphone holder with the SMA connector inversely positioned to the smartphone holder width adjusting screw. You may observe that the flat face of the case fits with the back of the smartphone holder. Fasten it together with the Velcro strap.
- Next, assemble the clamp that will hold the smartphone holder to the pole. There are 3 different components that form the clamp.
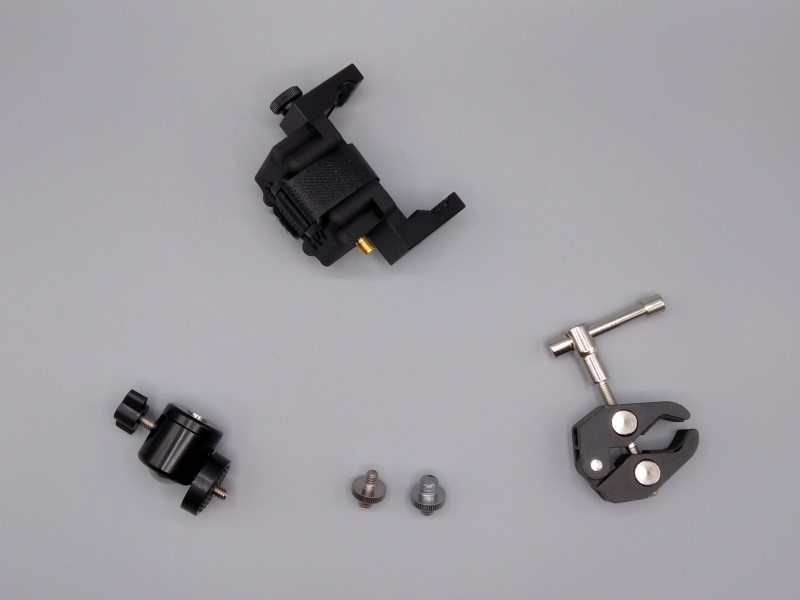
- Join the main parts of the clamp with the preferred screw. Each screw fits different screw holes within the clamp. You can screw in both and decide which may work best for you. Then, screw tightly together the rotating part of the clamp that will serve to rotate the smartphone holder to your preferred position.
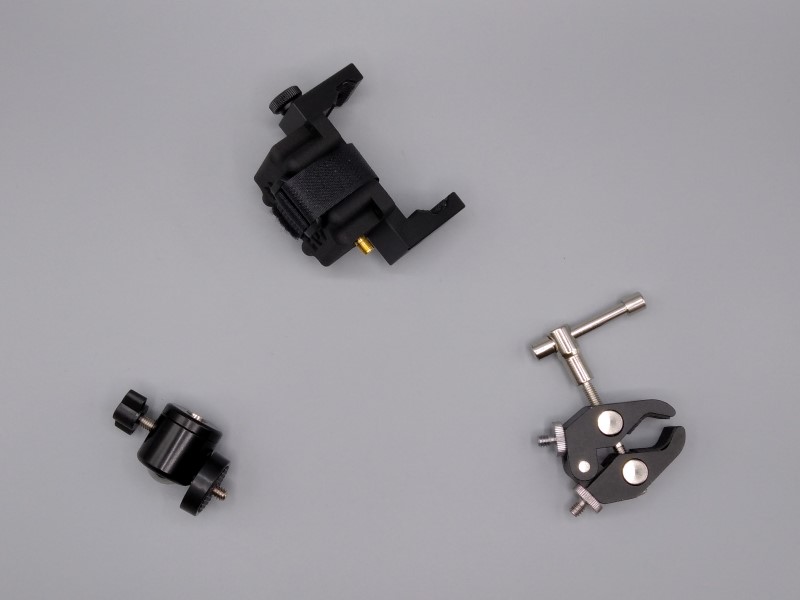
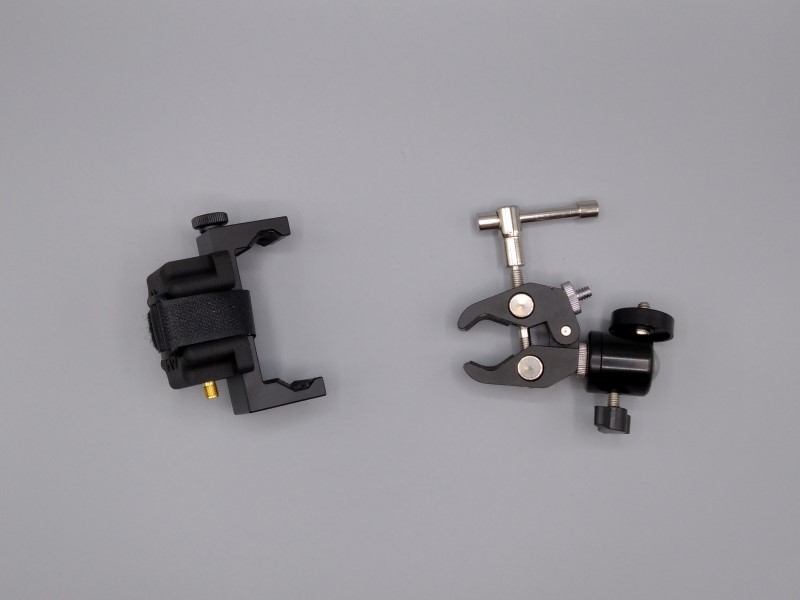
- Screw in the clamp to the smartphone holder. You can remove the unused screw of the clamp if convenient.
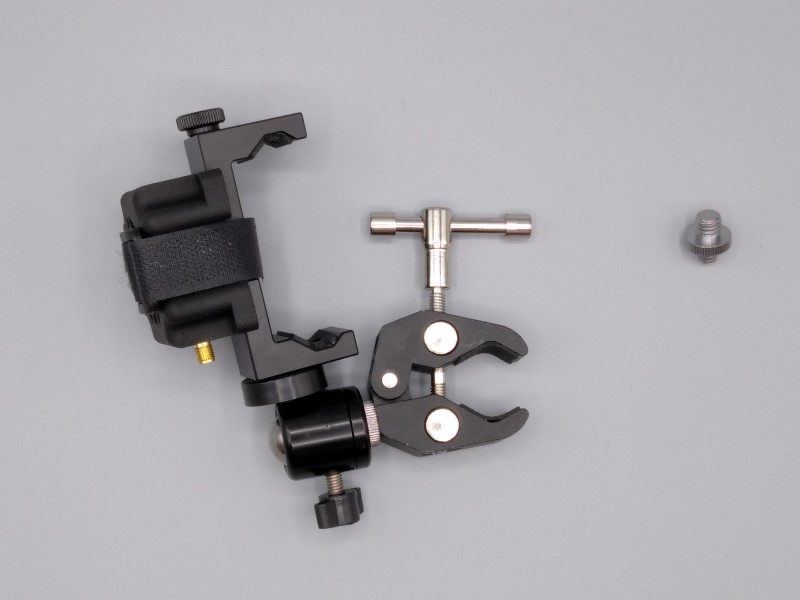
- You can adjust freely the position of the smartphone holder by loosing up the rotating piece of the clamp and fixing it at your will.
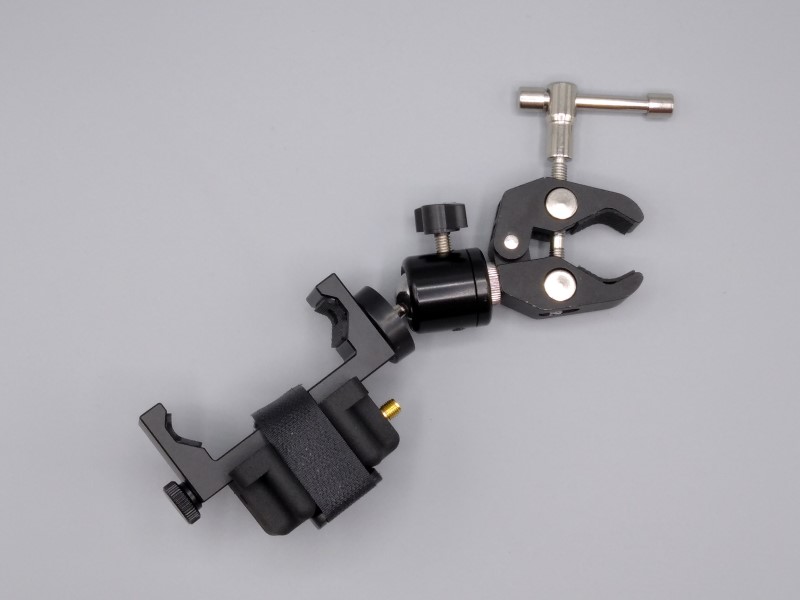
Now you have the first piece of your Surveyor Kit ready to connect with the other remaining two main pieces: your smartphone and the Calibrated Survey antenna.
Connecting the smartphone
- To connect your smartphone to the receiver, you may place first your smartphone to the smartphone holder, adjusting it to the width of your phone.
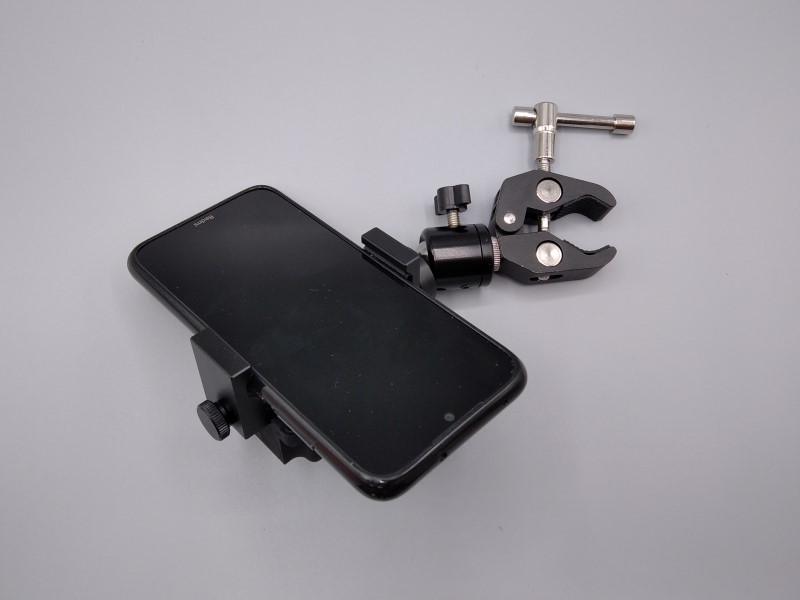
- You can now connect the smartphone to the receiver with the different cable sets of your kit. Connect the mini USB cable to the mini USB board connector of simpleRTK2Blite and the USB OTG cable suitable for your phone. Then, connect this to your phone.
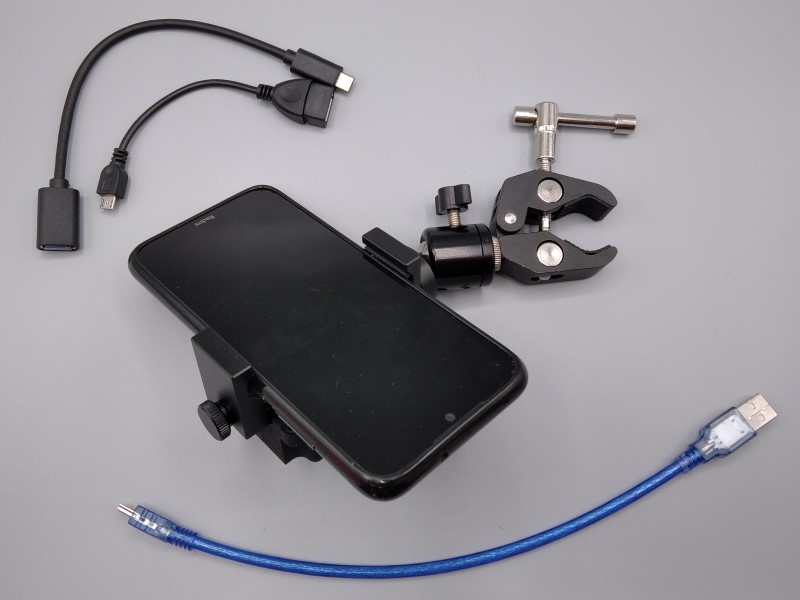
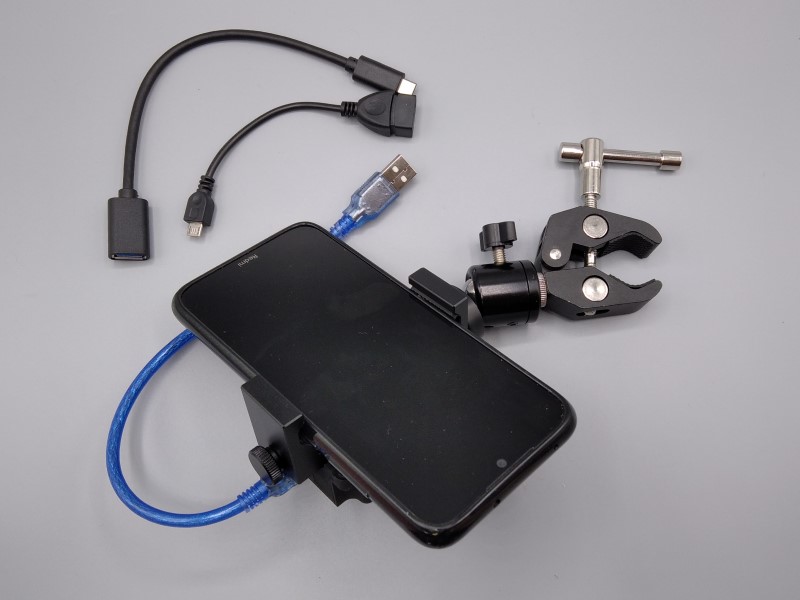
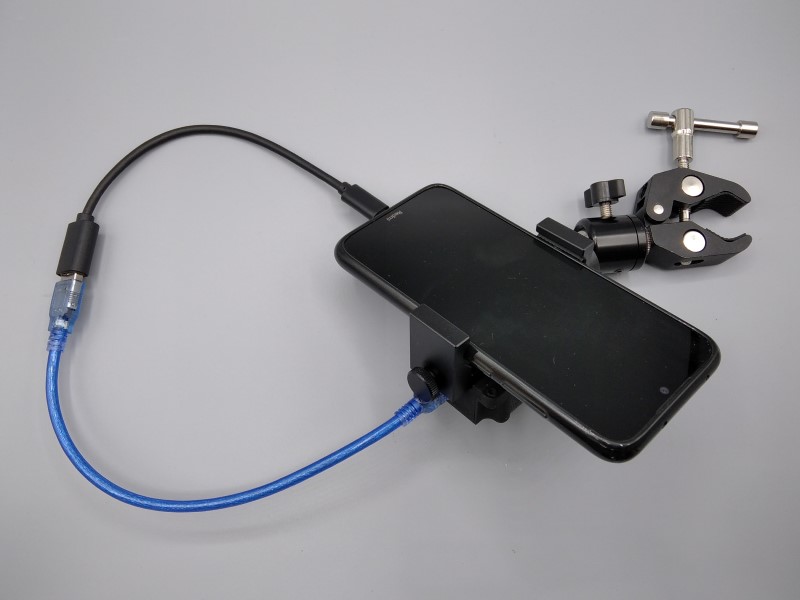
- You can leave the cables loose (above) or you may wish to knot up the cables or fast them with the Velcro strap to tighten them in and get them out of the way (below).
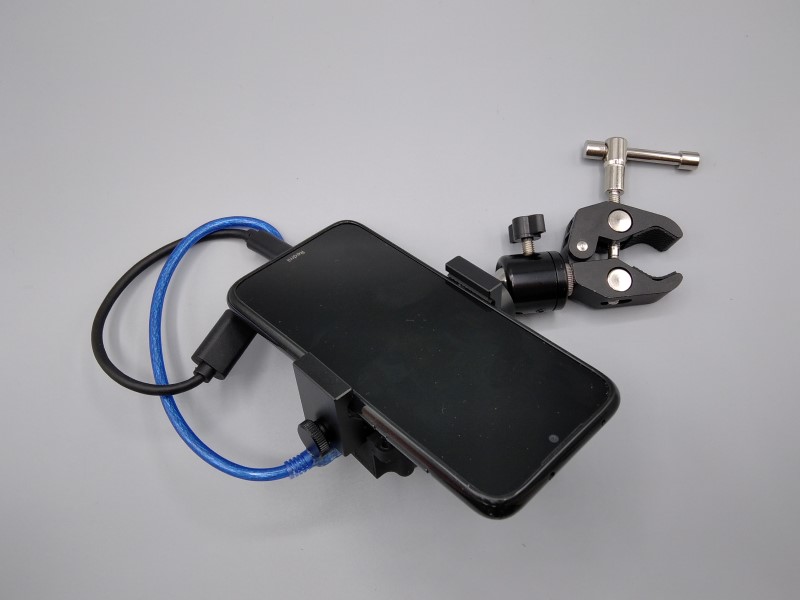
Now, you can proceed connecting the receiver to the Survey antenna.
Connecting the Calibrated Survey antenna
- Connect the TNC-K to SMA cable (within Survey antenna box) to the SMA connector of simpleRTK2Blite.
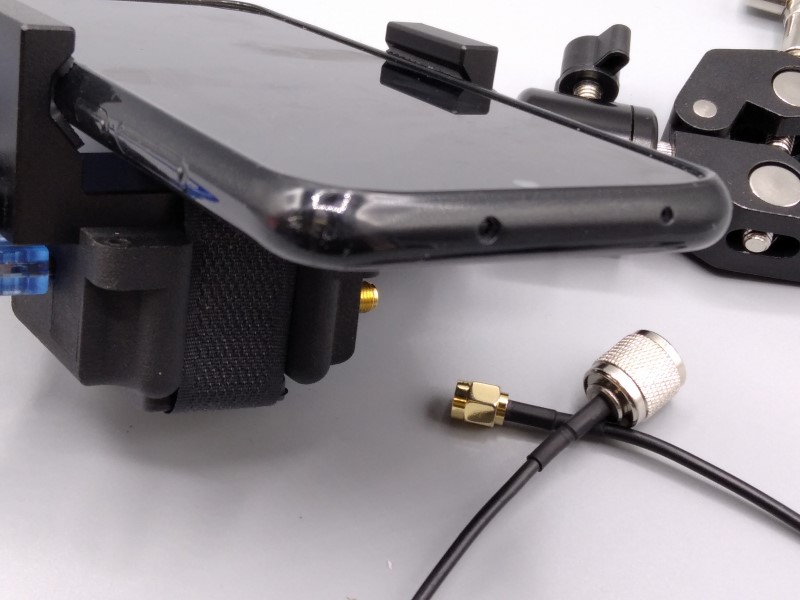
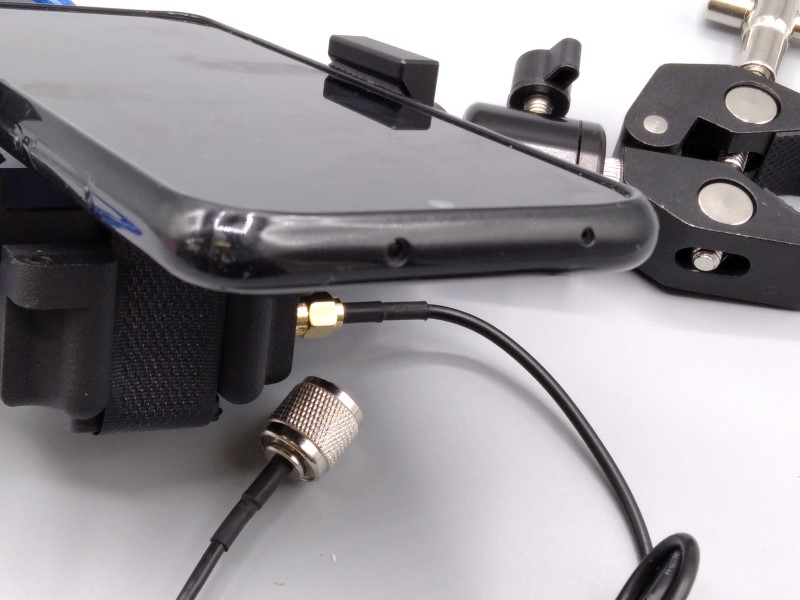
- Fasten the clamp to the surveying pole.
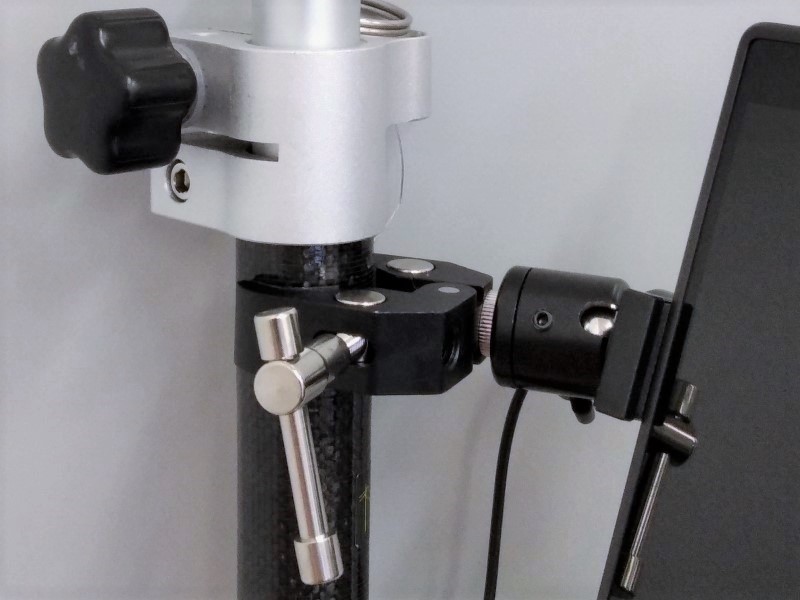
- Add on top of the pole the Survey antenna turning it delicately to the right until it stops.
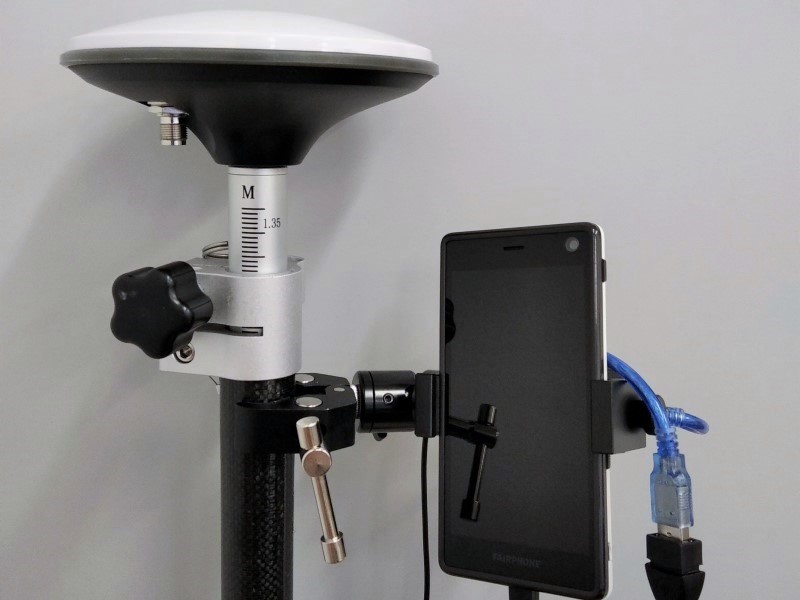
- Finally, connect the TNC-K end of the cable to the Survey antenna and adjust the surveying pole to the convenient height.
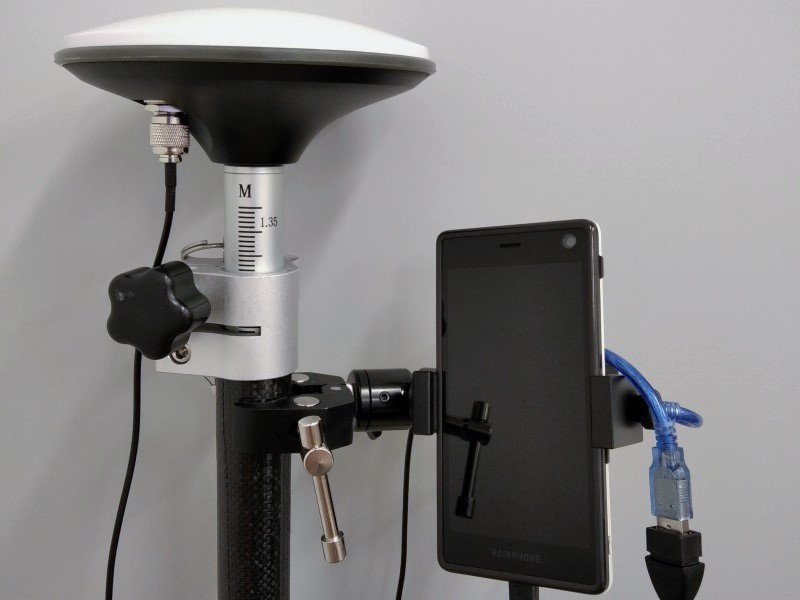
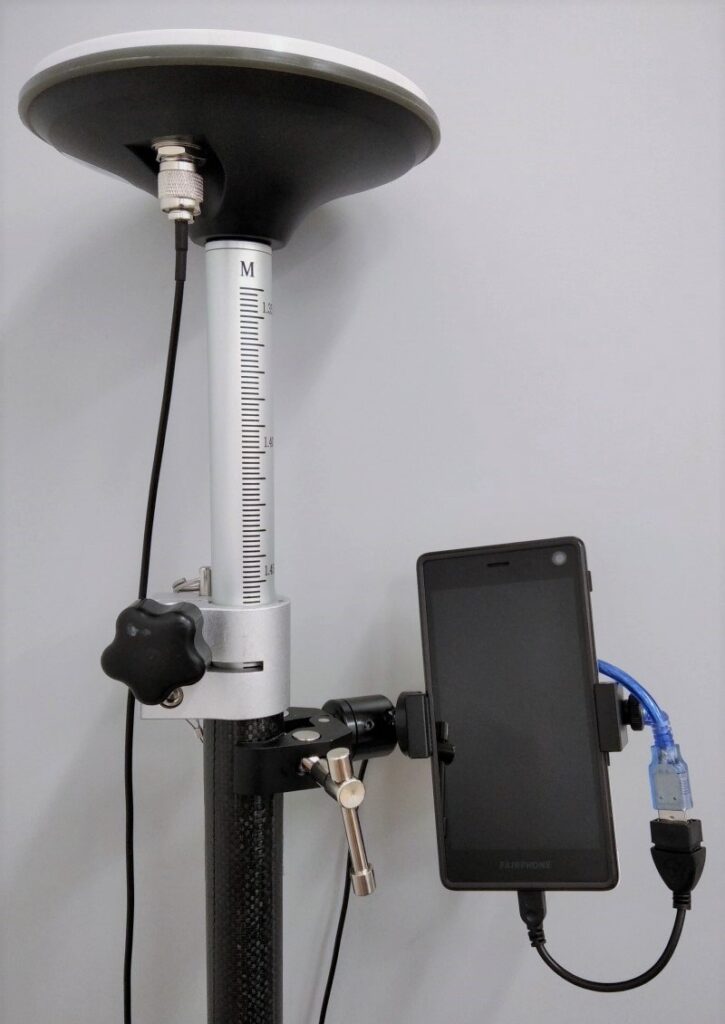
You now got your professional Surveyor Kit built and ready to work!
You will be able to follow the instructions for setting up your smartphone in ‘How to use Ardusimple products with Android smartphones/tablets‘.
 and
and 

