Google Earth (if you don´t have it on your computer, you can download it from here)
How to get position in Google Earth?
Close u-center and Google Earth, if you have any of them open.
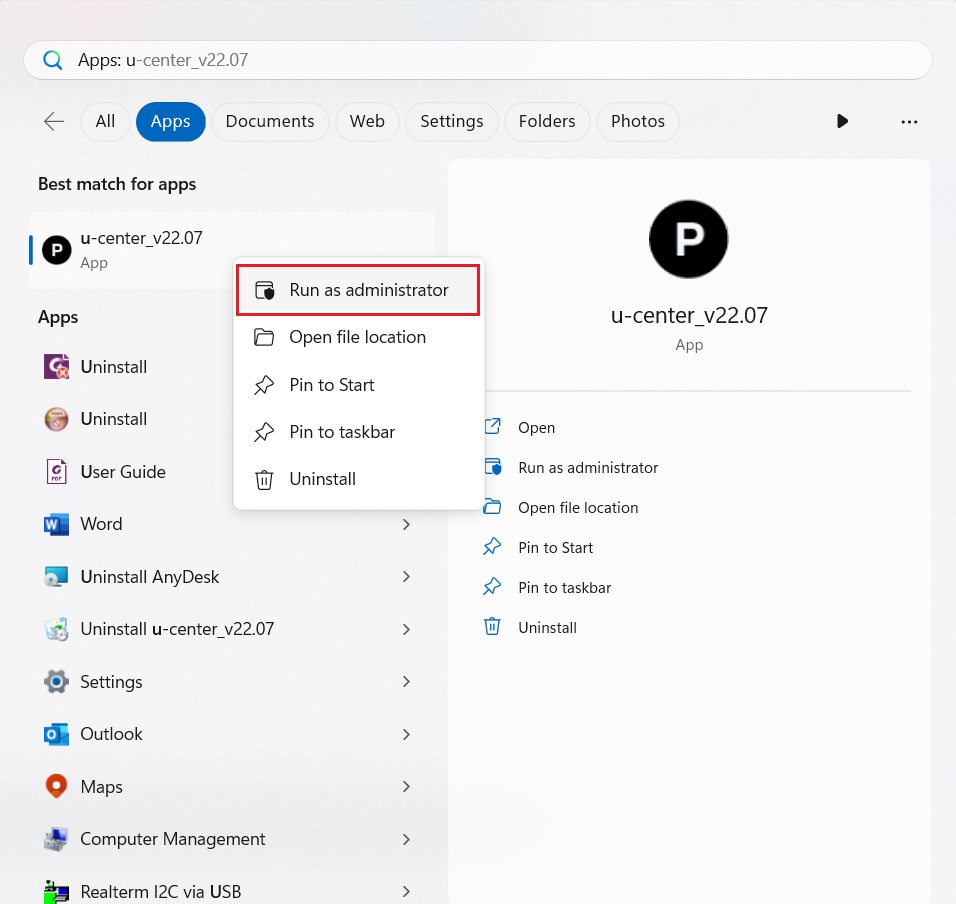
Run u-center as administrator. For this, go to Start menu in your PC and right click with your mouse on top of the software icon and choose Run as administrator.
Connect your receiver to your PC and connect u-center to the COM PORT of your receiver.
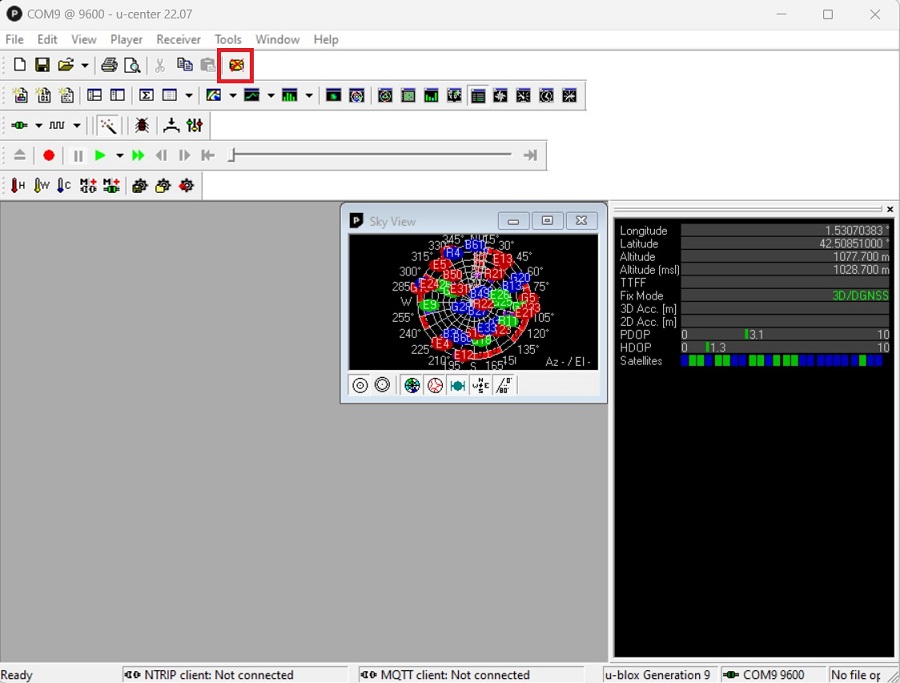
Check that you are getting signal and that it has reached a fix position. You can check this through clicking toolbar: View–>Docking Windows –>Data. You will see it on the right side of your window.
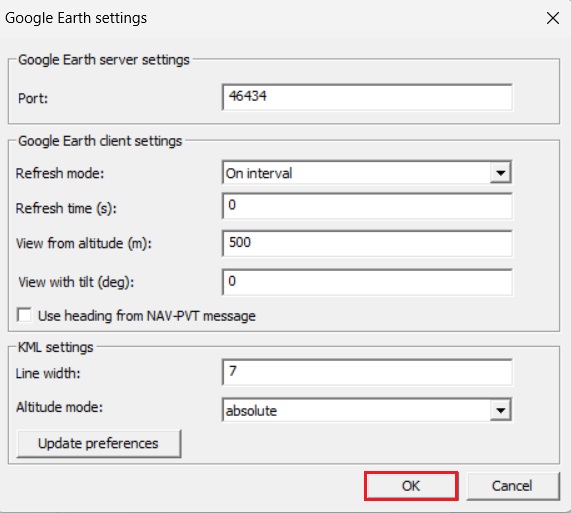
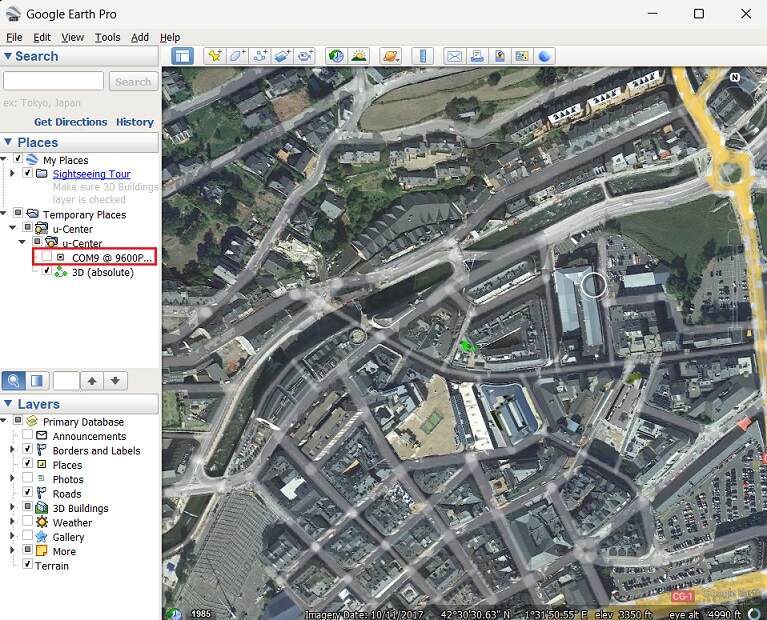
In the toolbar, click File–>Database Export–>Google Earth Server.
A window with Google Earth settings will appear, if you do not wish to change anything, directly click OK.
This will open Google Earth automatically and zoom into the location of the receiver connected to u-center. You should then start visualizing the real-time data.
Empty the database to start collecting data from any desired position by clicking in Empty Database icon in u-center.
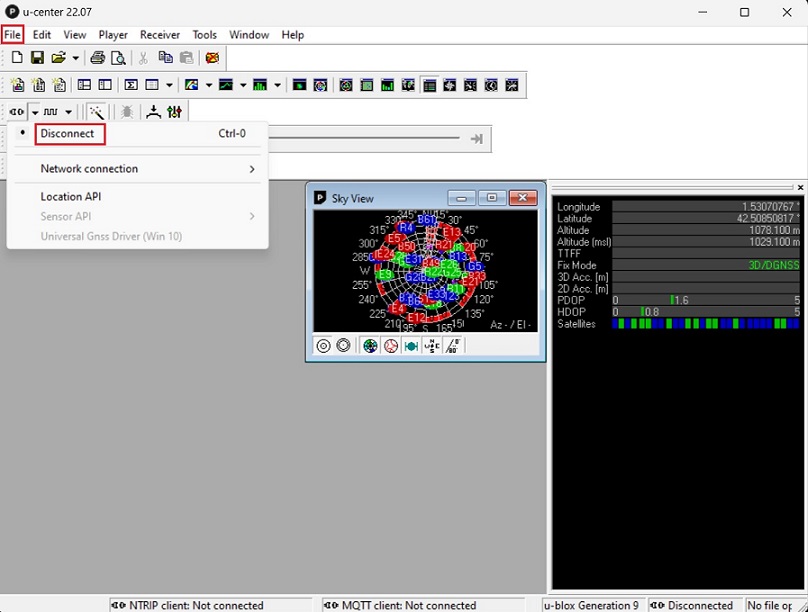
You can stop real-time tracking whenever you wish. One way to do this is by disconnecting your board from u-cente. This will automatically stop tracking in Google Earth. Renew the tracking by simply connect again to the receiver COM PORT.
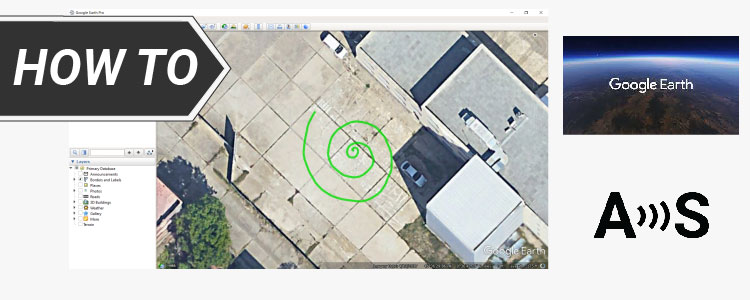
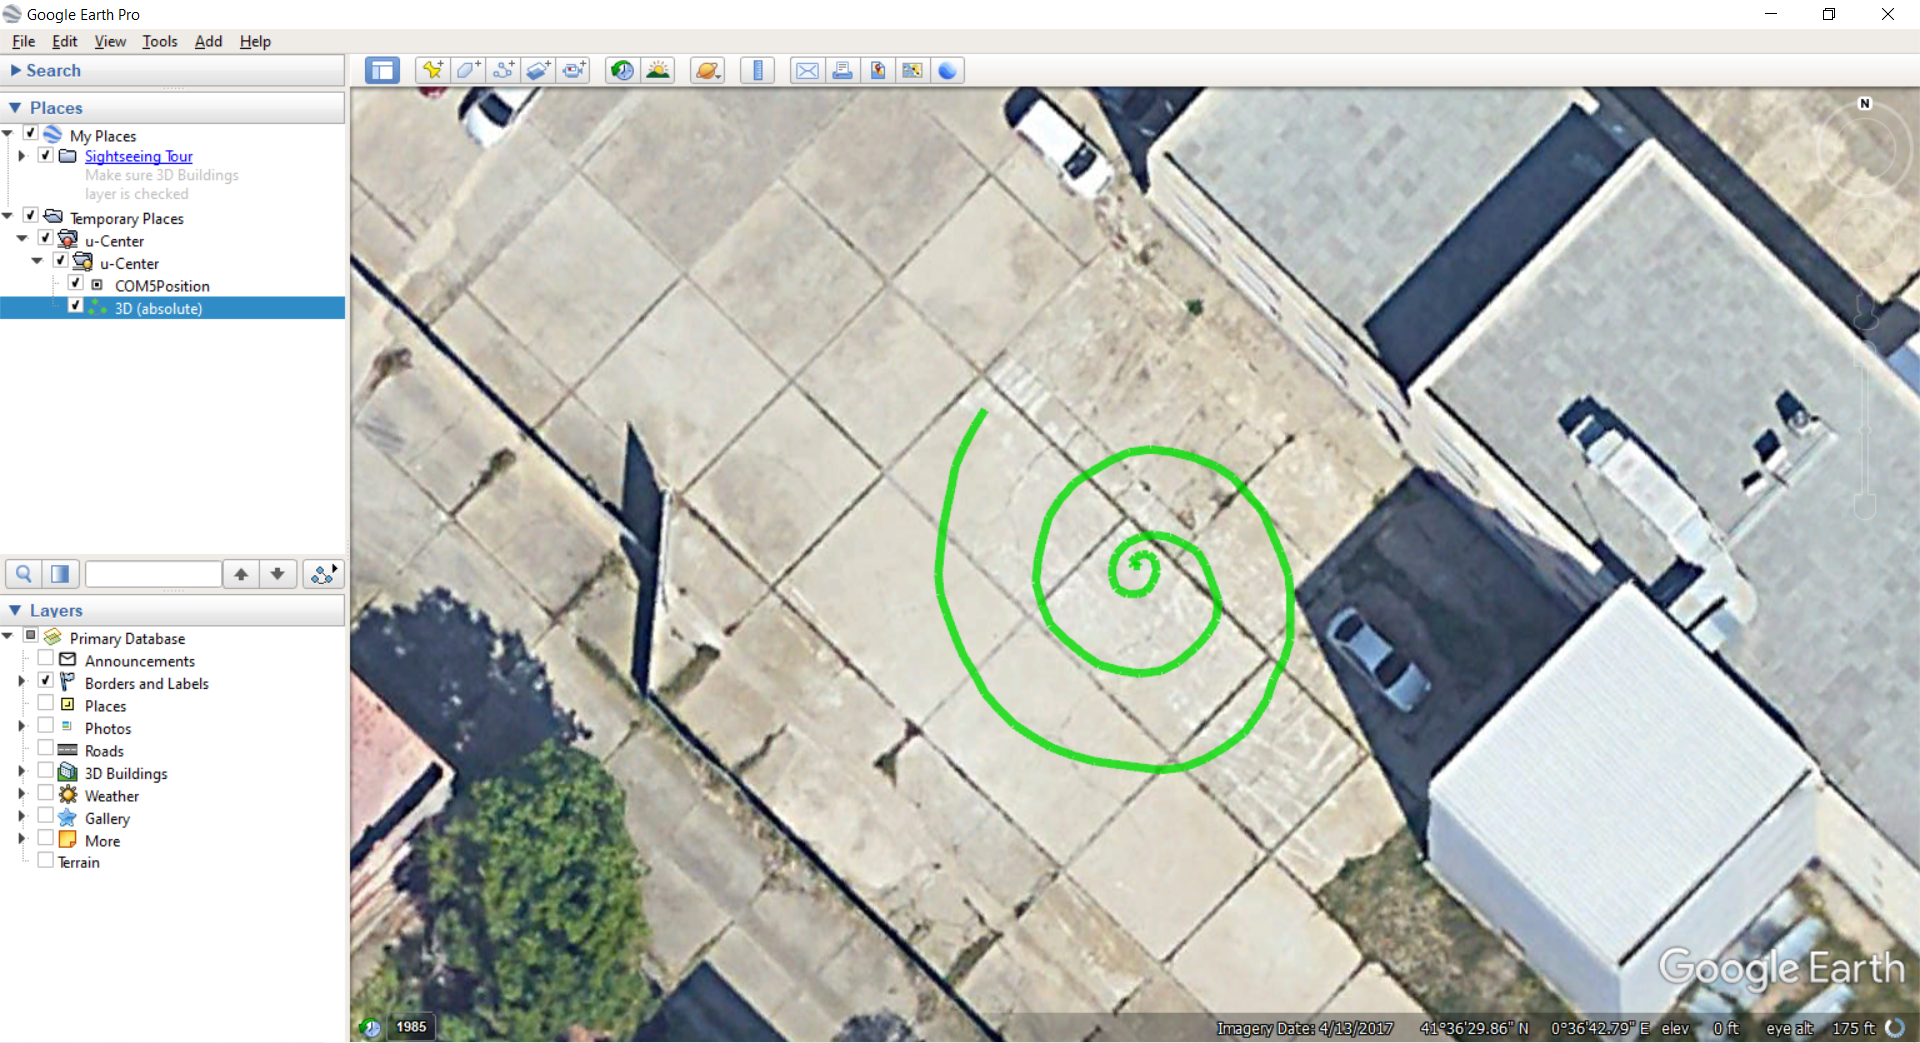
Now you can trace your position and visualize your tracks at centimeter-level accuracy in Google Earth!
How to edit your data or track?
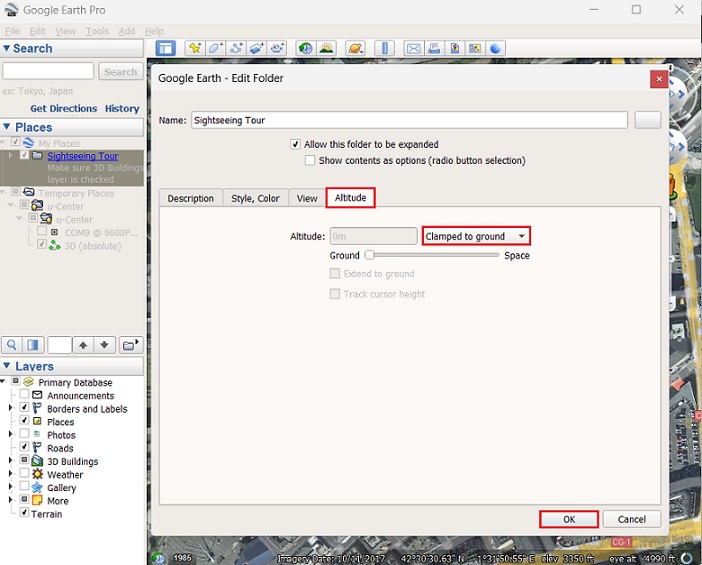
By default, the data shown in Google Earth will be in 3D (absolute). In order to edit this layer, for example, obtain a 2D data collection or track, you need to stop getting new data coming through by disconnecting your receiver from u-center.
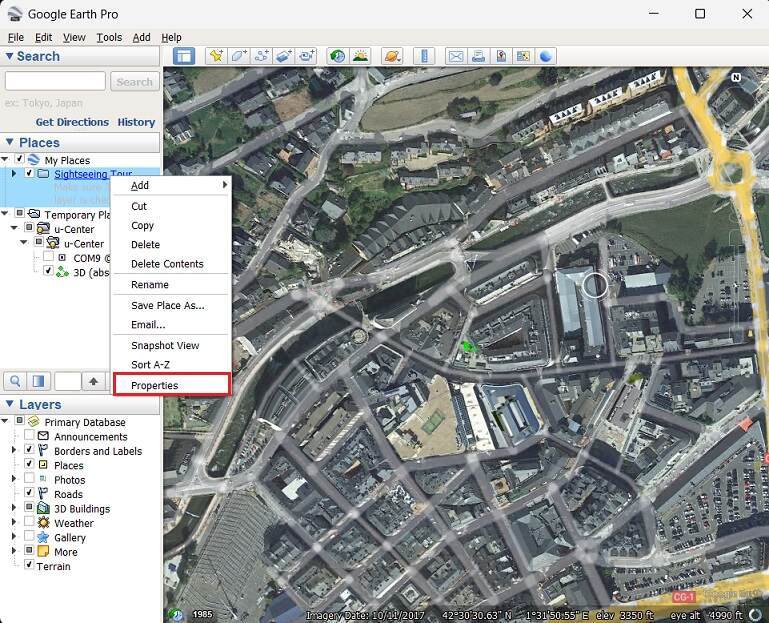
Go to the legend that lists My Places and right click on the track layer that has been created and choose Properties.
From the new window, go to Altitude and change from Absolute to Clamped to ground.
Now you can visualise your tracks in 2D!
If you want to do this tutorial, we have the simpleRTK2B receiver, simpleANT2B antenna, TNC to SMA Survey antenna cable, and USB cable in stock and ready to be shipped.
 and
and