In this step-by-step tutorial we explain how to connect GNSS RTK receiver to NVIDIA Jetson platform. You can connect RTK receiver via USB port or M.2 slot if your embedded platform has it.
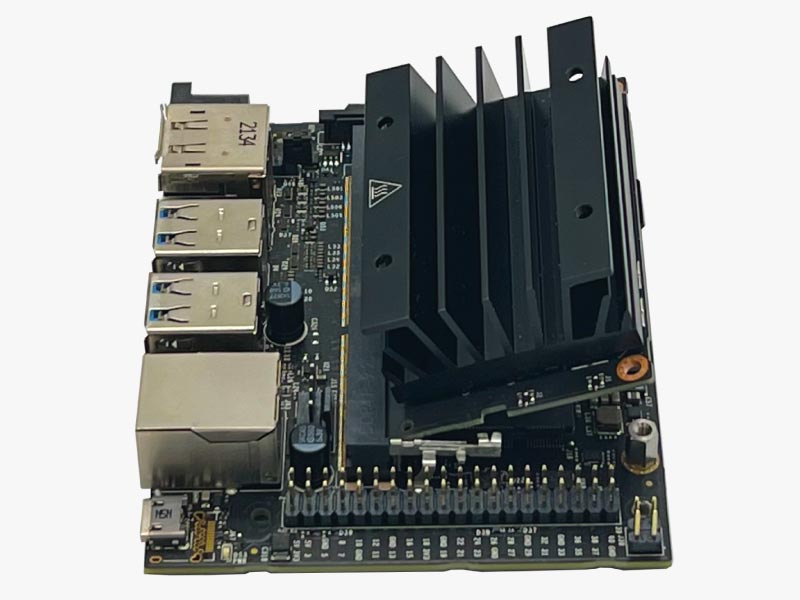
In this tutorial we use M.2 slot to connect simpleRTK2B M.2 receiver to NVIDIA Jetson embedded platform, since it offers several advantages over a USB connection:
M.2 interface provides a more direct and reliable connection, eliminating potential USB communication issues. This ensures stable and consistent data transmission, crucial for precise positioning applications.
M.2 connection offers a compact and integrated solution, saving valuable space on your embedded platform.
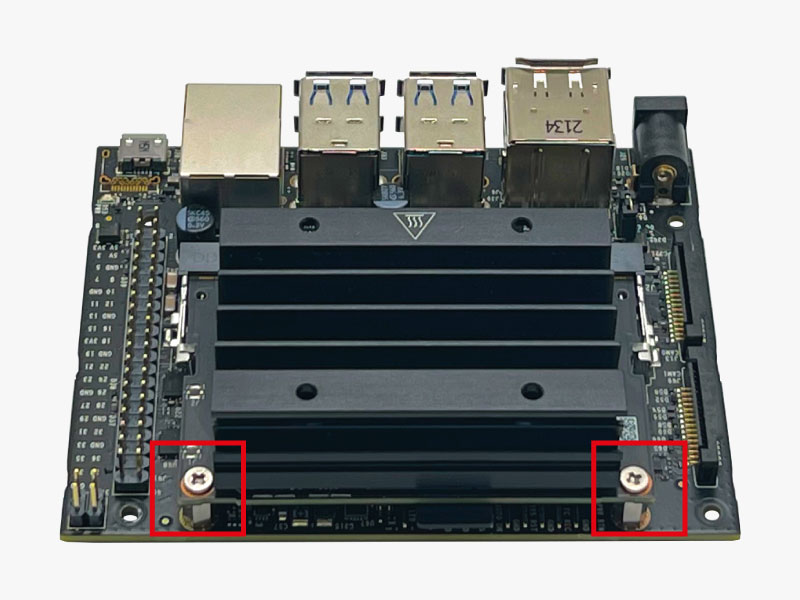
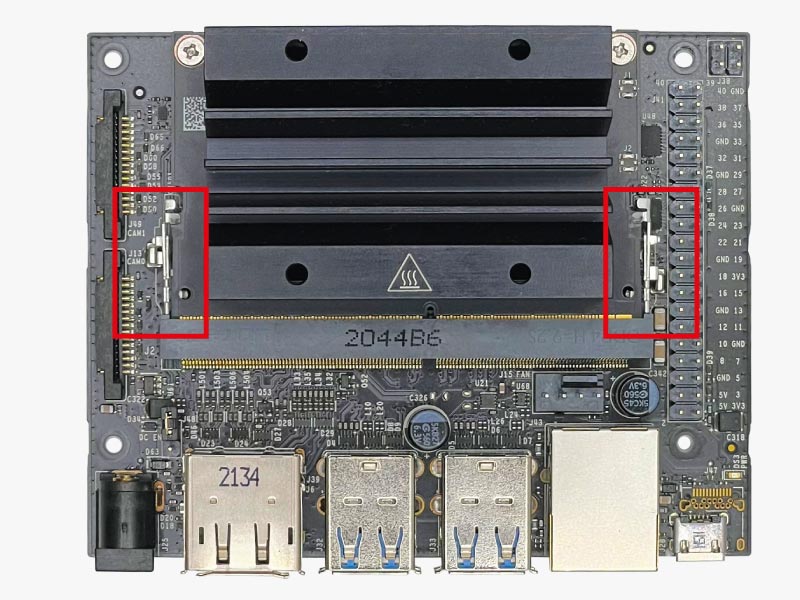
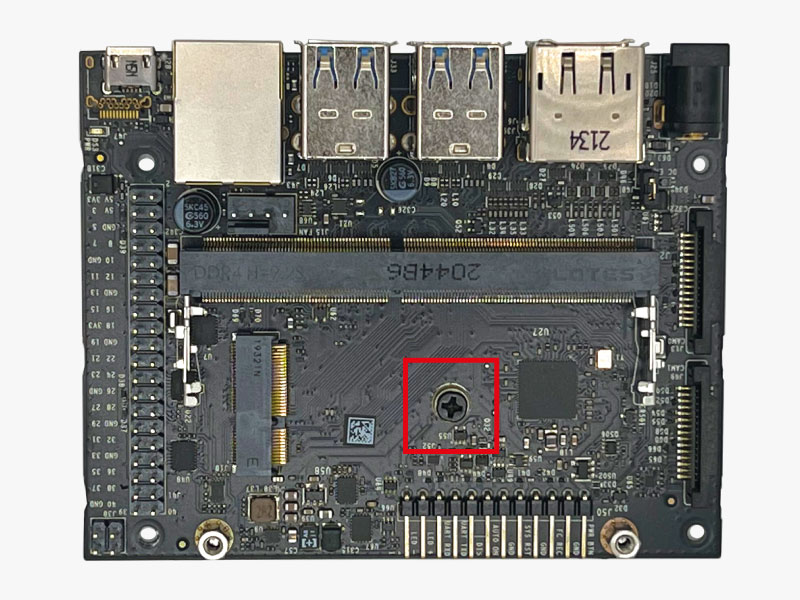
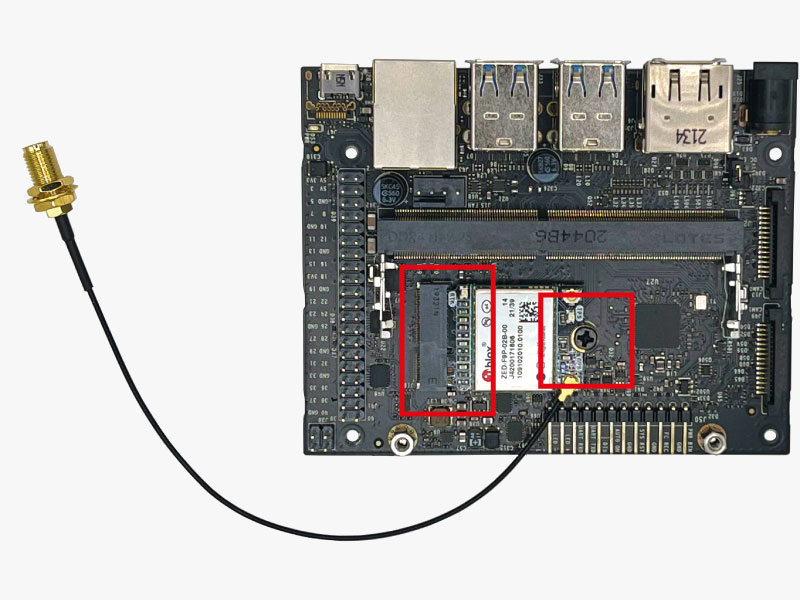
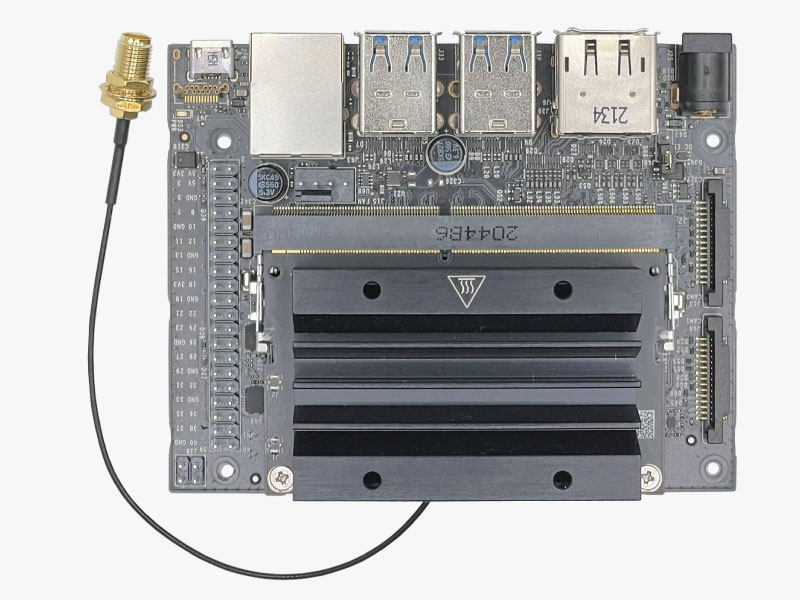
Replace the heatsink. Angle the card up slightly towards to the connector, and insert the card. Make sure that it seats correctly. Then press down on the card until retained by the latches. Then replace screws to secure the board. Now you have your RTK receiver installed.
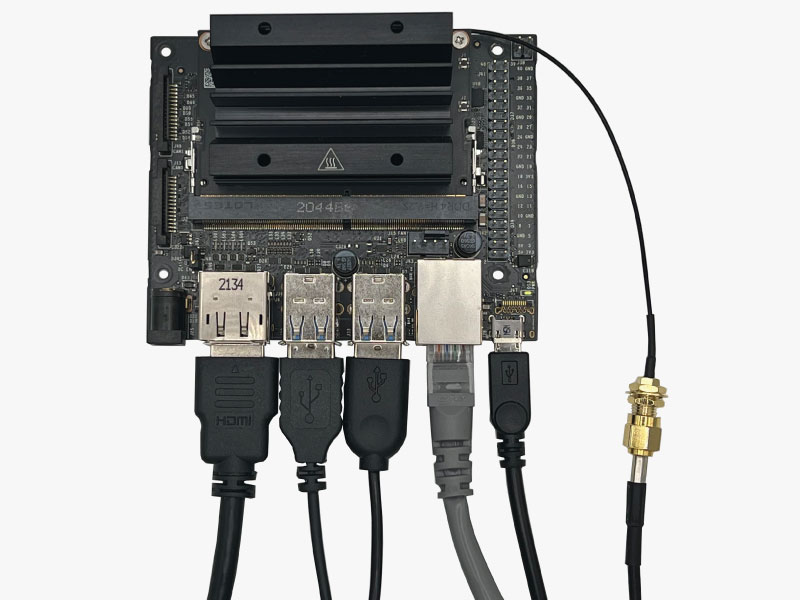
Insert microSD card into Jetson Nano, connect keyboard and mouse via USB port, a computer display via HDMI or DP port.
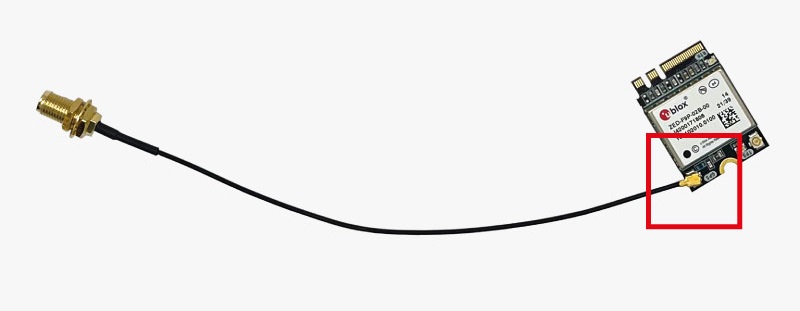
Connect RTK antenna to uFL to SMA antenna cable. Place the antenna in a location with good view of the sky, or near a window for testing the functionality.
Power Nvidia Jetson Nano via preferred power supply options. We use Micro-USB Power Supply because out of the box, the developer kit is configured to accept power via the Micro-USB connector.
Your RTK receiver should be automatically configured.
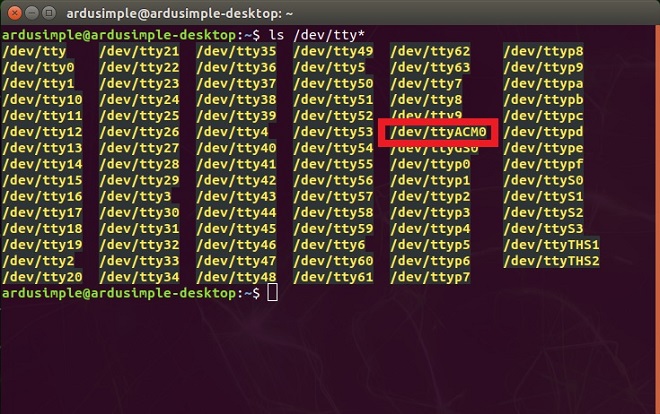
To verify, open Terminal and type the following. command. You will see the /dev/ttyACM0 has been created automatically.
ls /dev/tty*
Your RTK receiver should be automatically configured. To verify, type in Terminal the following command to display the raw data stream from the RTK Reciever located at the /dev/ttyACM0 serial port.
sudo cat /dev/ttyACM0
The GPS stream from yourt RTK receiver shows similar to the below.
If you want to do this tutorial, we have ArduSimple products in stock and ready to be shipped:
 and
and  How to get a quotation