and
and 
How to configure simpleRTK2B Receiver
How to configure simpleRTK3B Receiver
How to configure simpleRTK2B Receiver
- Connect your simpleRTK2B receiver to your PC using USB-A to mini USB cable.
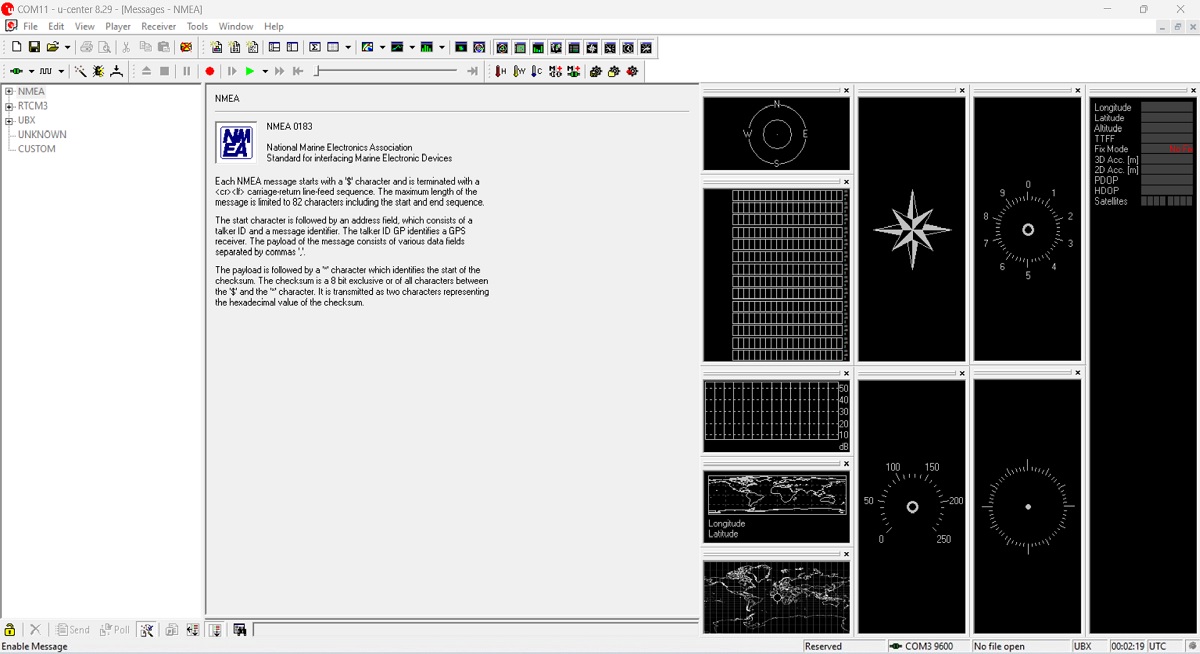
- Open u-center software. Go to Receiver —>Port —>COM3 or just press Ctrl+3 to connect to simpleRTK2B receiver via COM3.
- Go to View —>Messages View or just press F9.
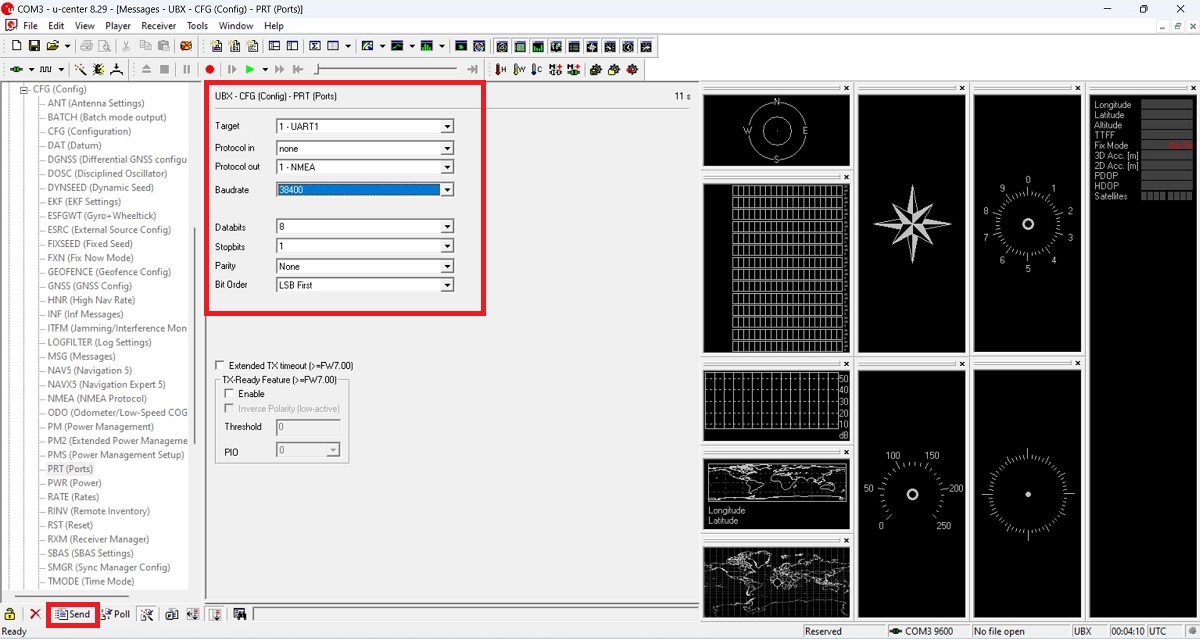
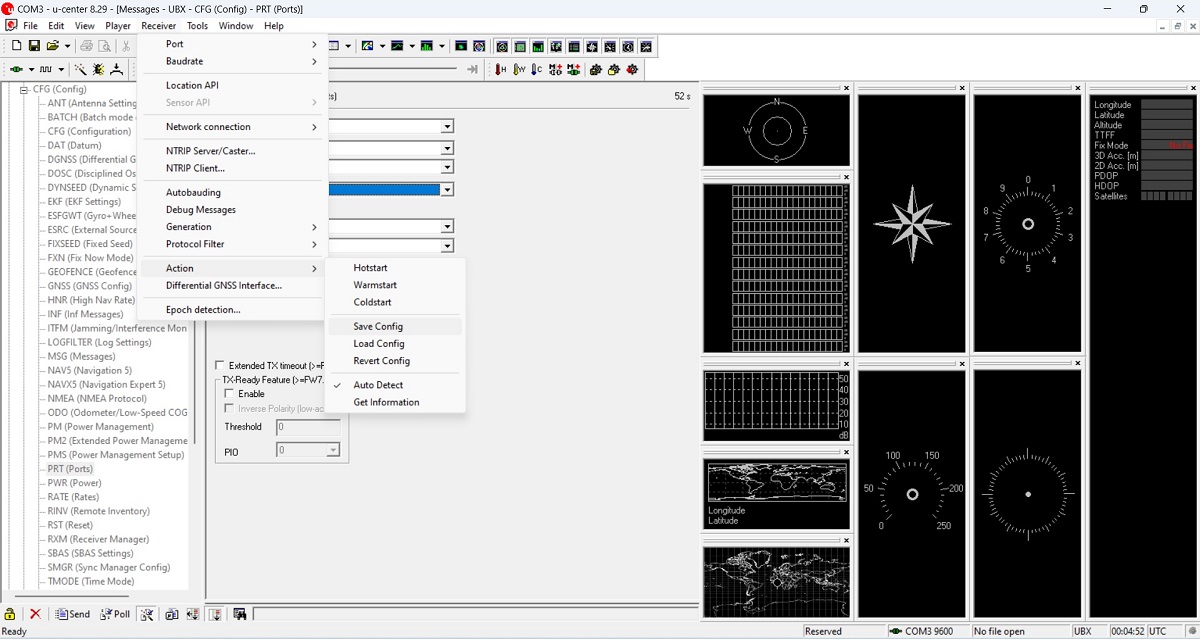
- At this step configure your simpleRTK2B receiver at you will. For example, we will go to UBX—> CFG—> PRT menu in the Messages View and set the configuration as it shown on the picture. Press Send. Now you have your simpleRTK2B receiver configured to send NMEA messages to UART1 port.
- Go to Receiver —> Action —> Save config.
How to configure simpleRTK3B Receiver
- Connect your simpleRTK3B receiver to your PC using USB-A to USB-C cable.
- Open the web interface by typing 192.168.3.1 in your preferred web browser. In the menu bar, go to Communication -> Serial Port.
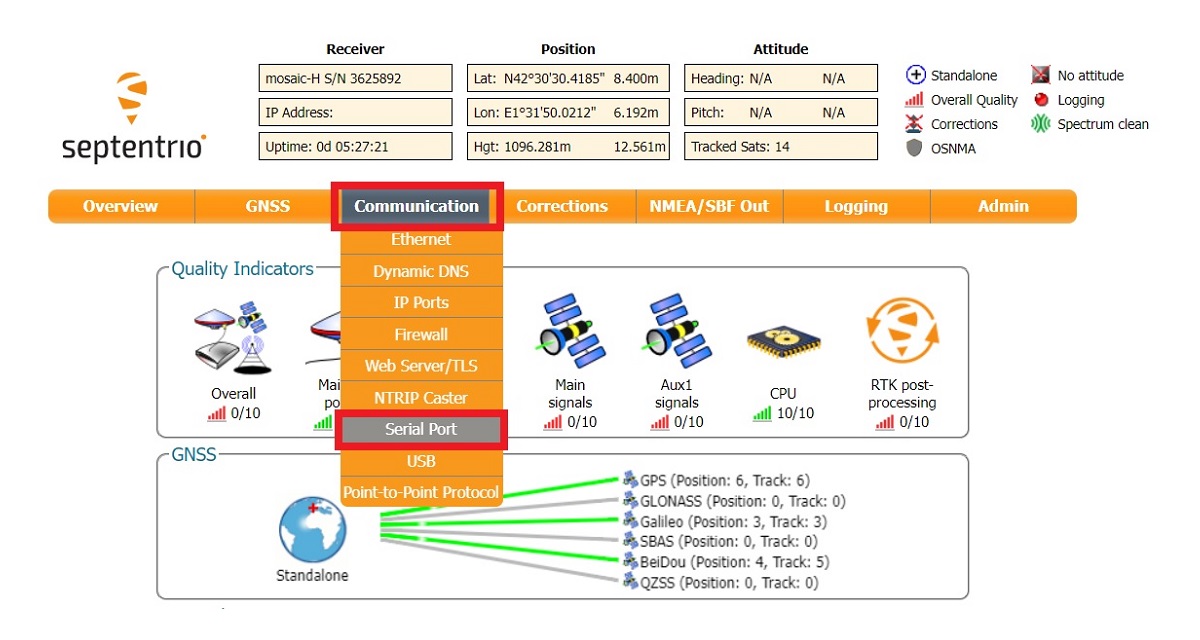
- Set the Baud rate as 38400 and press Ok to save the settings.

- In the menu bar, go to NMEA/SBF Out and press New NMEA stream.Then select on which port you want to enable it. Choose Serial port, press Next, select COM1 as connection/port, press Next. For this example we will enable GGA with 1 Sec interval. Select as below and click Finish.
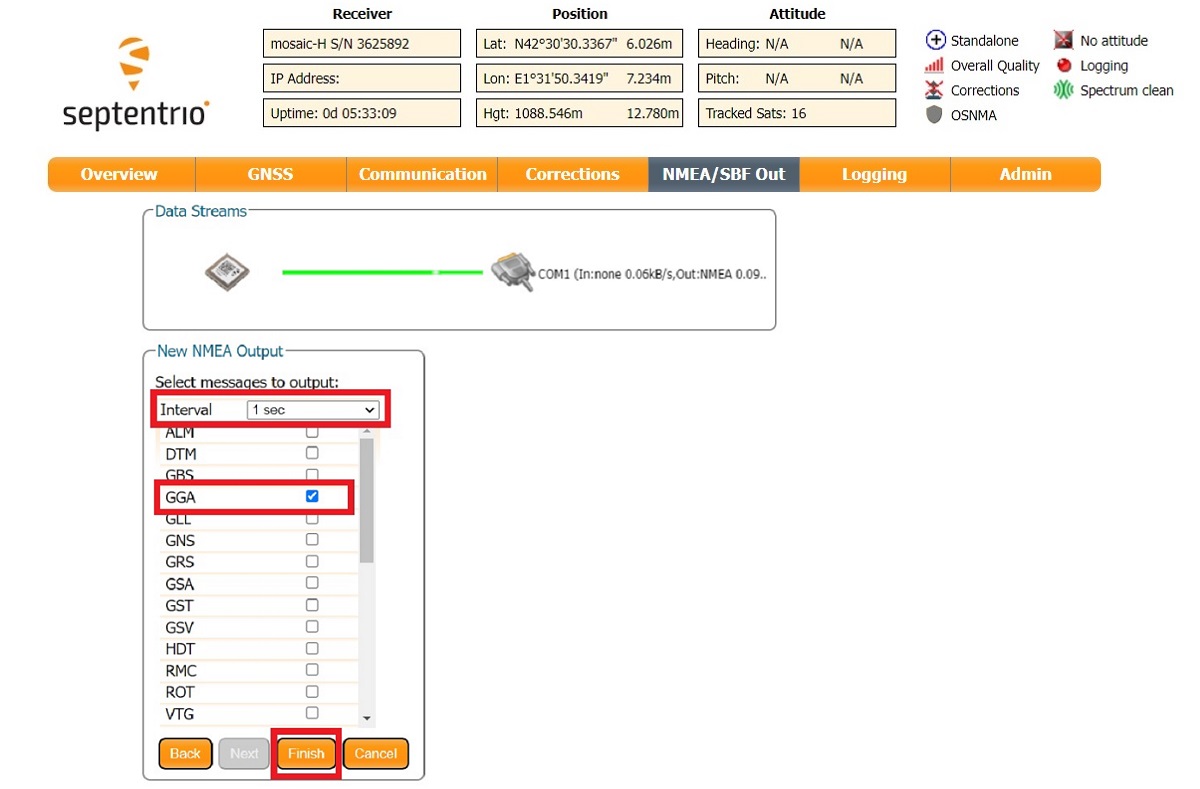 You can enable different messages at different update rates.
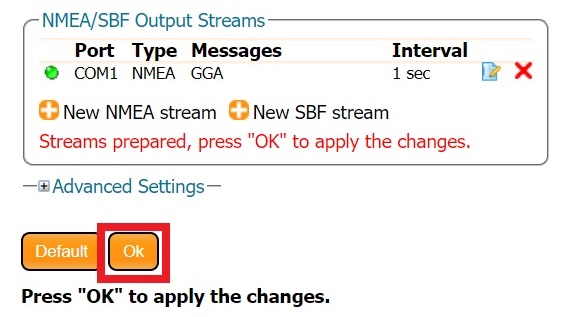
 - Once you have finished, remember to apply this changes by pressing OK.
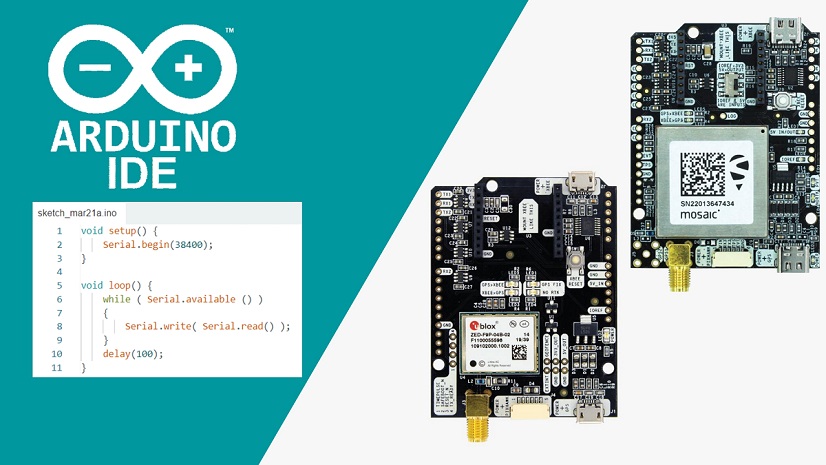
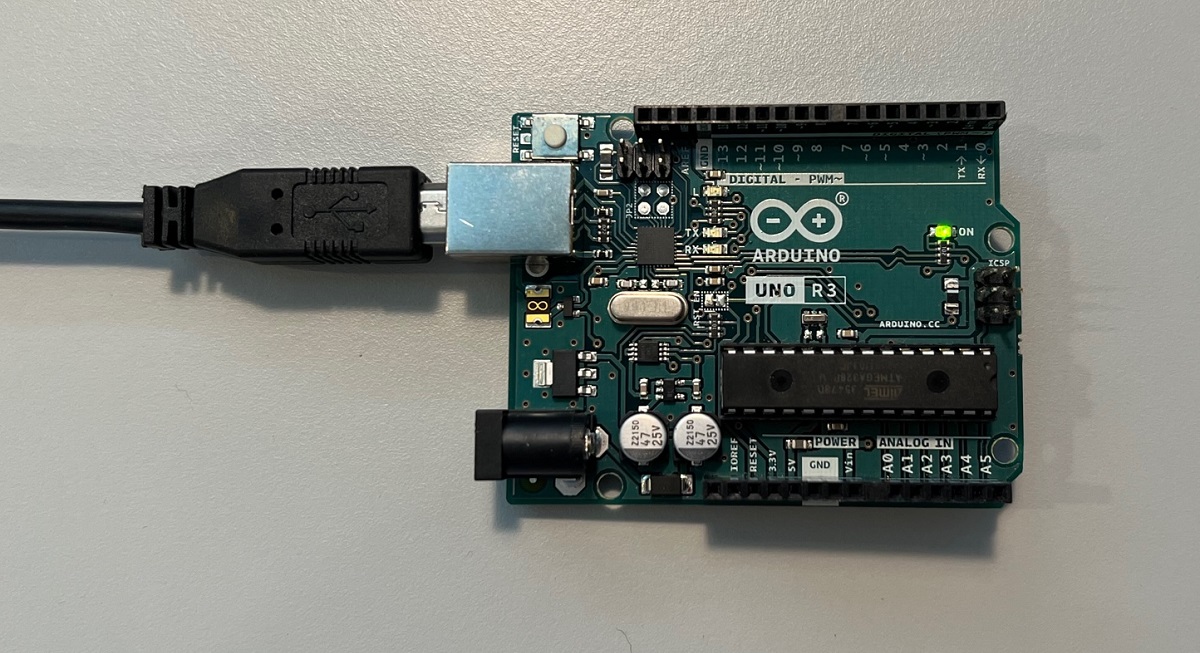
- Connect your Arduino board to your computer using USB-A to USB-B cable.
- Open Arduino IDE oftware.
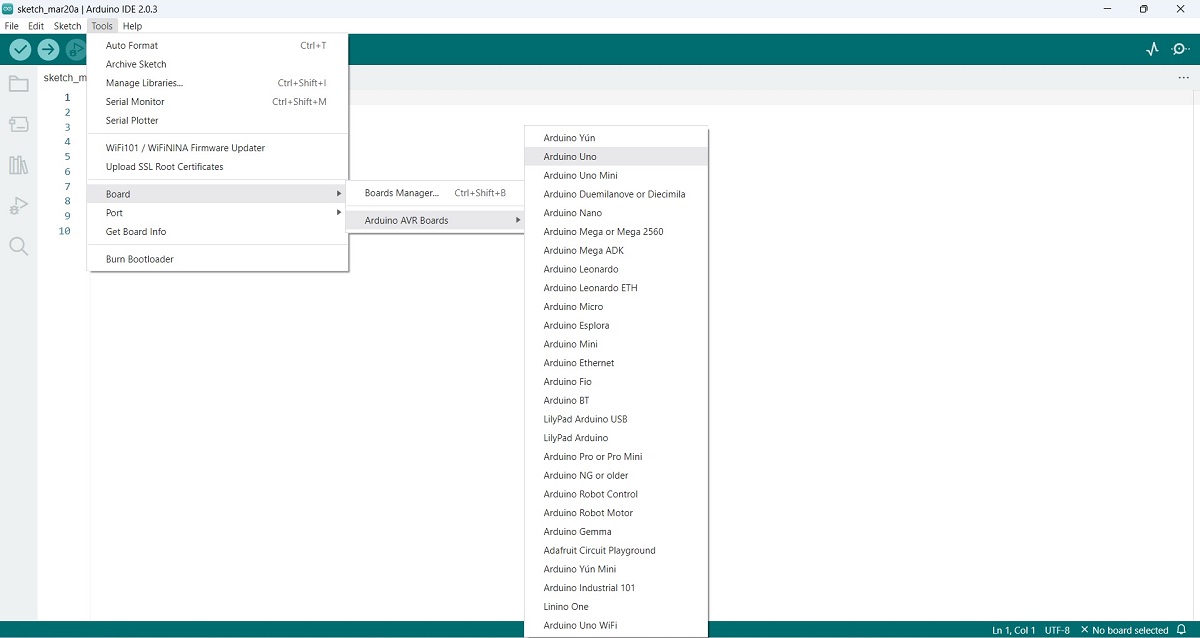
- Go to the Tools —>Board —>Arduino AVR Boards and choose your Arduino board that you have.
In our case we choose Arduino Uno.
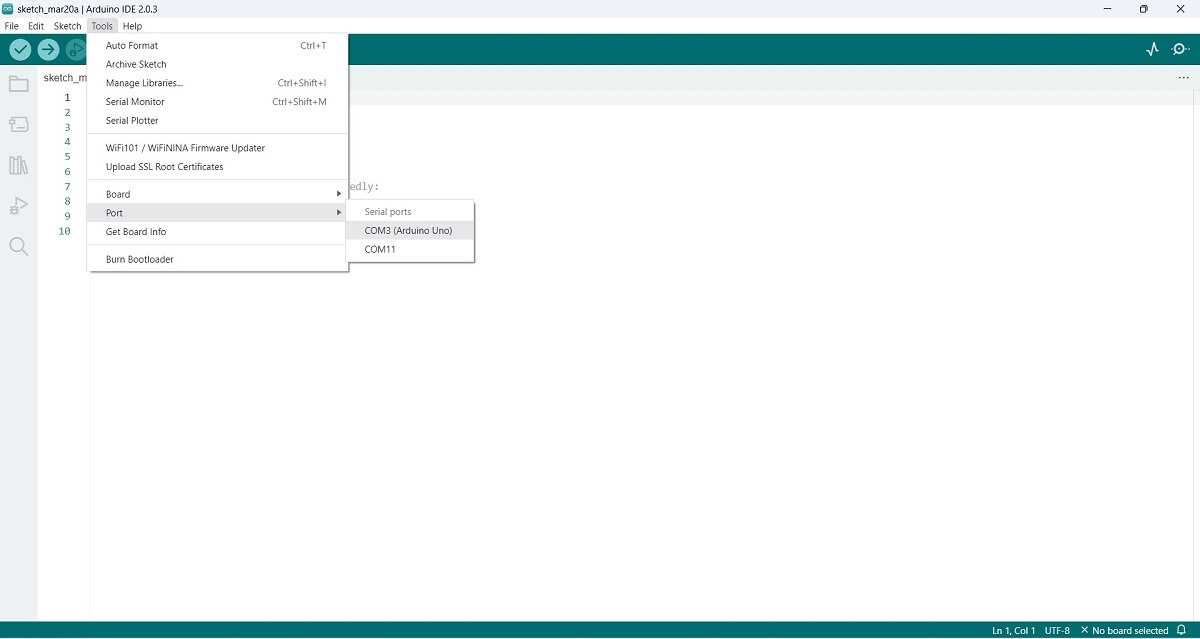
- Go to the Tools —>Port—> and choose the port you want to use.
In our сase it is COM3 (Arduino UNO).
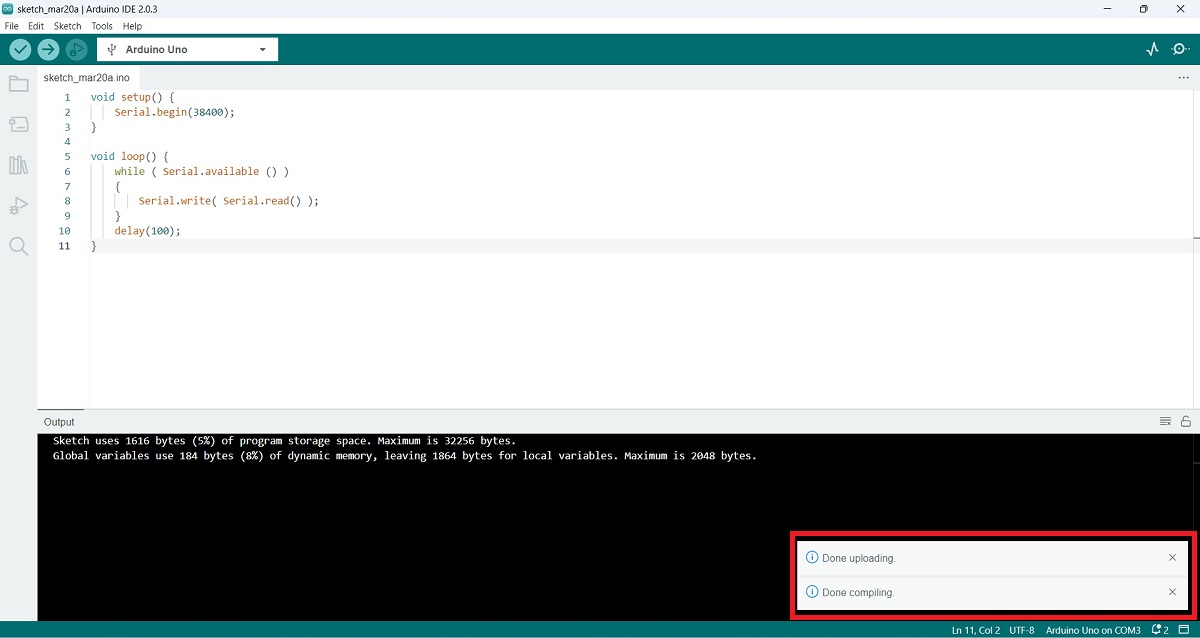
- Press Upload.
Note: RTK receiver should be unplugged when uploading. Otherwise, it will fail.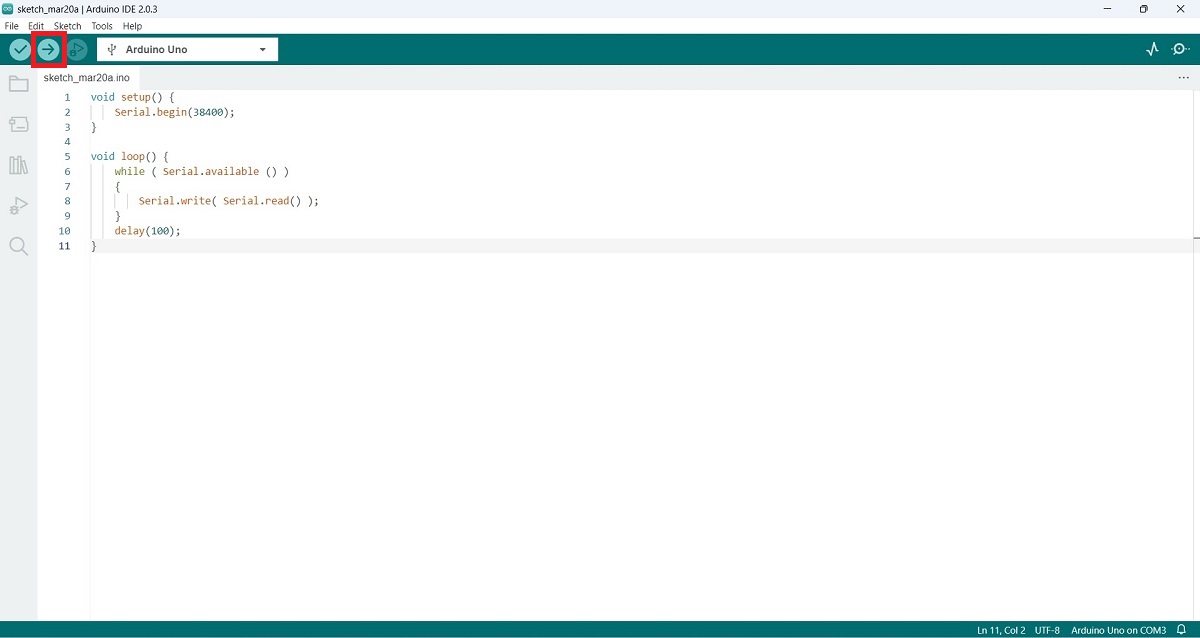
- If it is succesful, you will see the notifications that it is succesfully completed like on the picture.
- Connect ArduSimple receiver to your Arduino board (use Arduino Headers if needed).
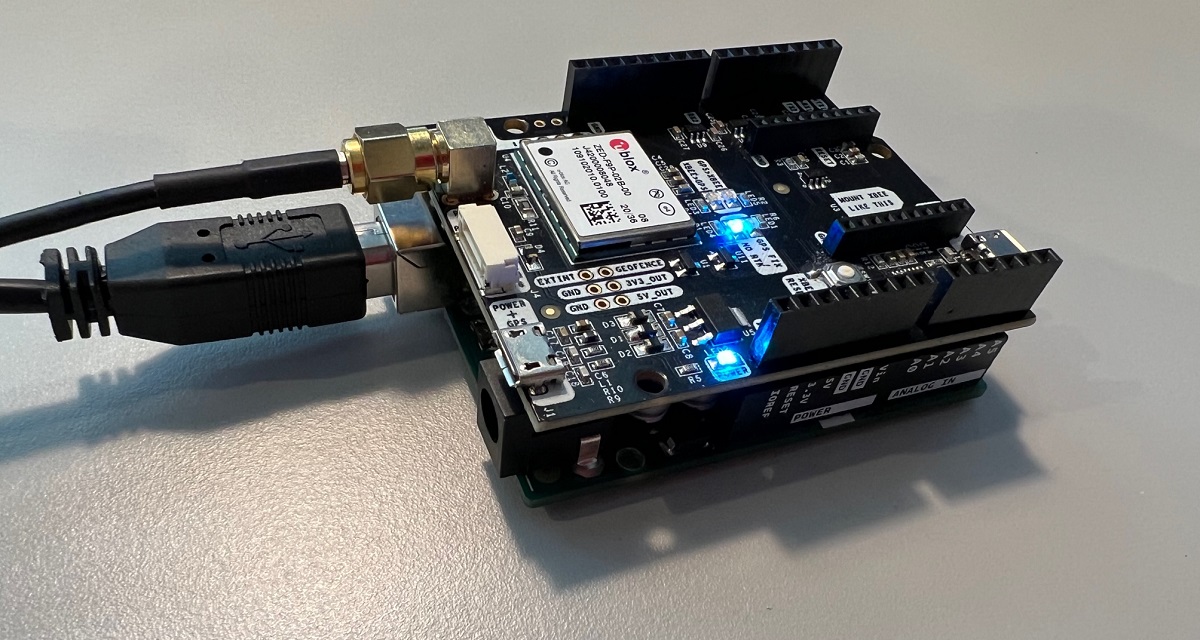
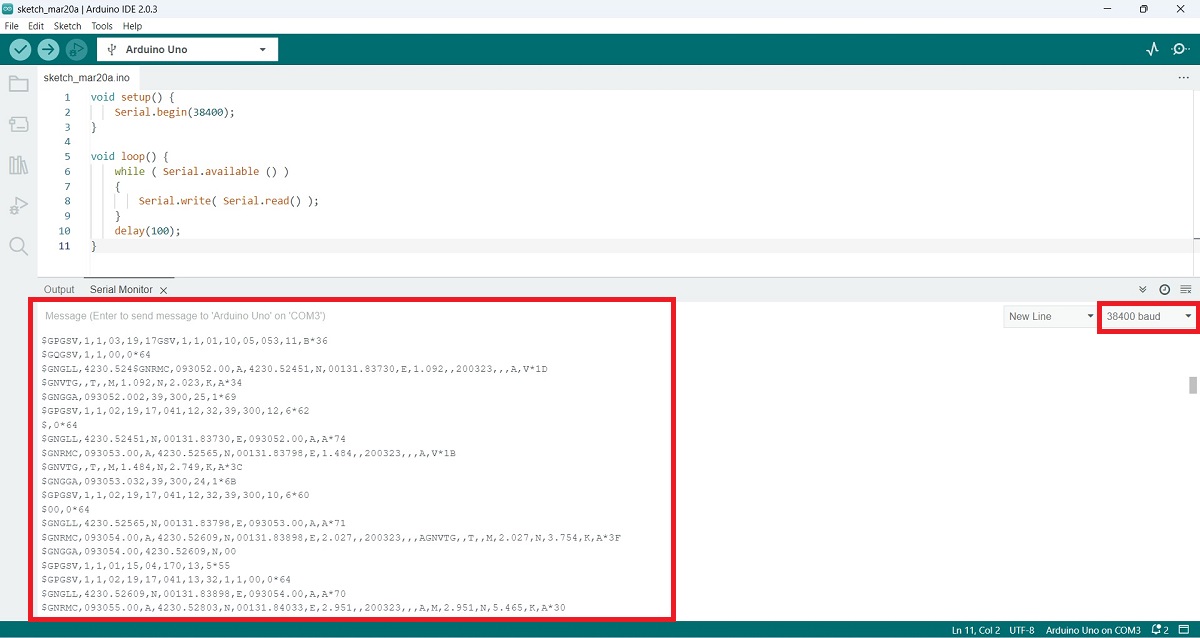
- Open Arduino IDE software and go to the Tools—> Serial Monitor and choose the baudrate your RTK Receiver and Arduino Uno configured. You should see incoming NMEA messages like in the picture.