and
and 

User Guide: BT+BLE Bridge
- XBee socket
- BOOT button, in case you need to upgrade the firmware
- Multi-color LED. Can help you understand what is going on by just looking at its status.
To simplify the understanding, classic Bluetooth (BT) is shown in red while Bluetooth Low Energy (BLE) is shown in blue
| LED | Status |
|---|---|
| Solid green: device is in configuration mode (1 second at each startup) | |
| Alternative blinking red/blue: device has just started and can be paired as a classic Bluetooth (BT) or Bluetooth Low Energy (BLE) device | |
| Blinking red slow+fast: device has been paired as classic Bluetooth (BT) | |
| Blinking blue slow+fast: device has been paired as Bluetooth Low Energy (BLE) | |
| Fixed red: device has been connected as classic Bluetooth | |
| Blinking red: device has been connected as classic Bluetooth and is receiving/transmitting data | |
| Fixed blue: device has been connected as Bluetooth Low Energy | |
| Blinking blue: device has been connected as Bluetooth Low Energy and is receiving/transmitting data |
Installation:
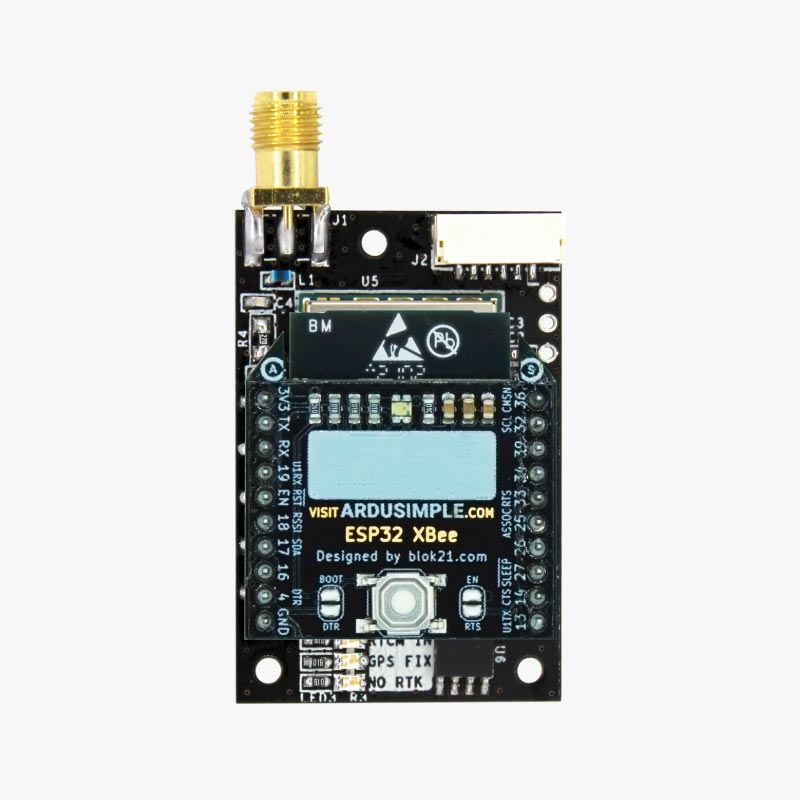
Just plug the BT+BLE Bridge on the XBee socket with the right orientation, the LED will start blinking. This plugin is compatible with all our receivers that have an XBee socket.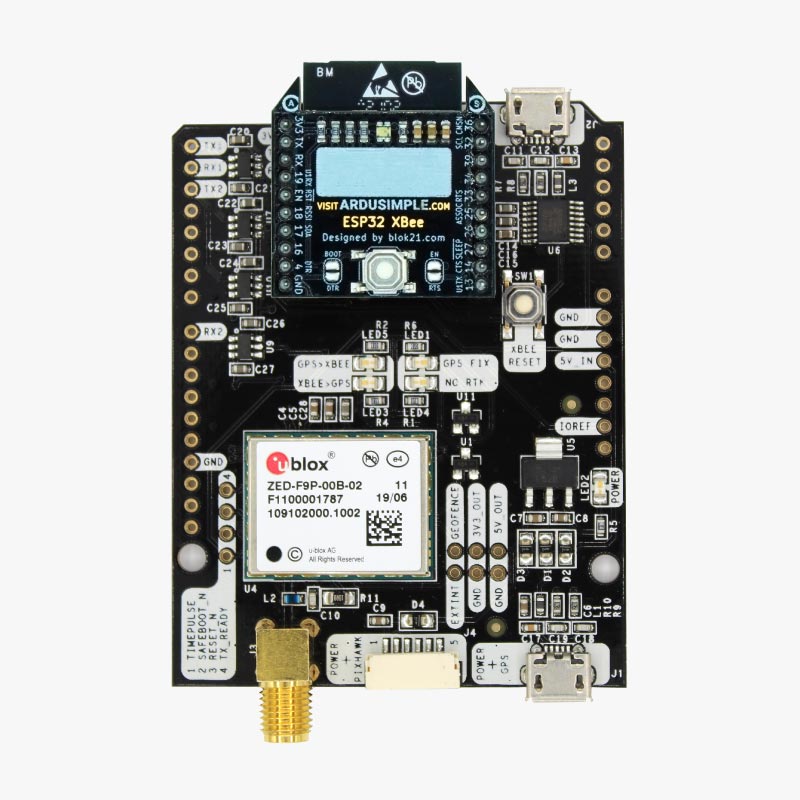
Usage:
- Plug the BT+BLE Bridge plugin into your RTK receiver
- Make sure your RTK receiver outputs the desired information on the UART where the plugin is connected to and its baudrate is 115’200ps
- Power your RTK receiver
- The BT+BLE Bridge plugin LED will start blinking red+blue, on your Android device, go to Bluetooth settings, search for your device which name will be BT+BLE_Bridge_XXXX
On your iOS device, please use SW Maps directly, your BT+BLE device will appear there. - Open your preferred app on Android (or SW Maps on iOS) and connect to your device
Notice that you will need to connect two times to the BT+BLE Bridge plugin the first time at each power up - The BT+BLE Bridge LED will start blinking on red or blue as soon as data is being transmitted in either direction
Customize device name and mode:
Since firmware >=v2.7.1, both the name of the BT+BLE Bridge and the mode (BT+BLE, BLE only, BT Classic only) can now be configured.
At powerup, the LED will remain green for 1 second, this is the time you have to enter into “command mode”.
To enter into command mode you need to send any of the commands below in bold (do not send the RESET command :)).
Once in command mode, you can take your time to send more commands.
If you did not make it on time, simply restart your device and be ready to send any of the below commands.
As the time is short, we recommend to establish the serial connection with your terminal and instead of restarting the device by reconnecting the USB cable, do it by dettaching and reattaching the plugin.
Remember to send the commands with any terminal app (RealTerm, TeraTerm, Putty, …) at 115200bps.
- AT+NAME=ABCD<CR><LF>
Sets the device name “ABCD” in this example. Limited to 20 characters. - AT+NAME=<CR><LF>
Sets the default factory device name (BT+BLE_Bridge_XXXX). - AT+MODE=0<CR><LF>
Sets the BT+BLE Bridge mode (0, 1 or 2).- Mode = 0: default (BT+BLE)
- Mode = 1: BLE only
- Mode = 2: BT Classic only
- AT+RESET<CR><LF>
Restarts the device.
(Optional) Performing a firmware upgrade
You will find here the latest firmware version and a short tutorial on how to perform the firmware upgrade.
Notice that the hardware is the same as the WiFi NTRIP Master, so by changing the firmware you can also convert it to it.
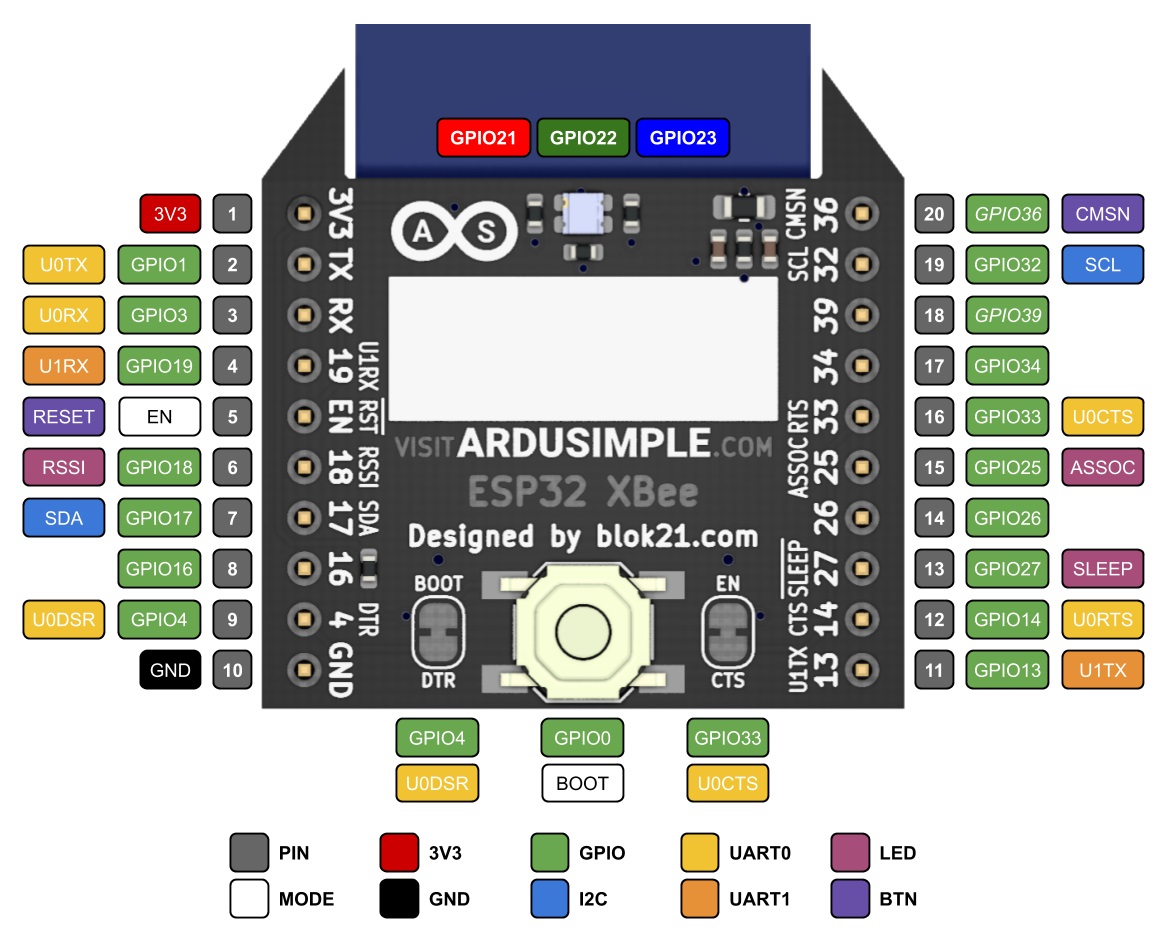
(Optional) Pinout for PCB integration
If you want to use the BT+BLE Bridge on your own PCB, or maybe with your own software, the pinout will be useful for you. Note that the footprint is the standard XBee.