and
and 

SW Maps
Mapit GIS
Mapit Spatial
SW Maps
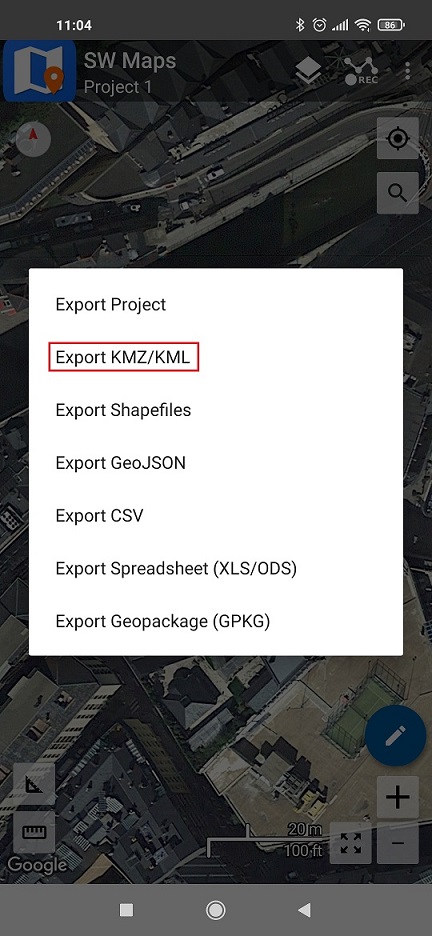
- In the app main screen, click the app icon to open the left menu. Select Share or Export.
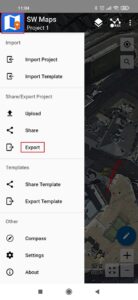
- Select Export KMZ/KML.
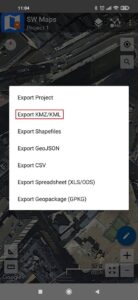
- You can find your project saved in folder SW_Maps>Export.


Mapit GIS
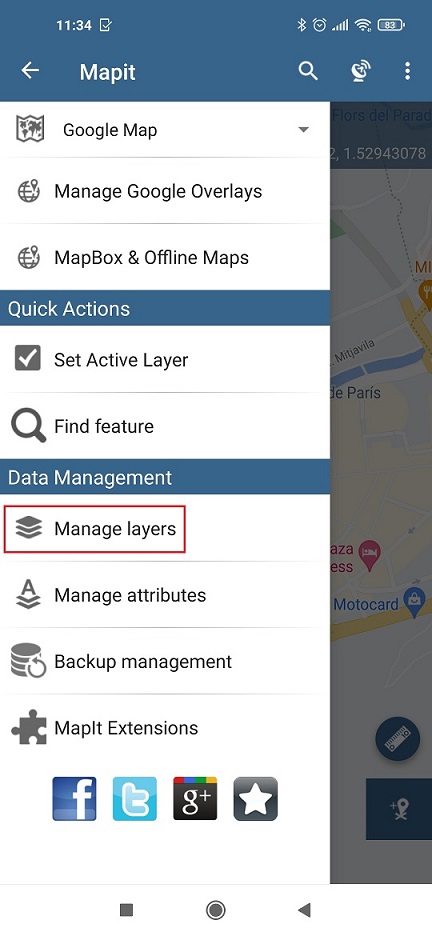
- In the app main screen, open the left menu, select Manage layers.
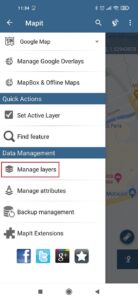
- In the app main screen, open the left menu, select Manage layers.
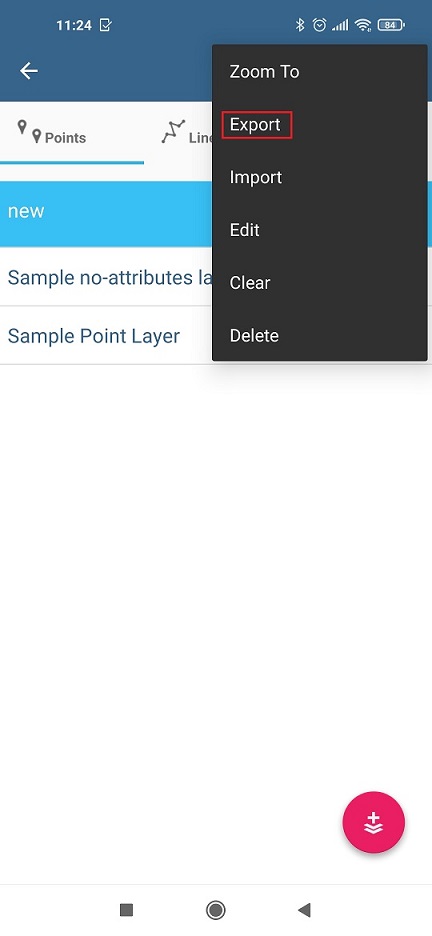
- Select the layer to export. Click the ⋮ button.

- Select the layer to export. Click the ⋮ button.
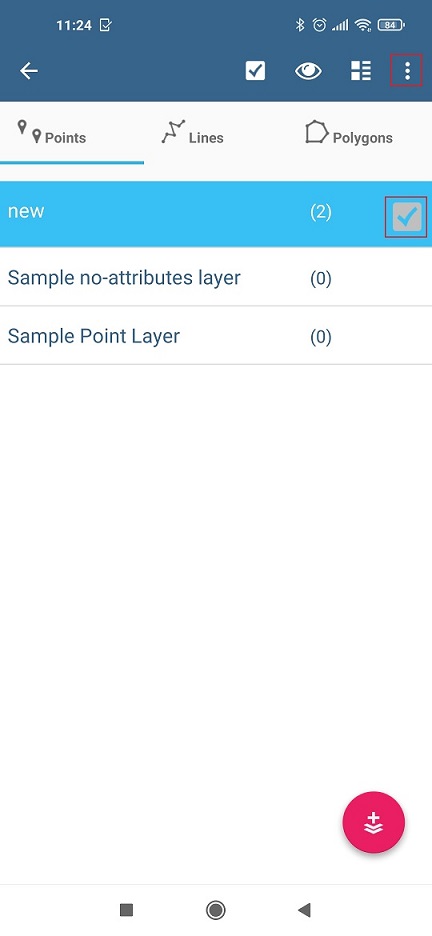
- Select Export.

- Select Export.
- Pick your preferred export location (or share).
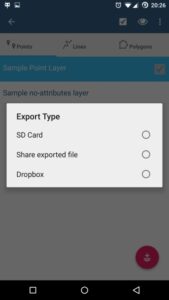
- Pick your preferred export location (or share).

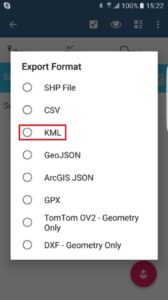
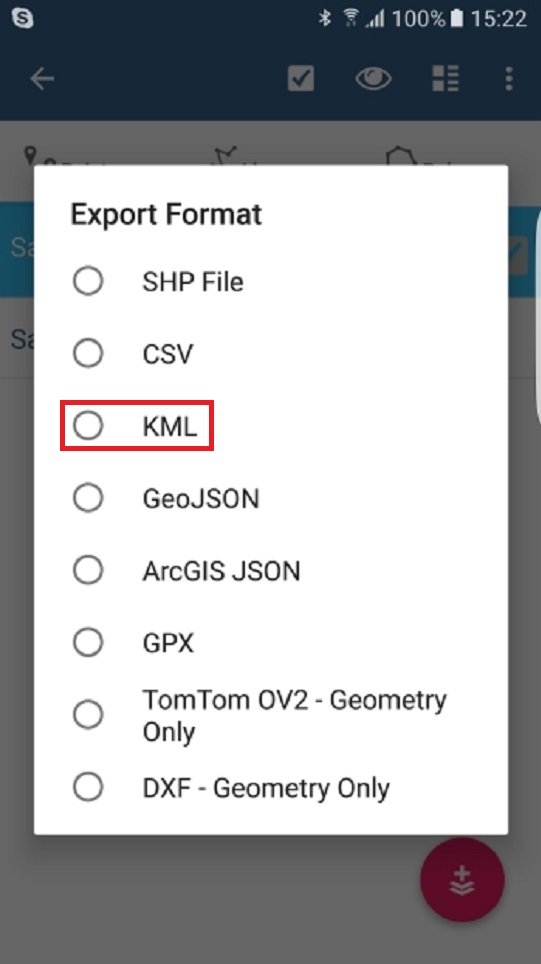
- Select KML in Export Format.
Mapit Spatial
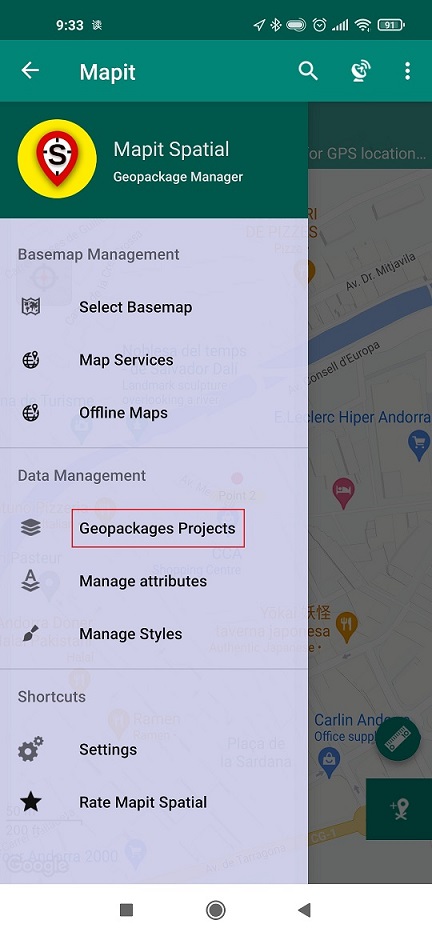
- In the app main scree, open the left menu, select Geopackages Projects.

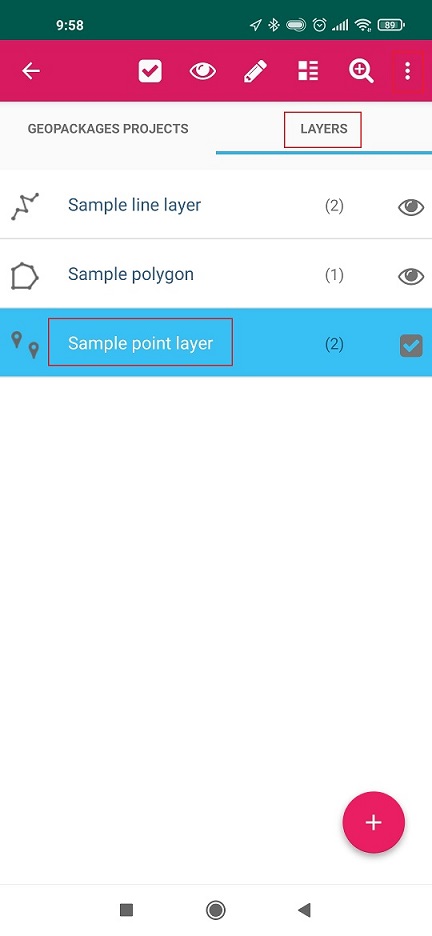
- Select layer and choose the layer to export. Click the ⋮ button.

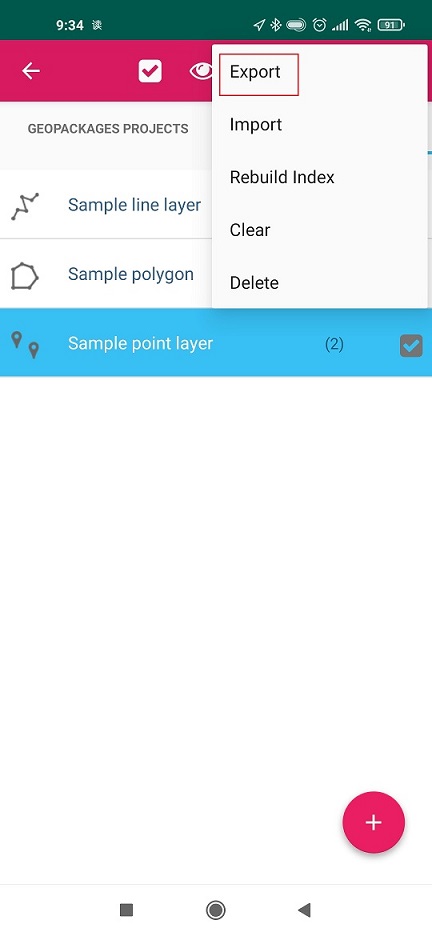
- Select Export. Select KML format and your preferred export location.