How to calculate the volume of soil or gravel to check the contactor’s quotation
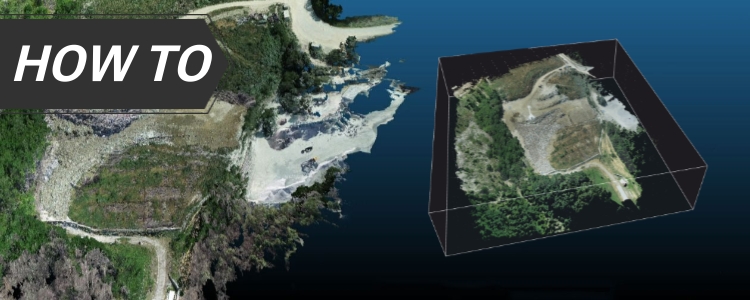

In construction and earthworks projects, one of the most common questions is: how much soil or gravel has really been moved? Contractors often provide volume estimates in their quotations, but as the project owner it’s important to verify these numbers with accurate measurements.
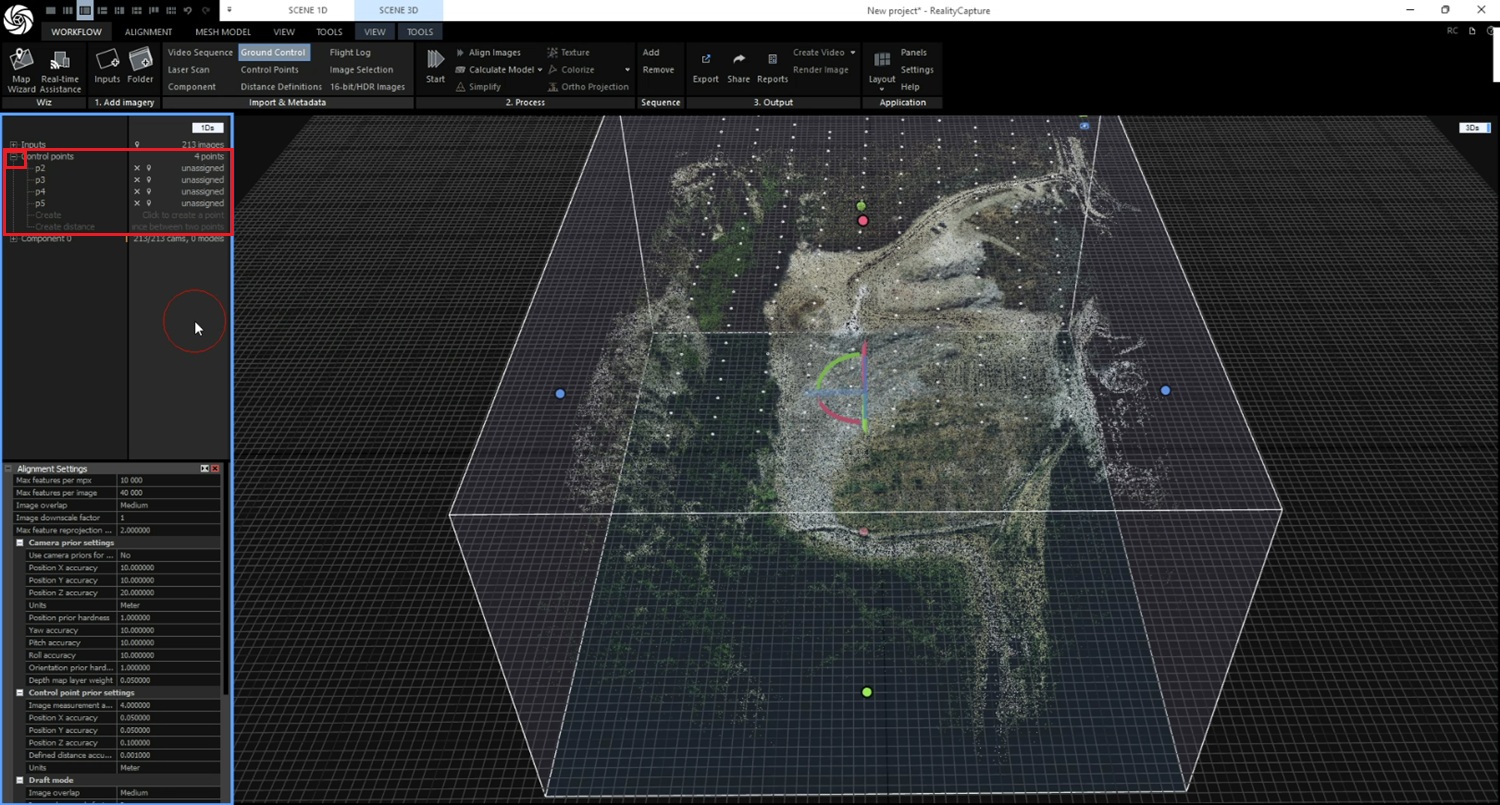
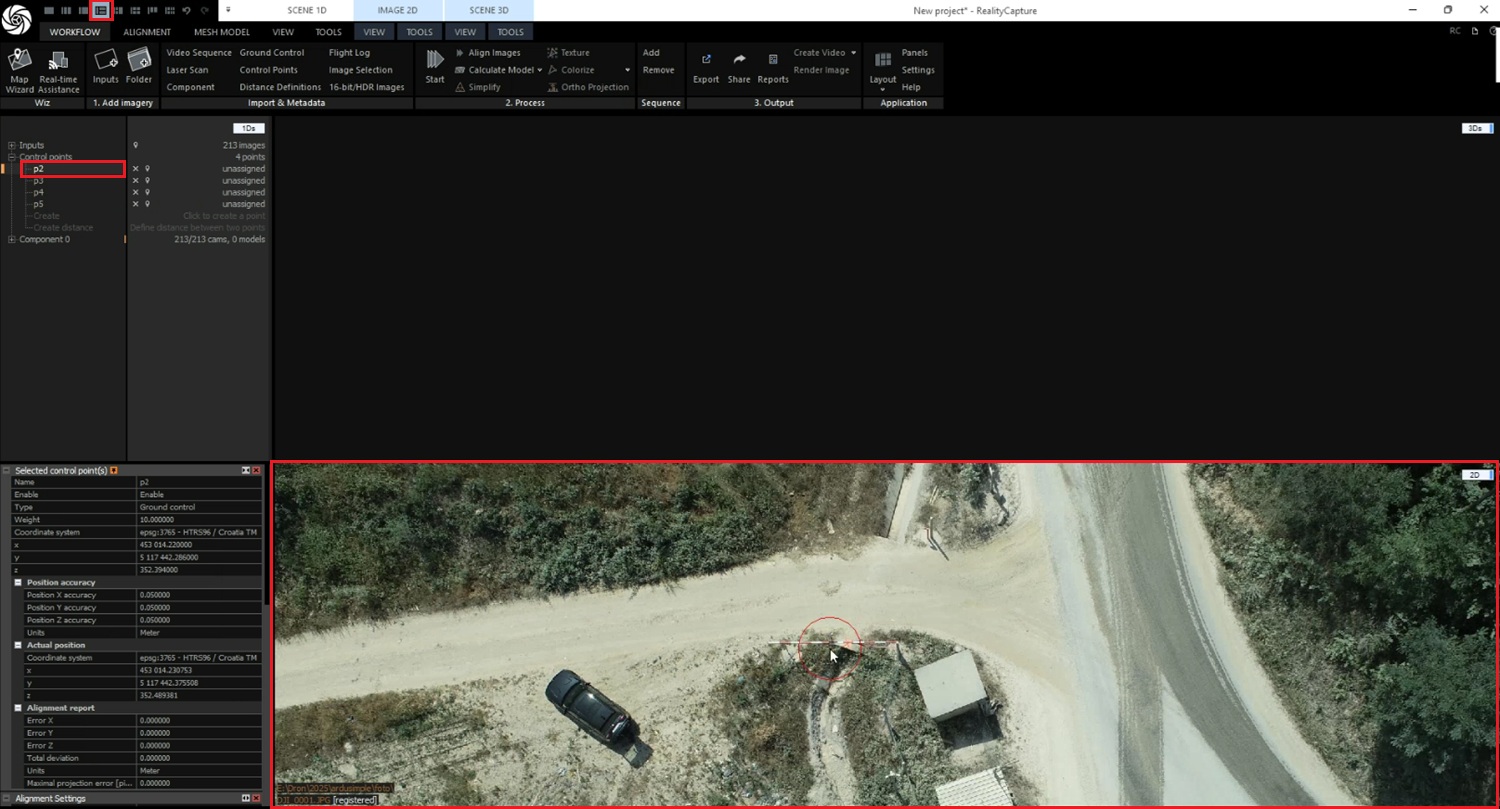
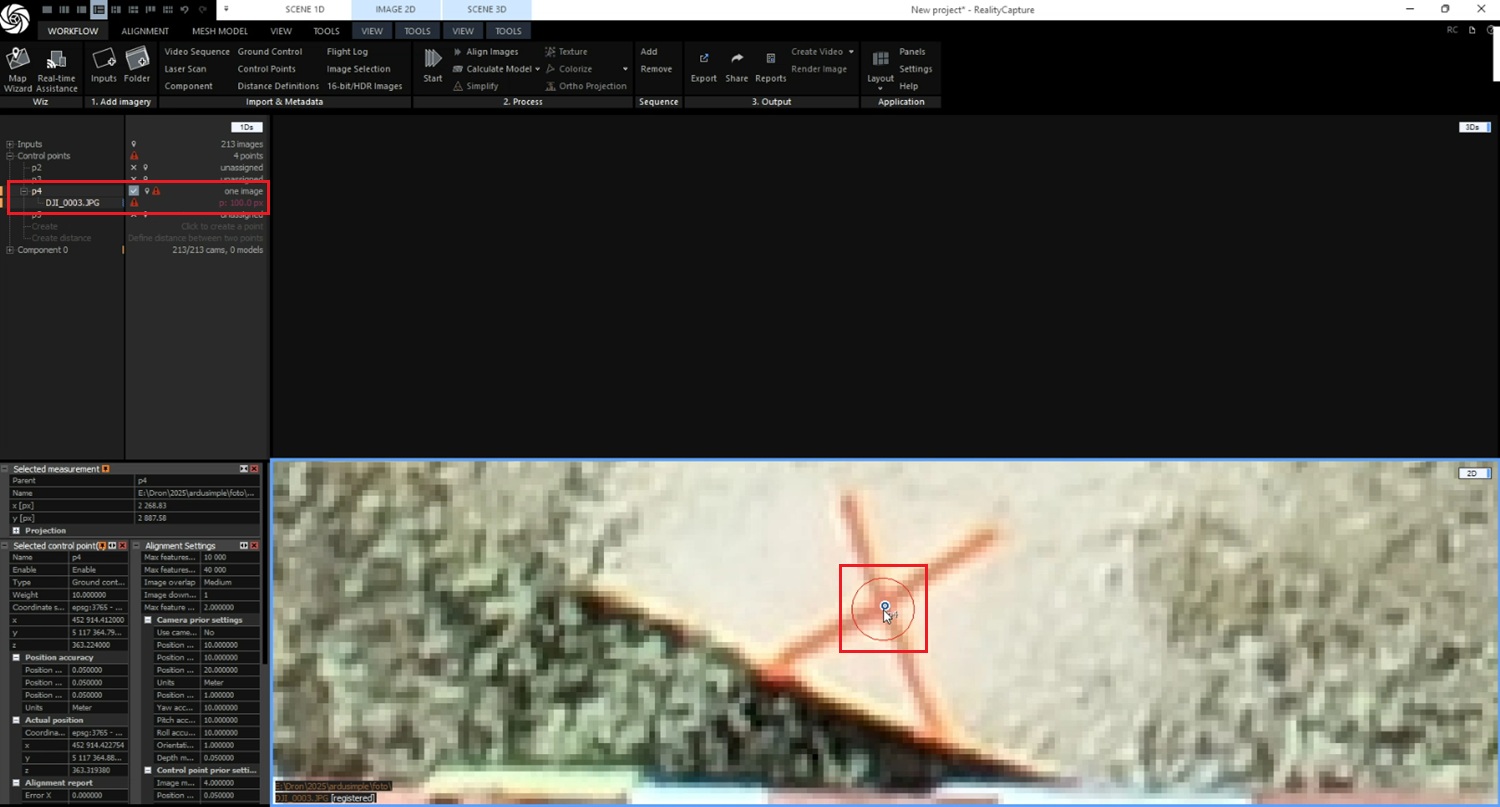
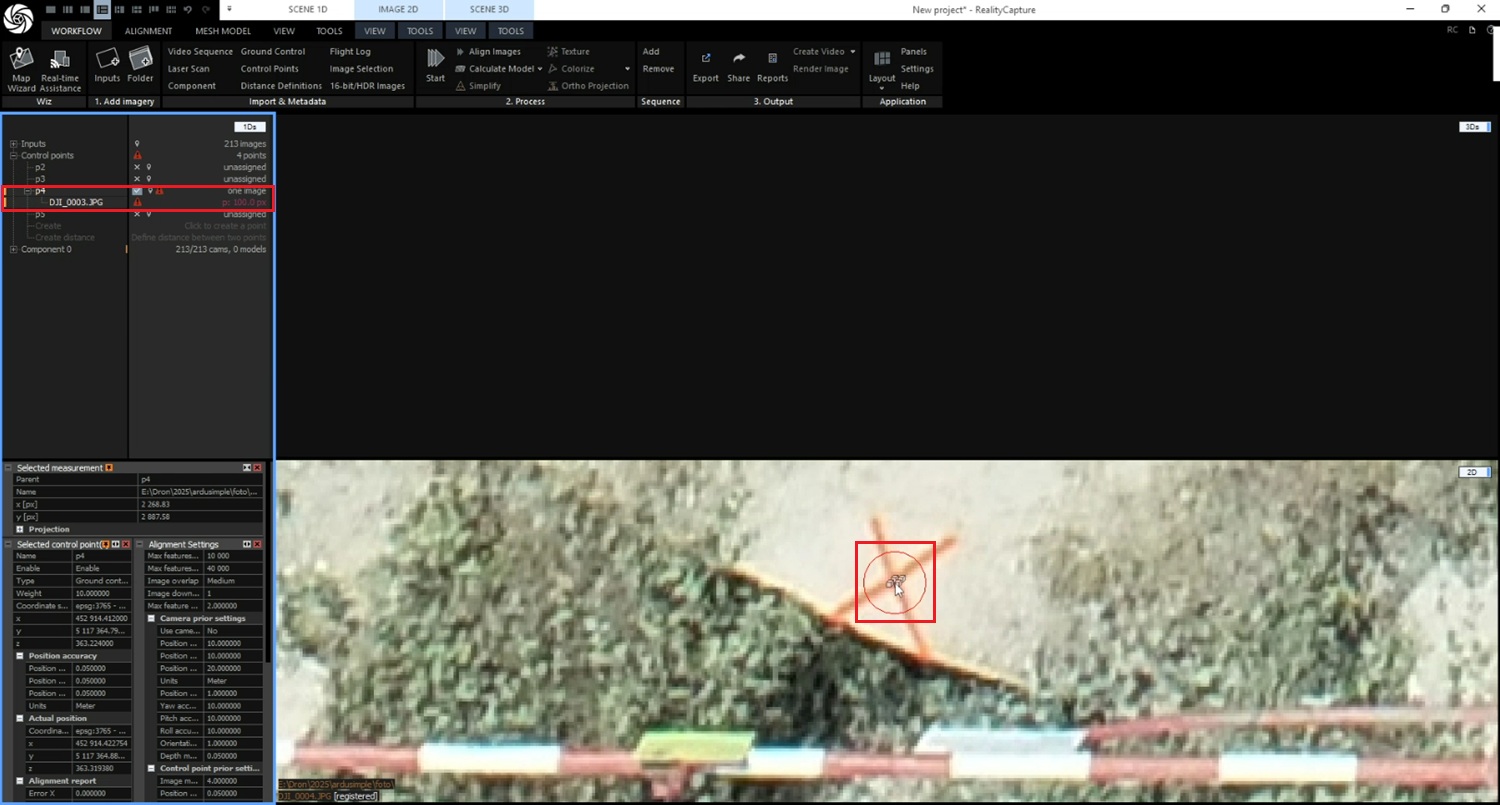
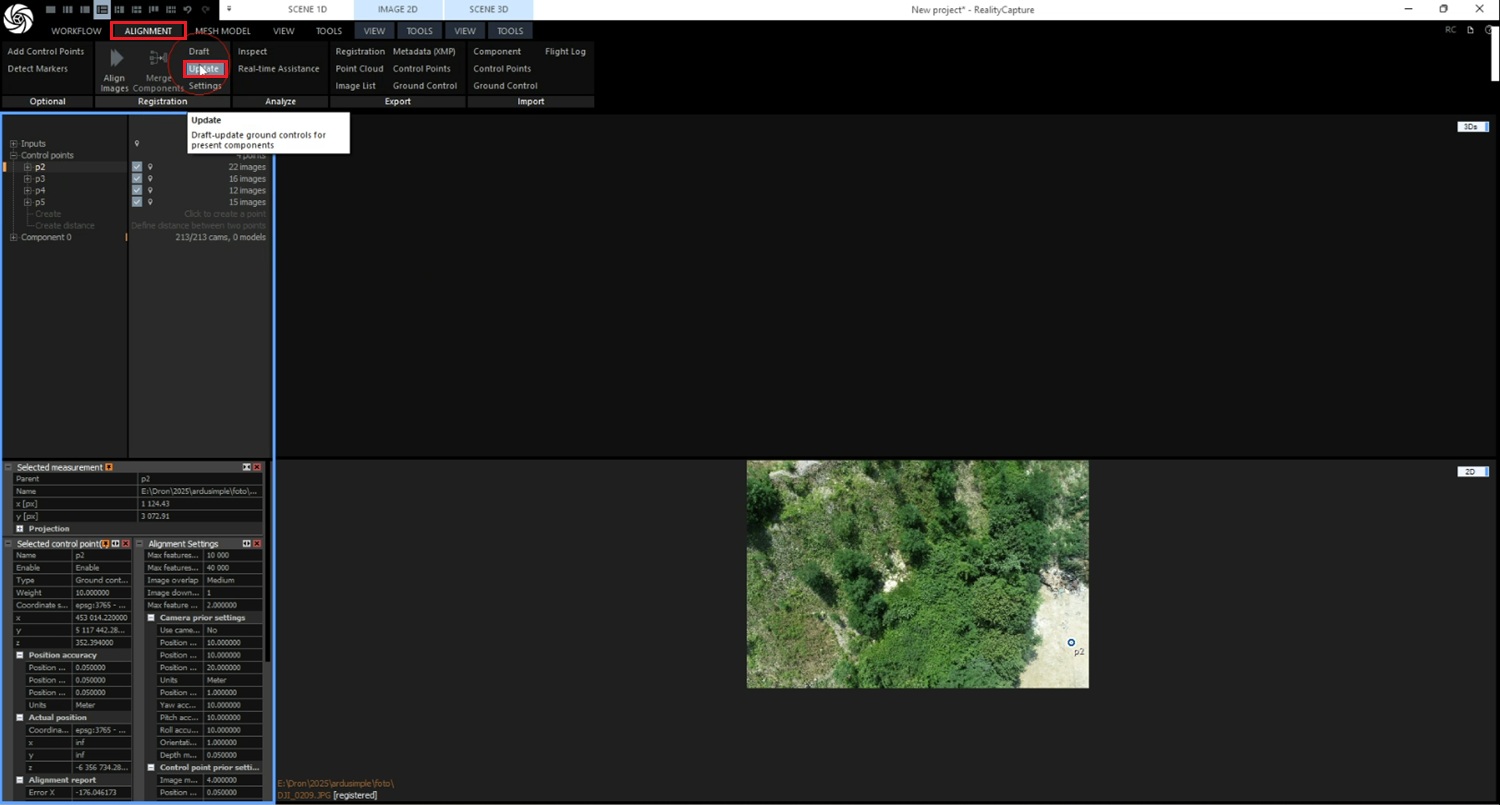
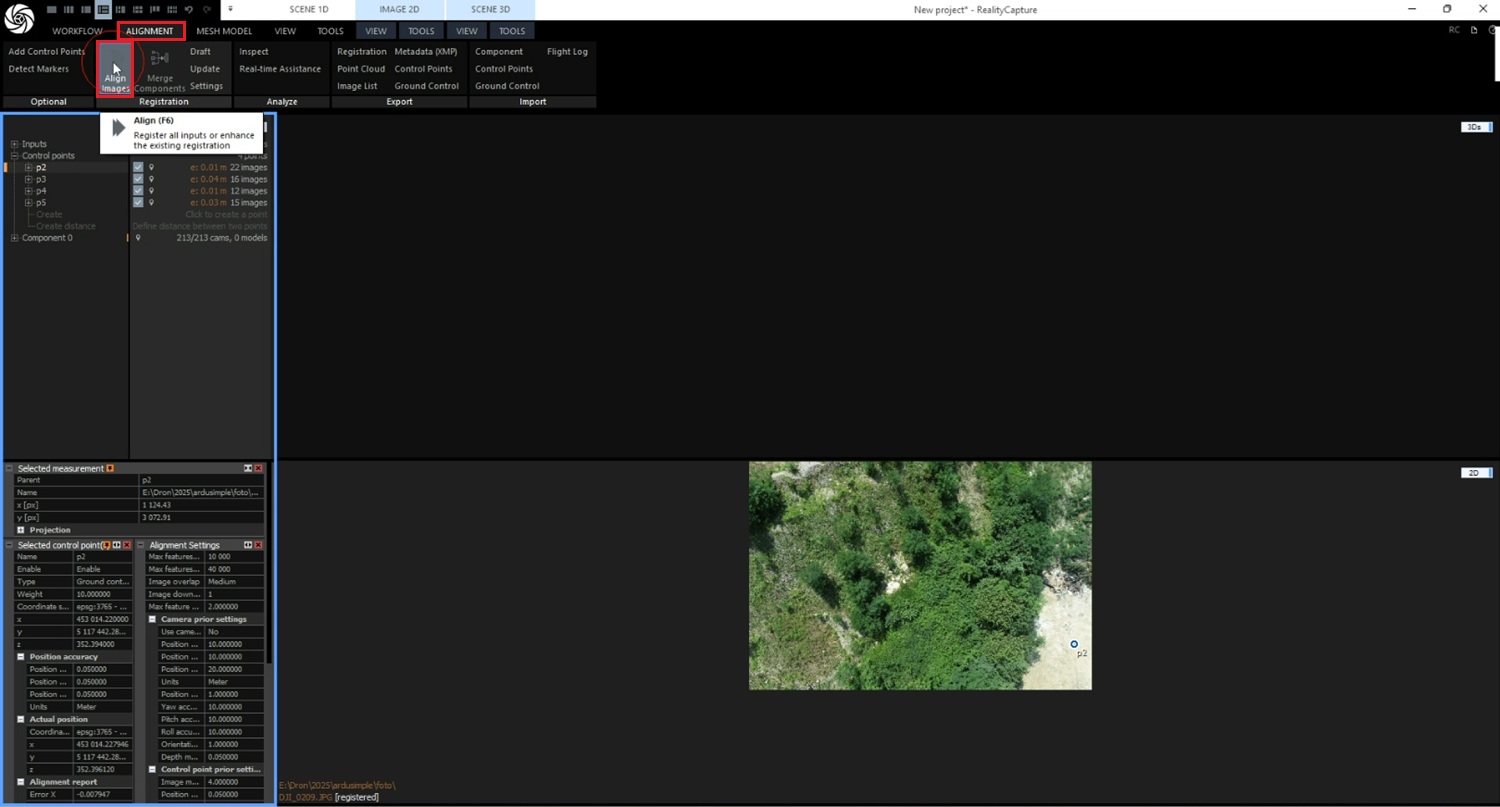
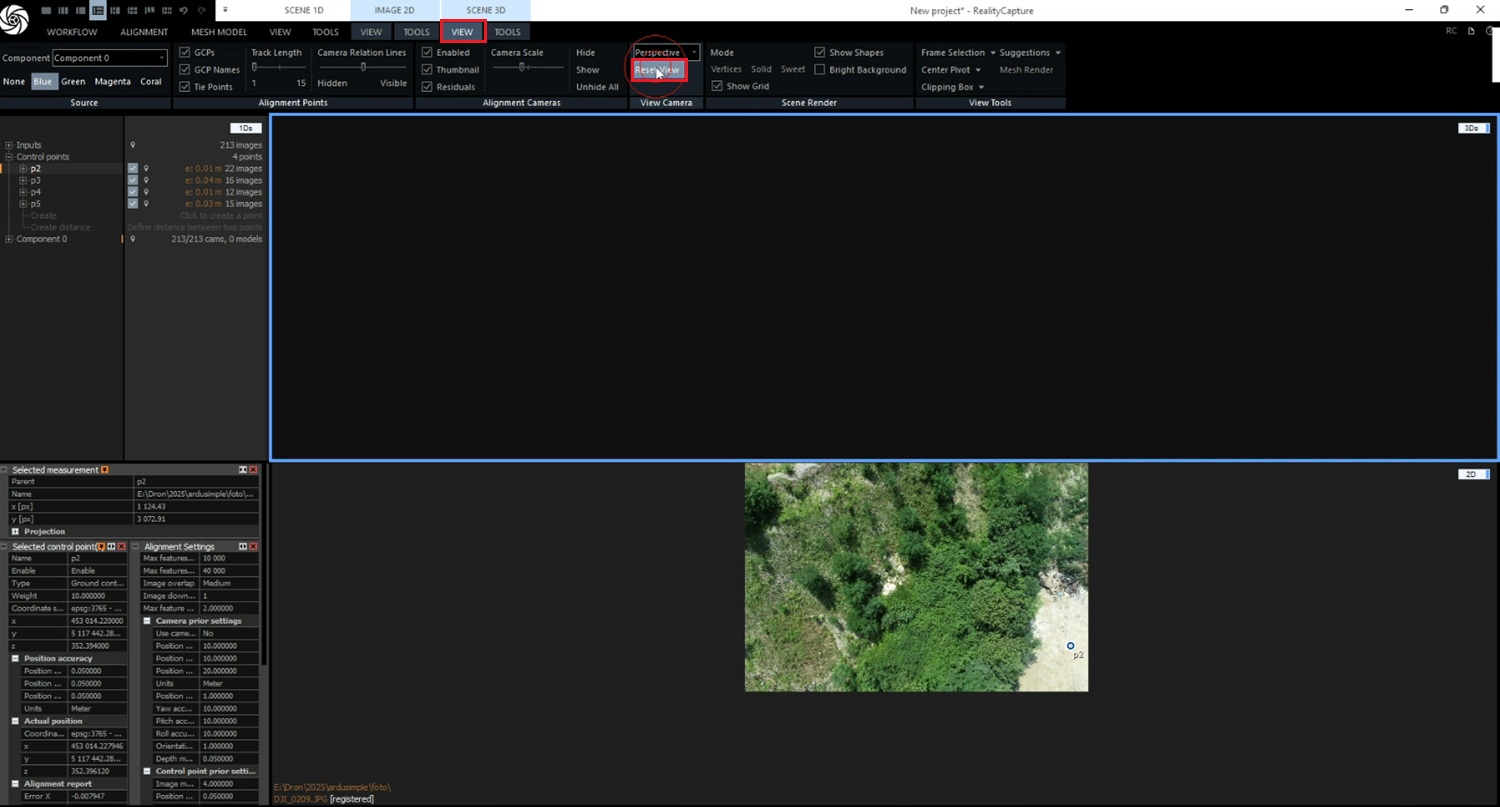
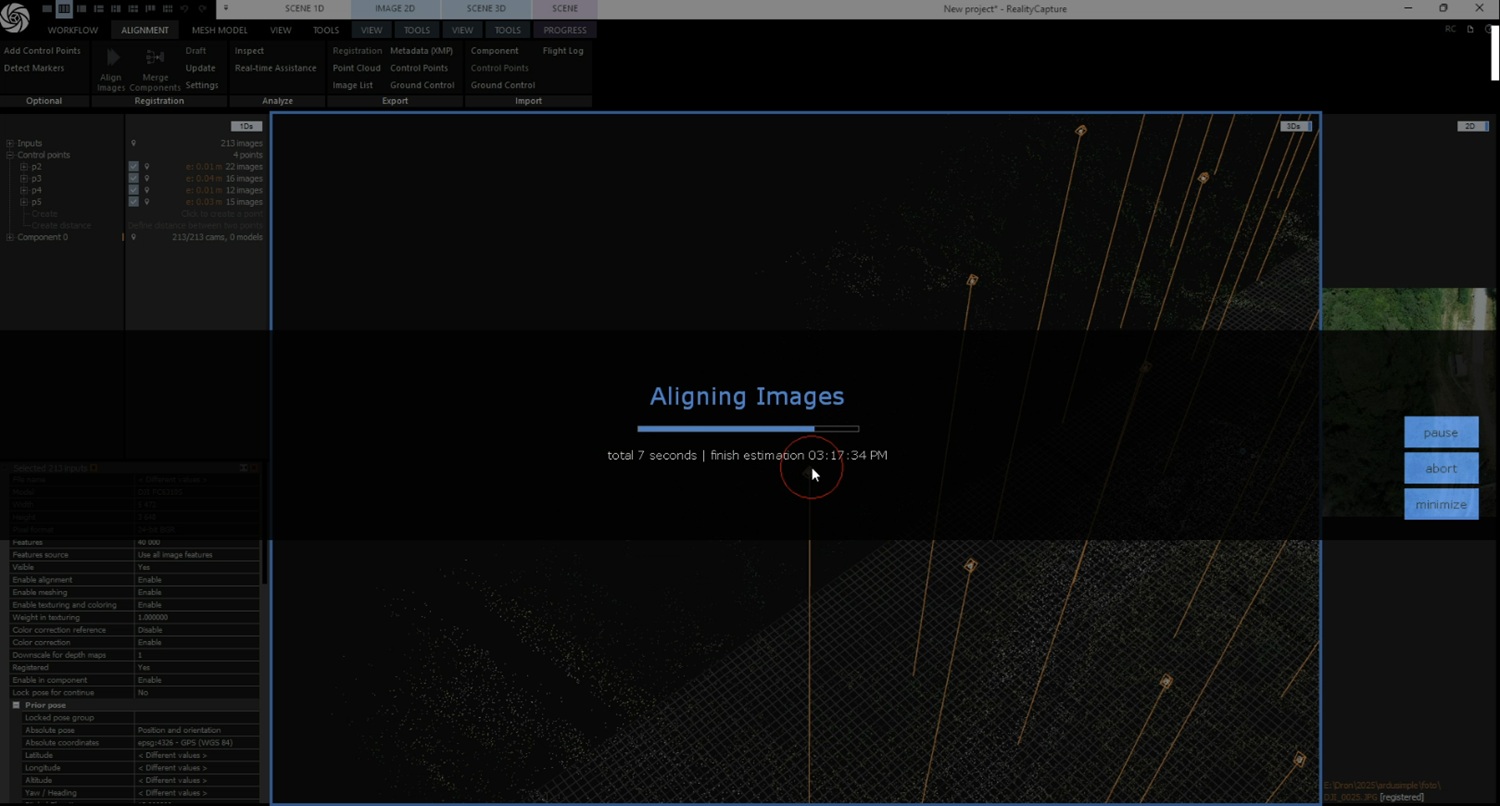
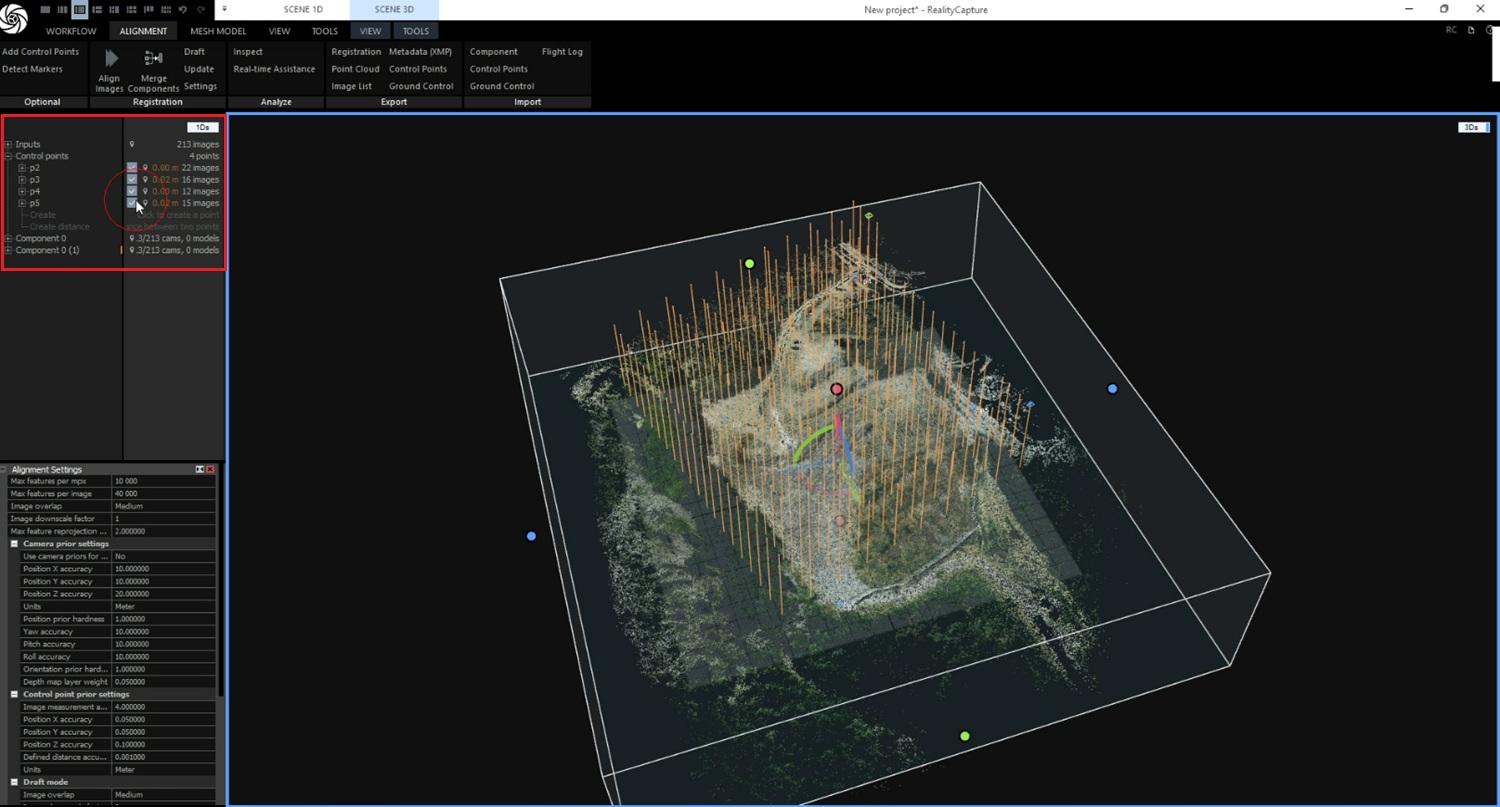
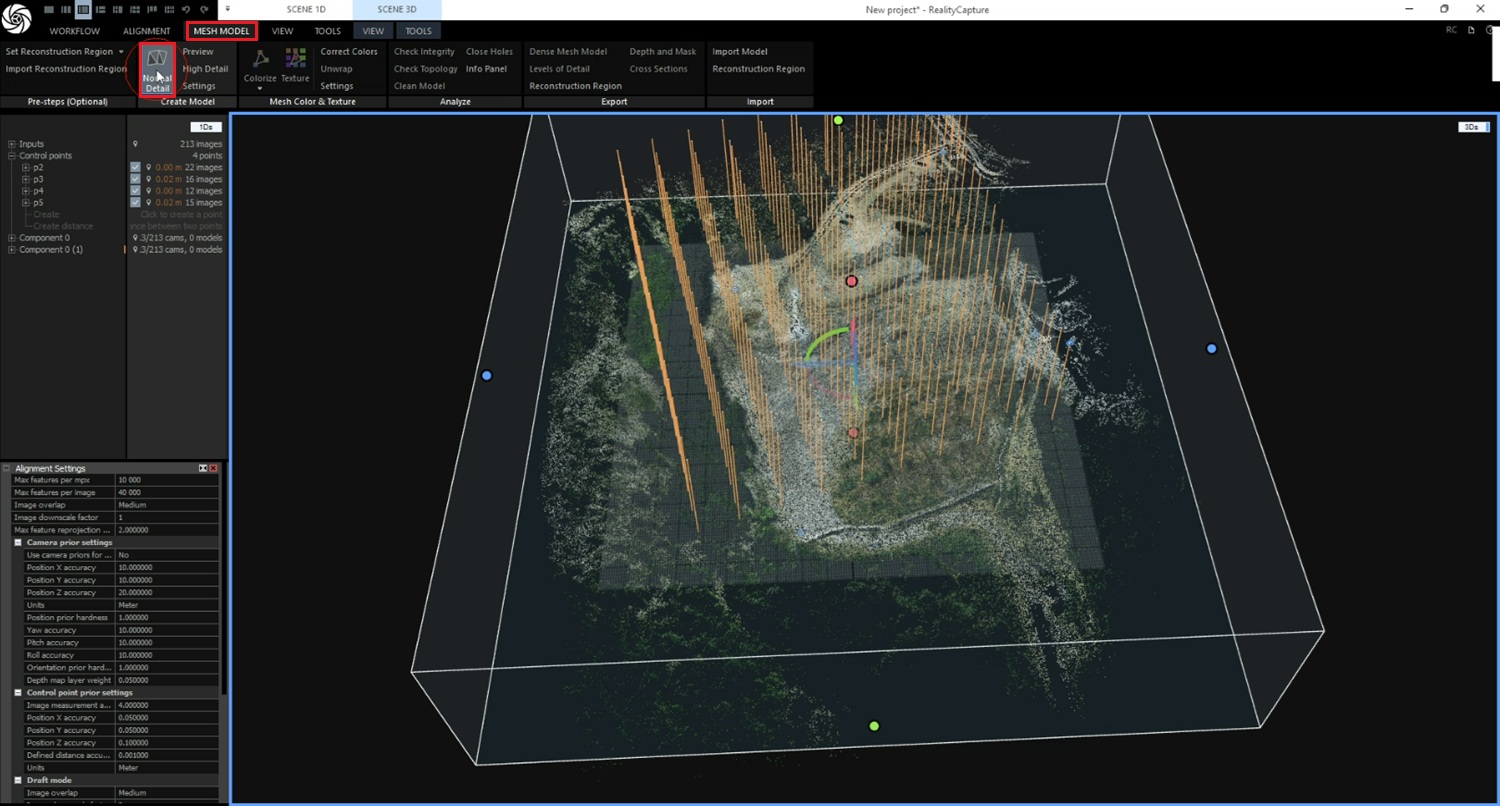
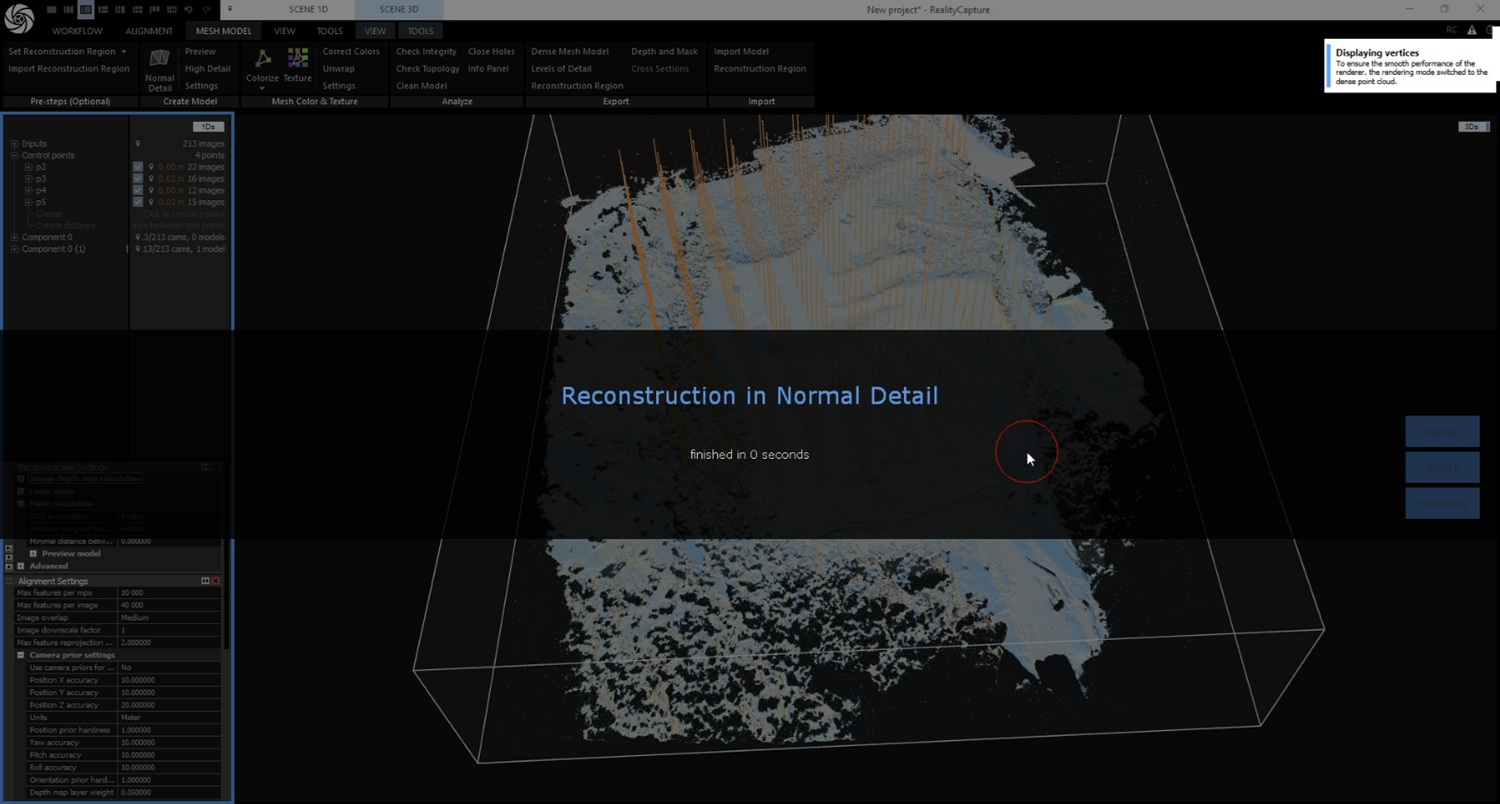
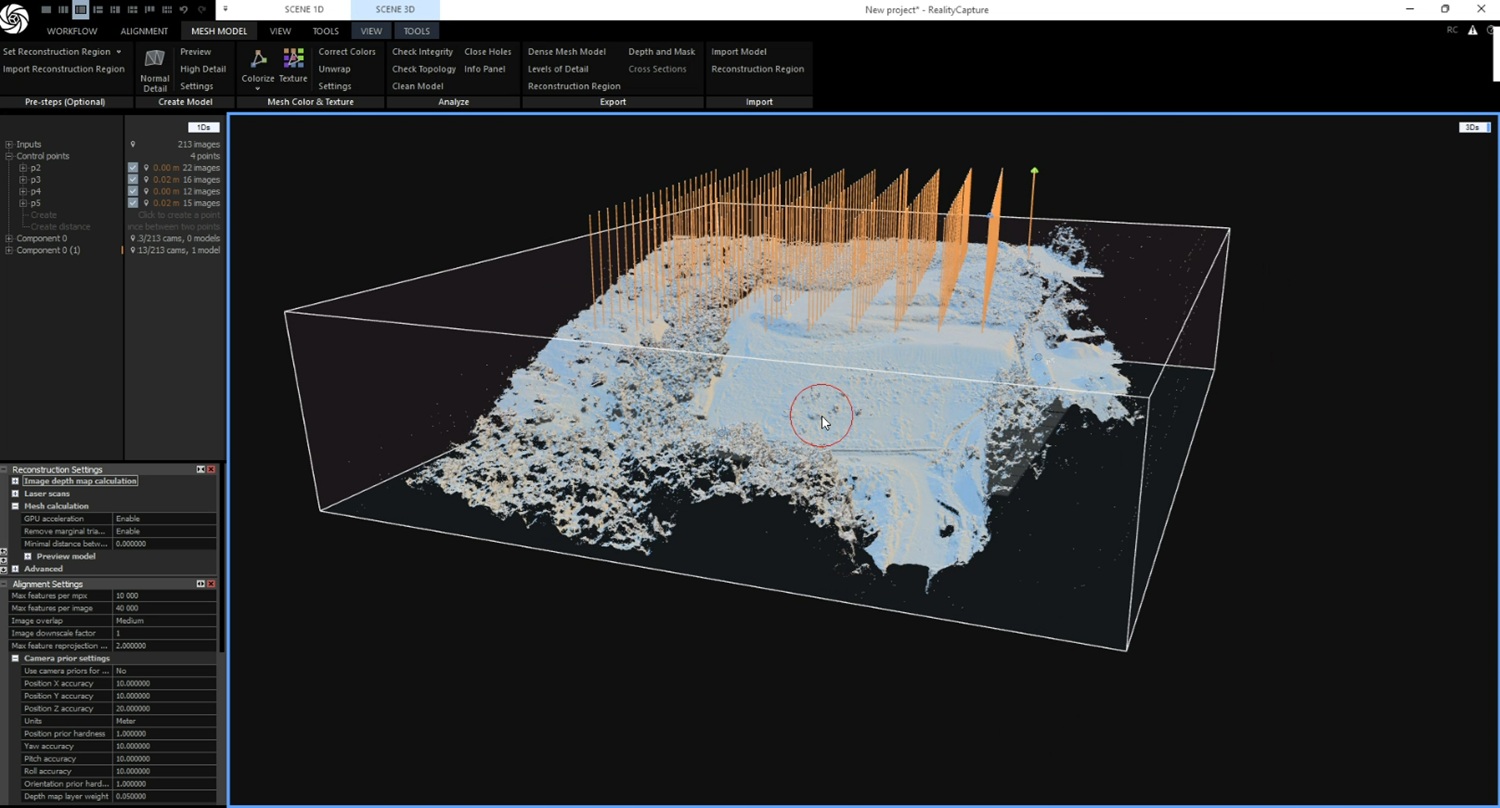
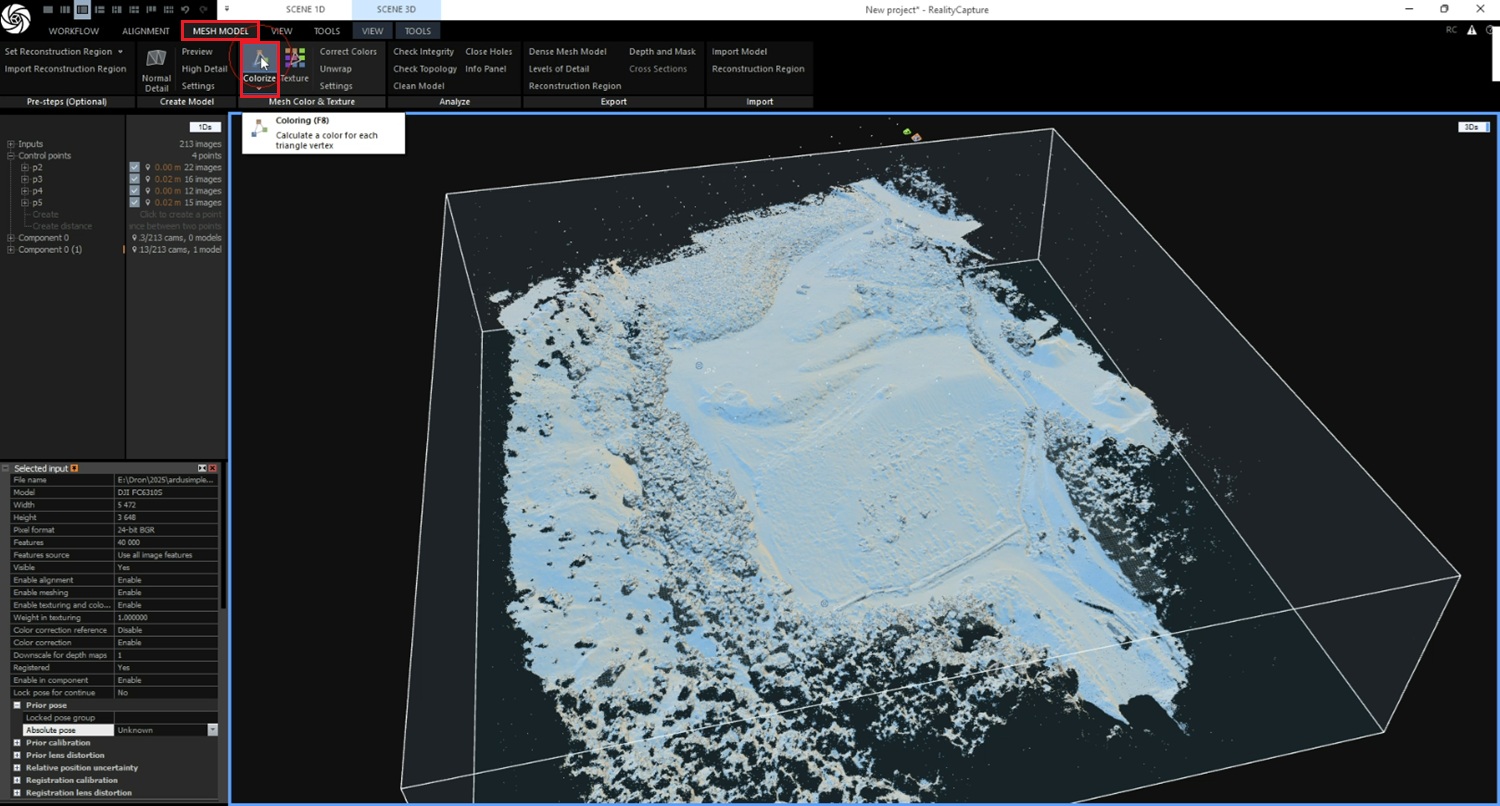
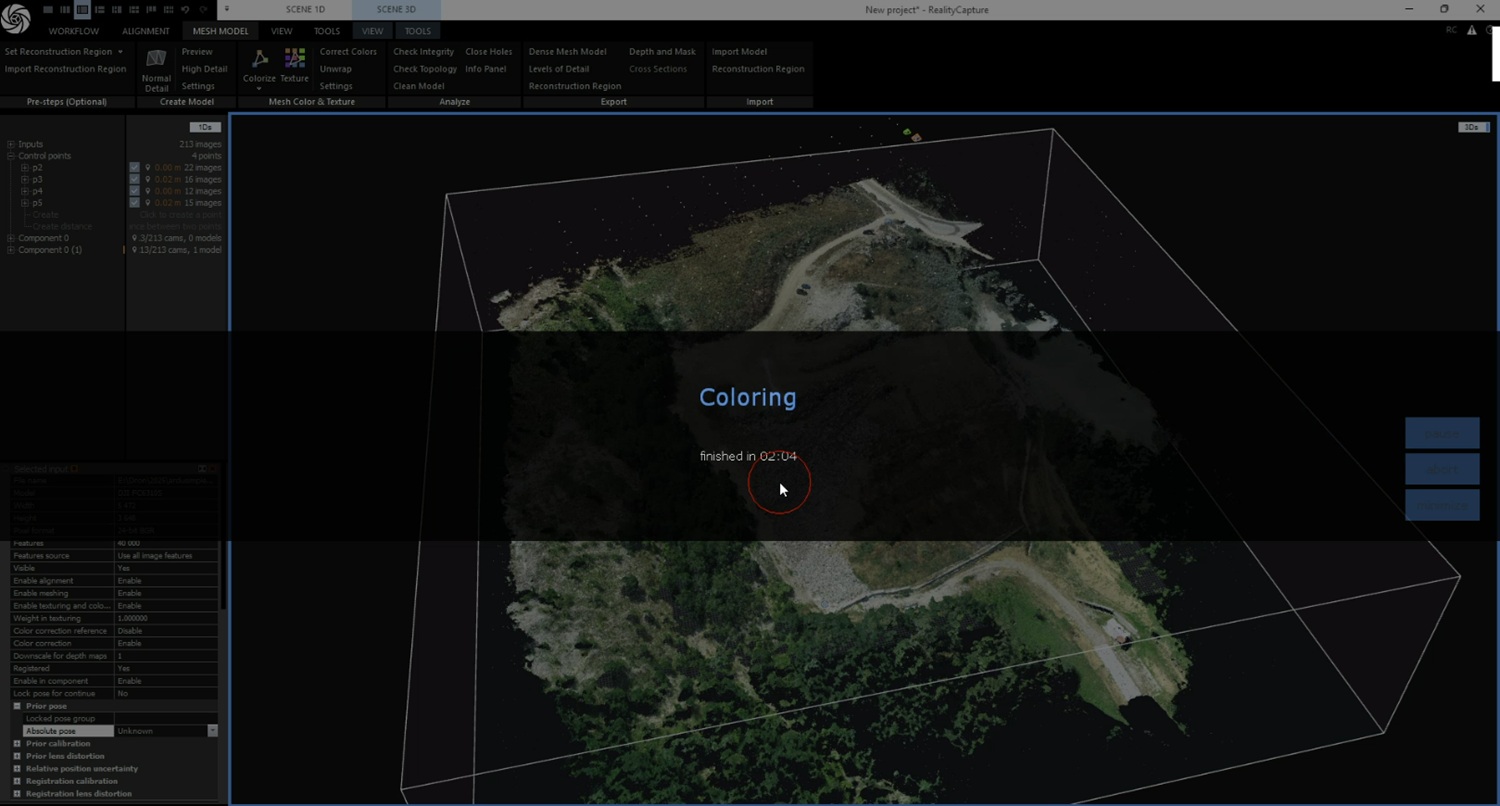
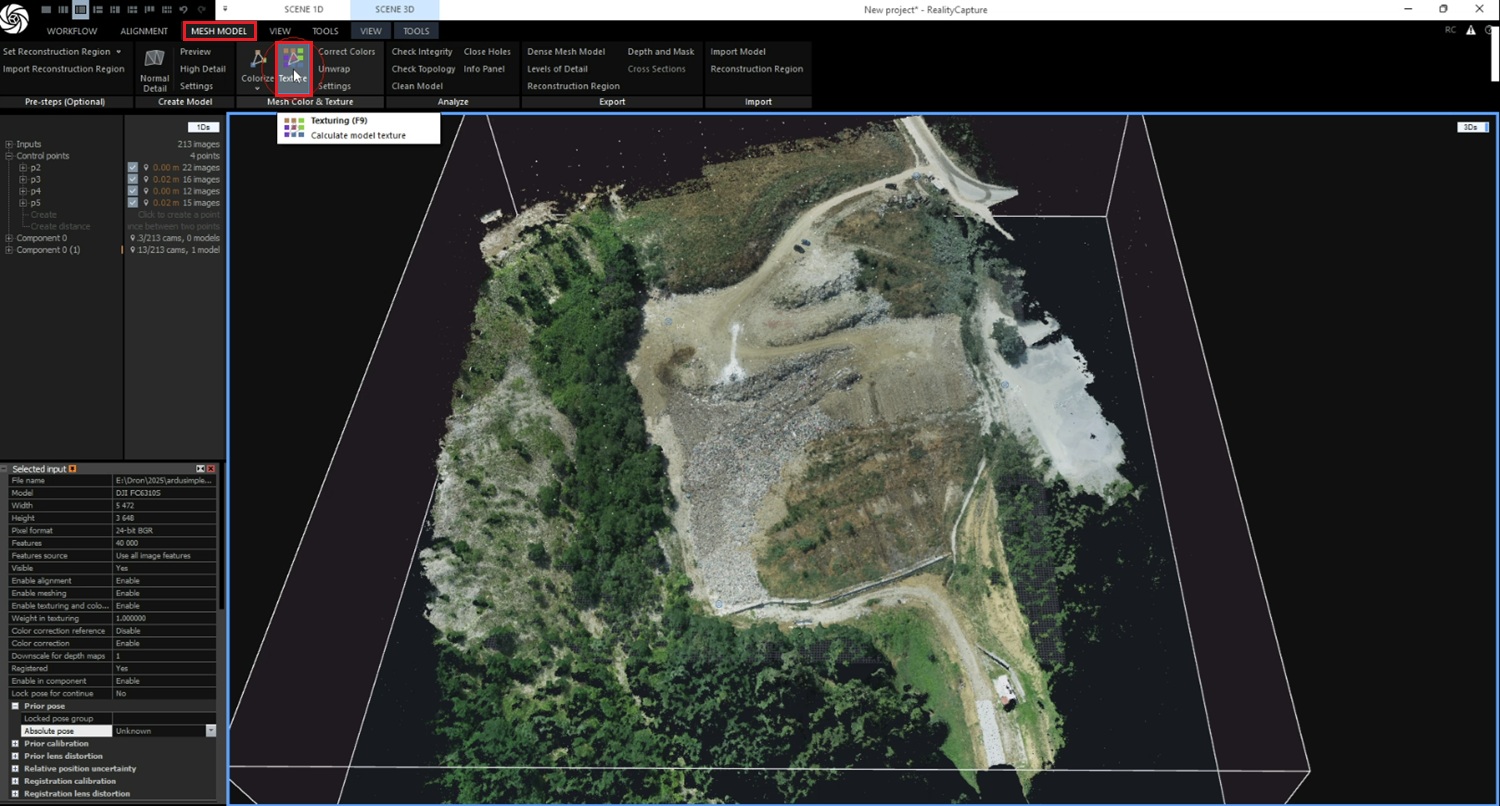
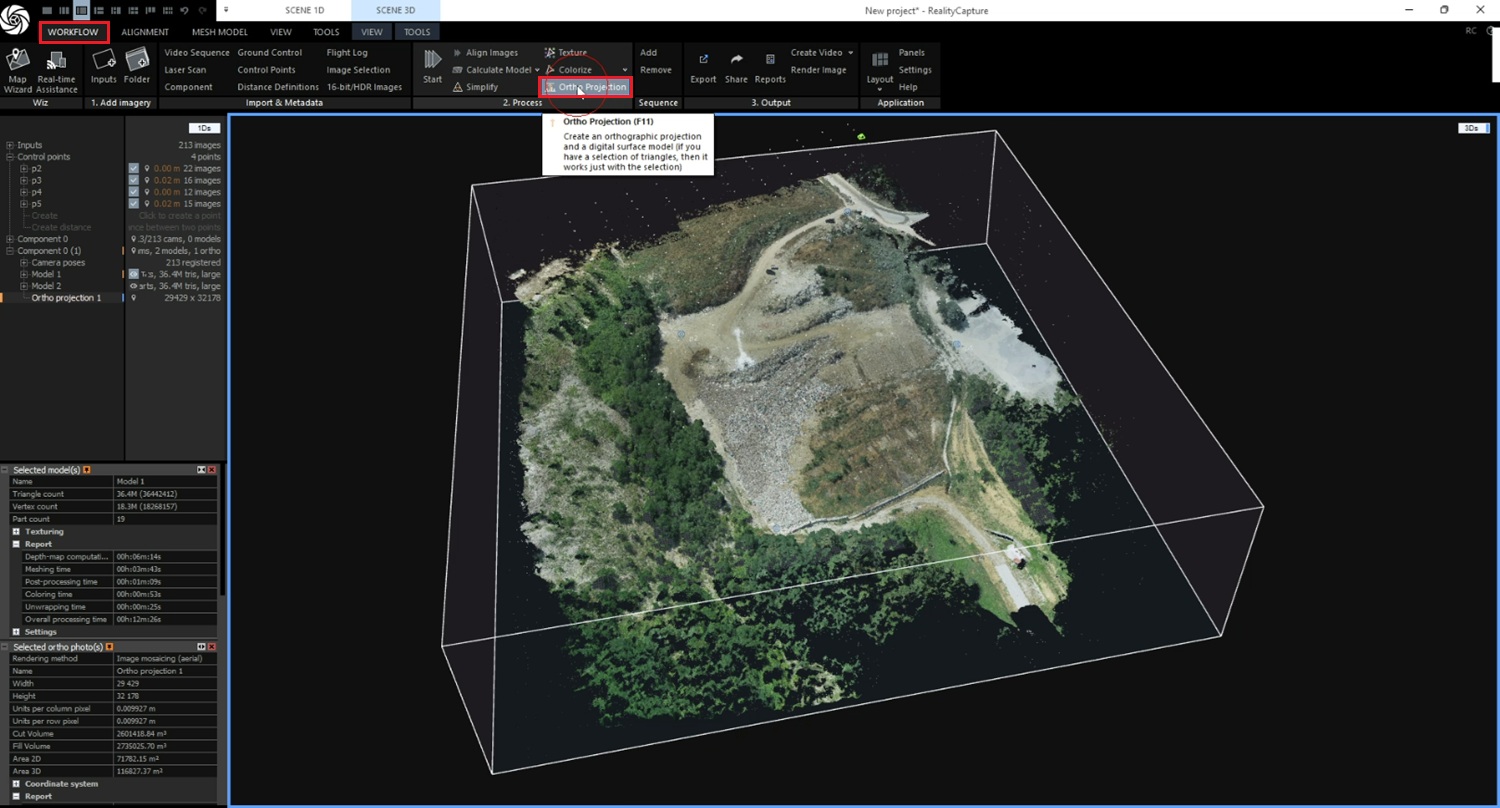
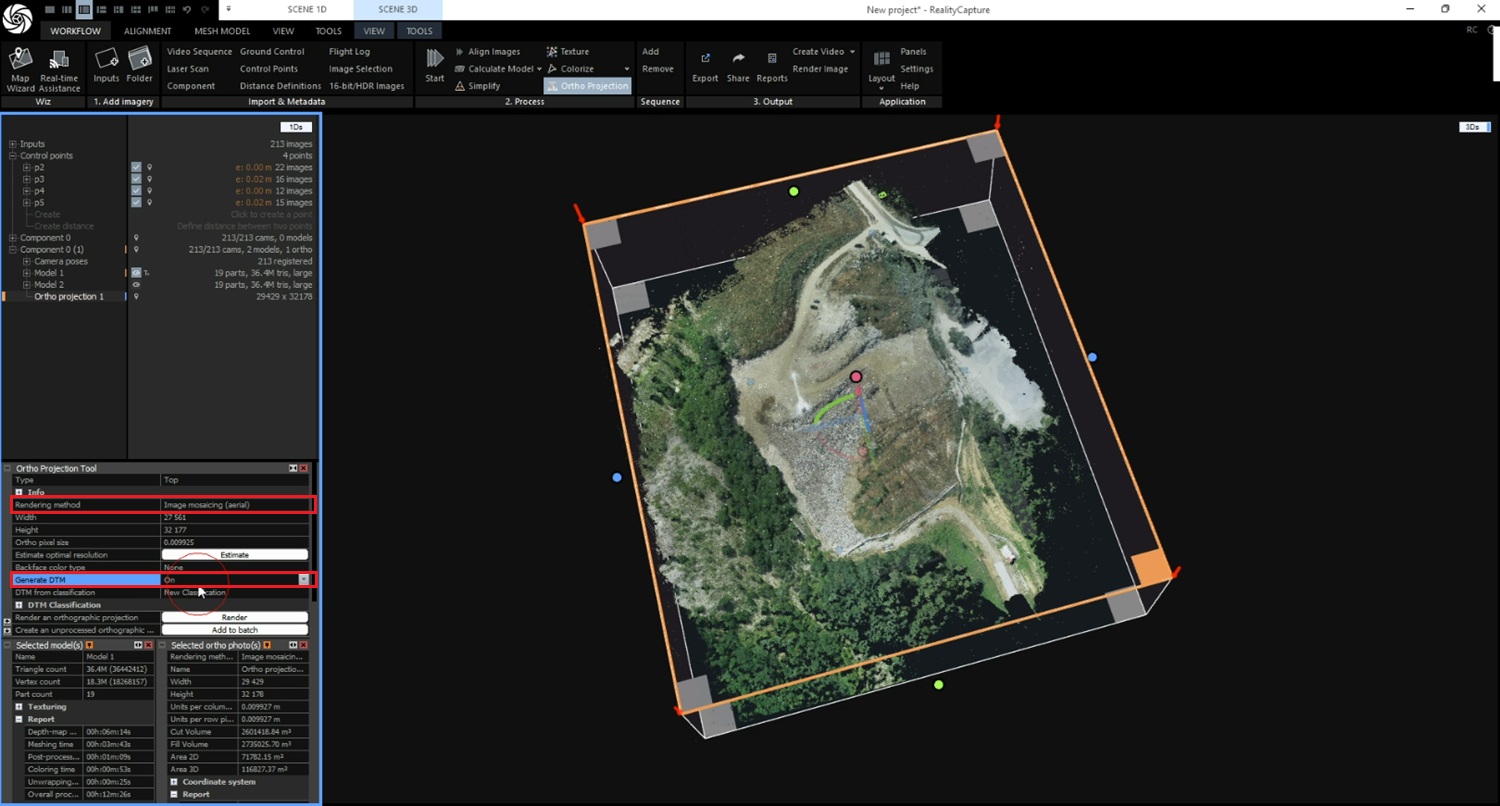
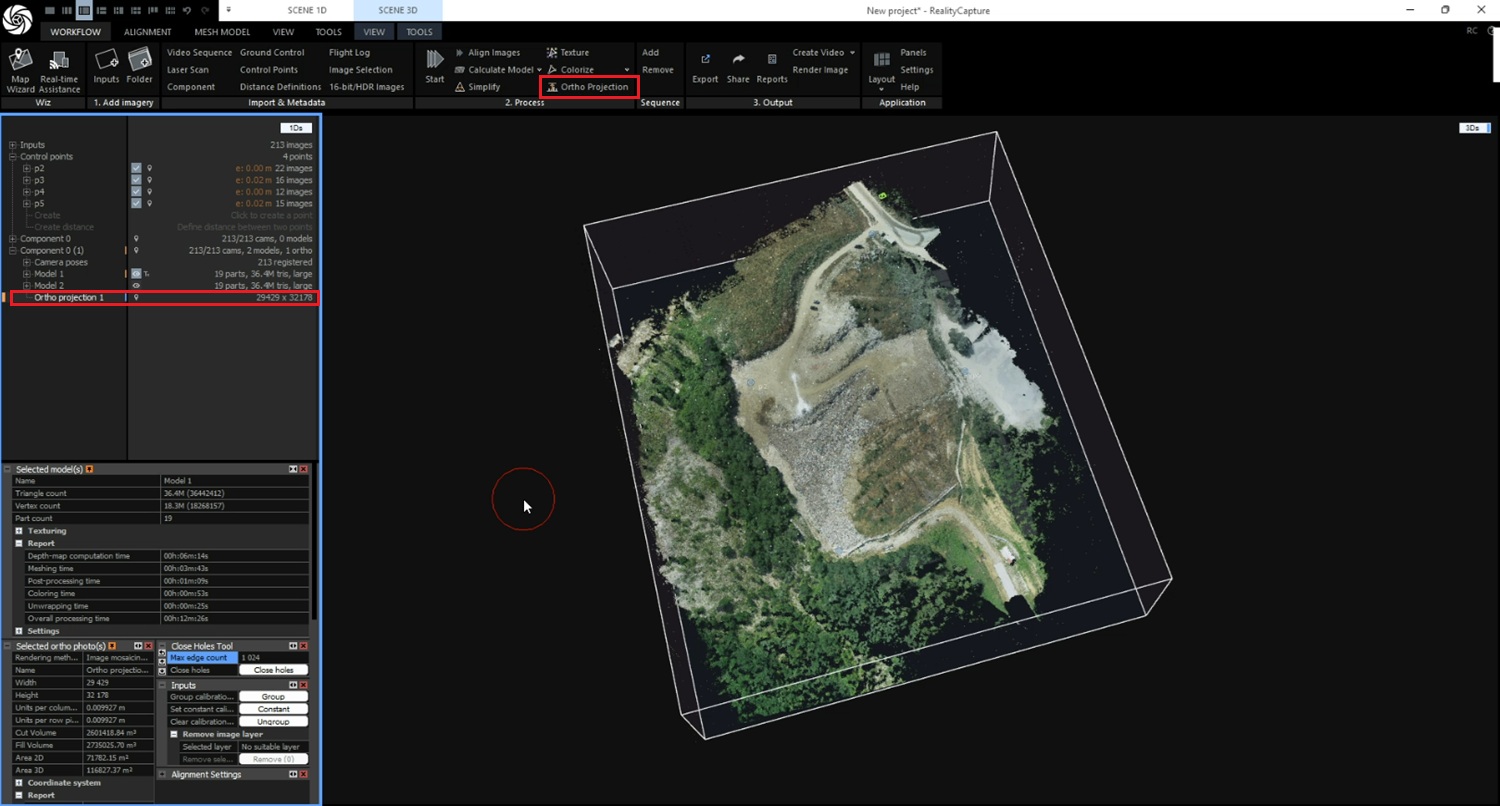
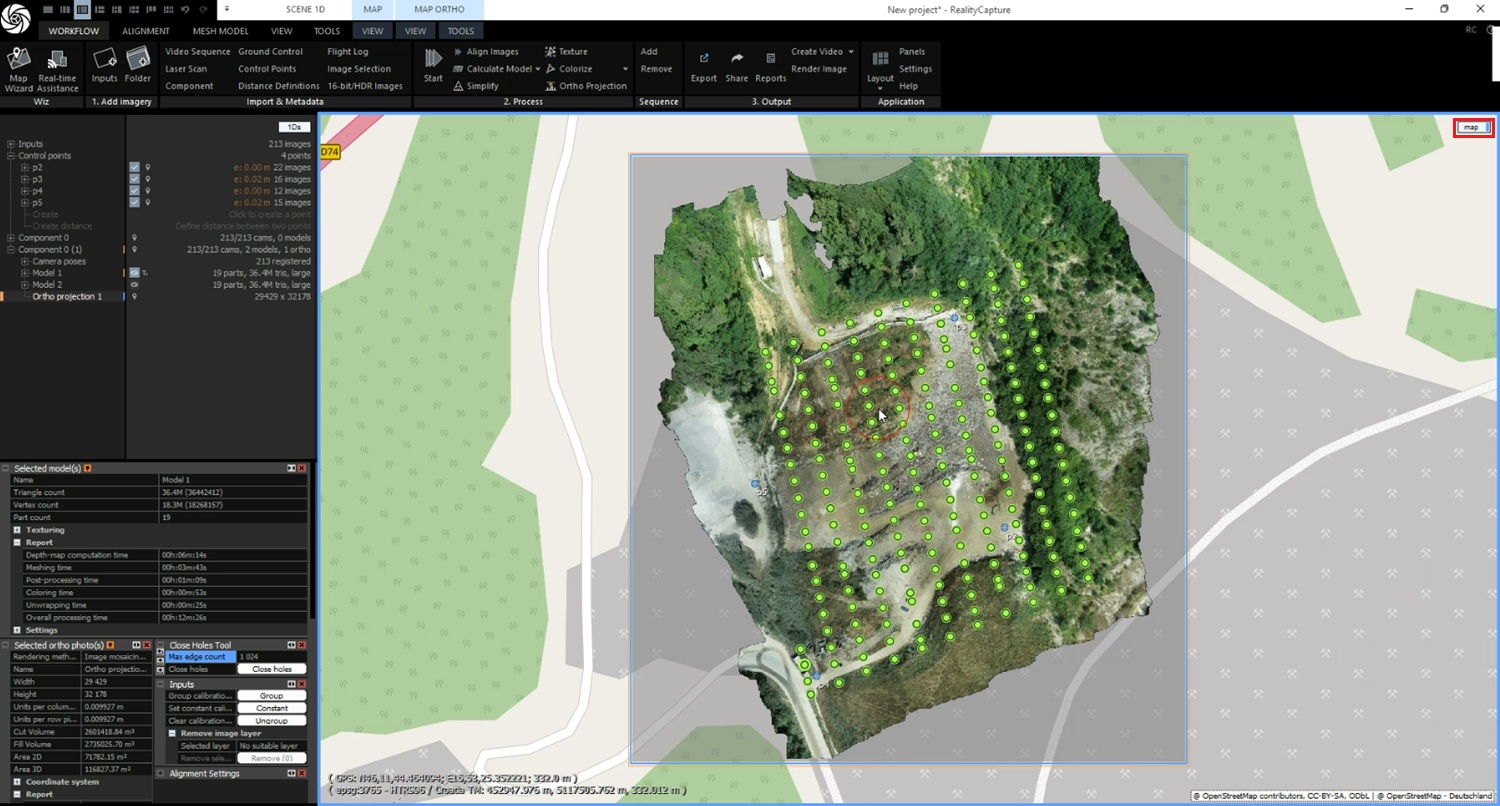
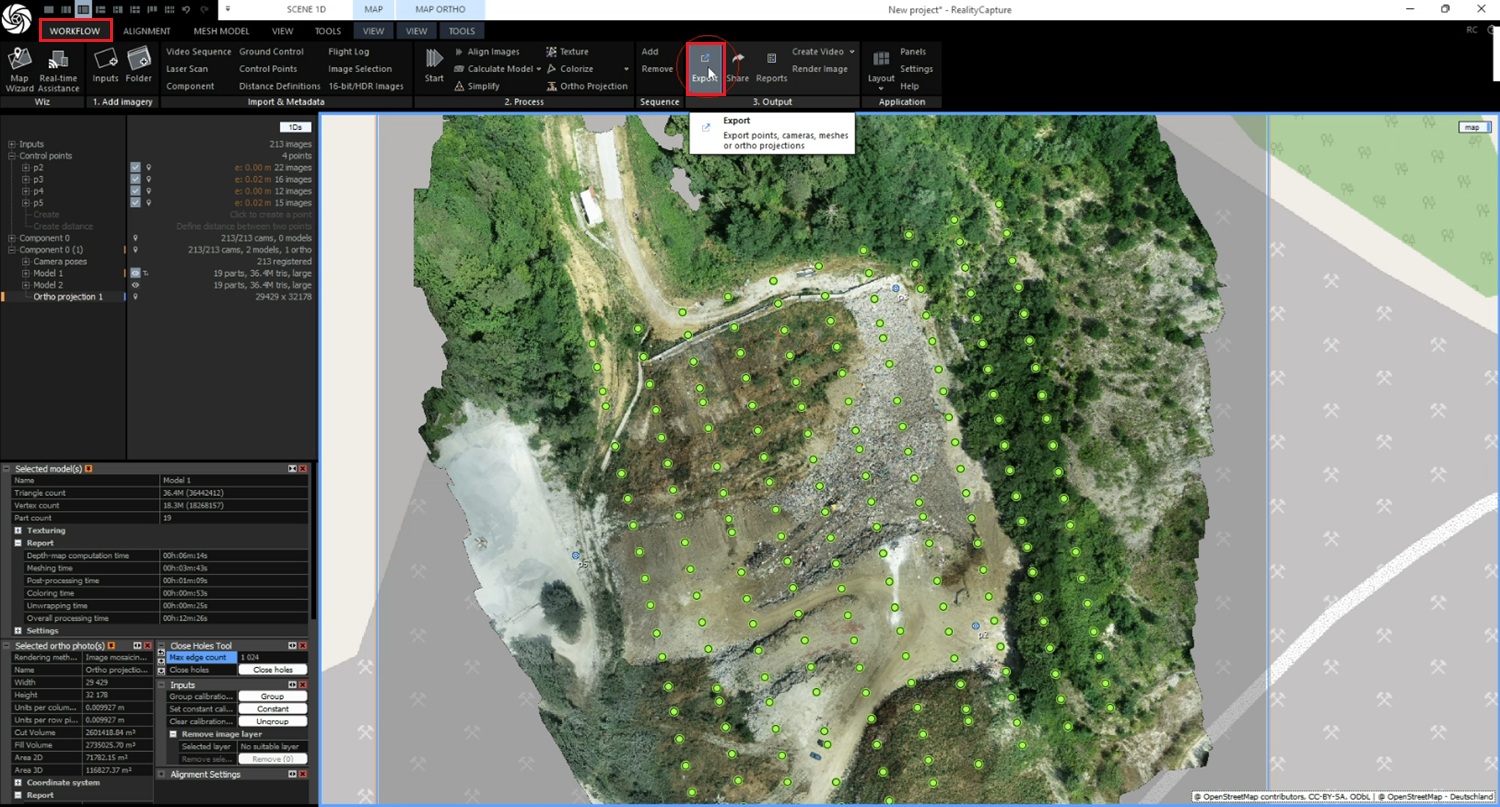
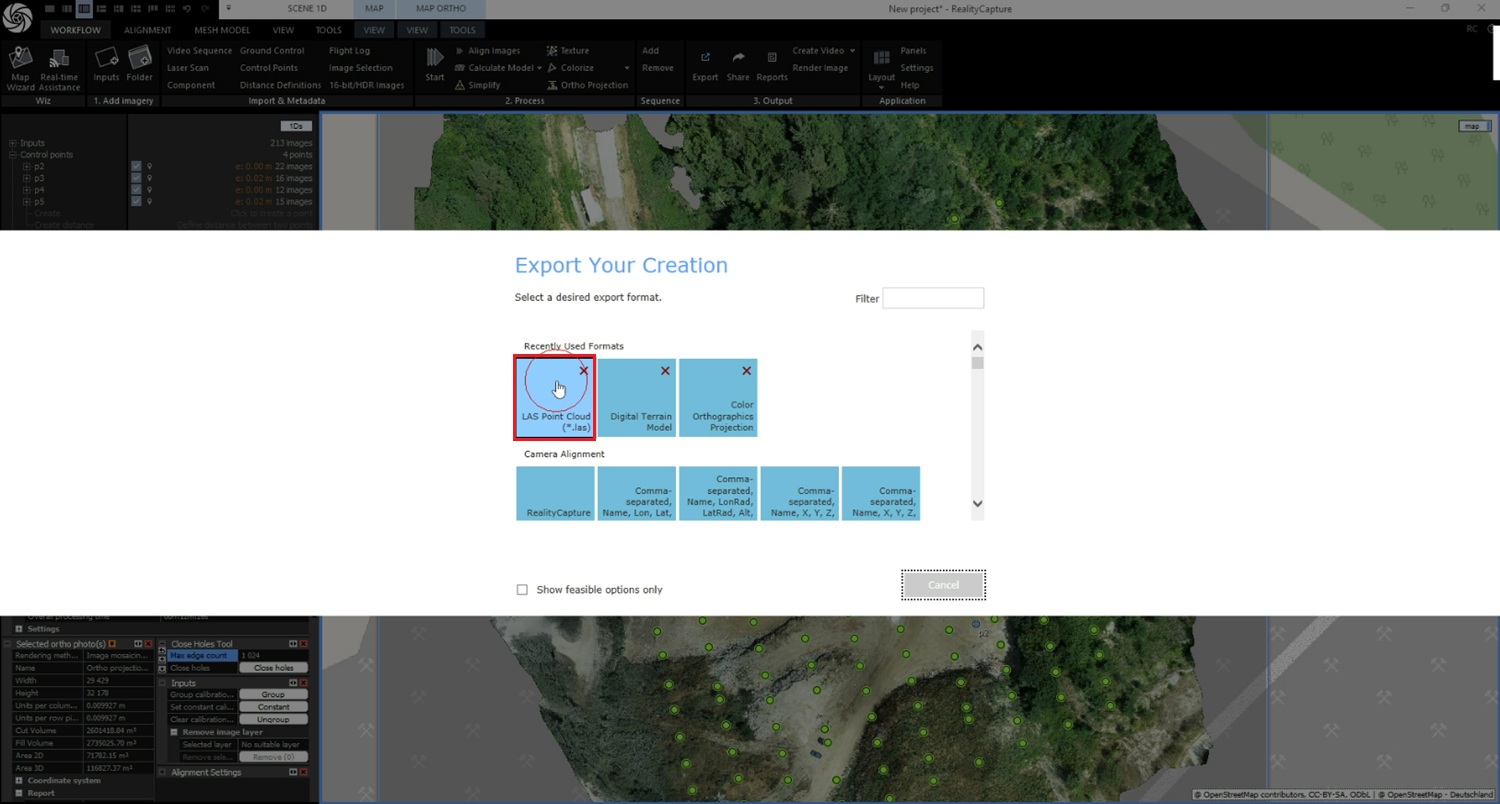
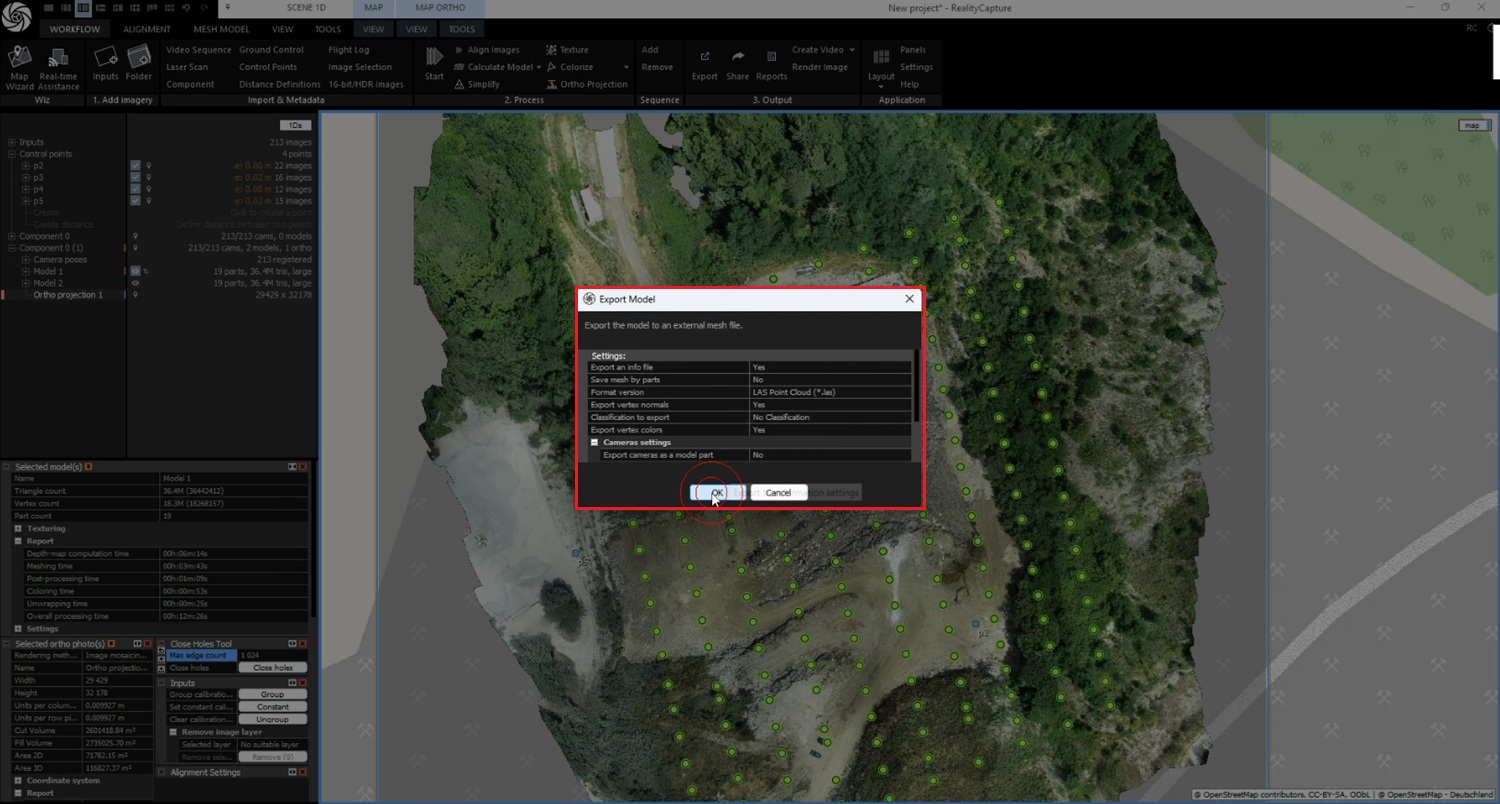
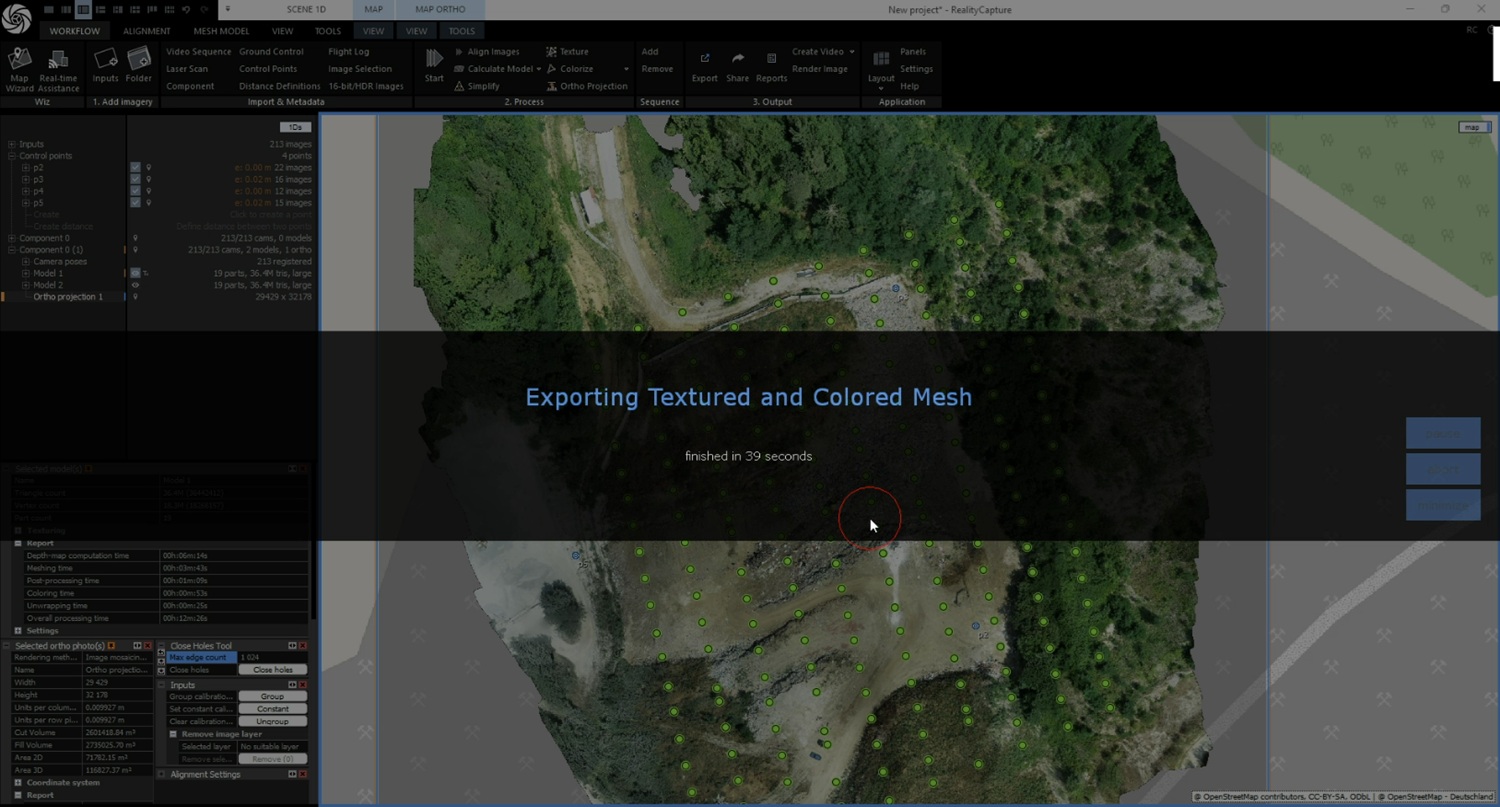
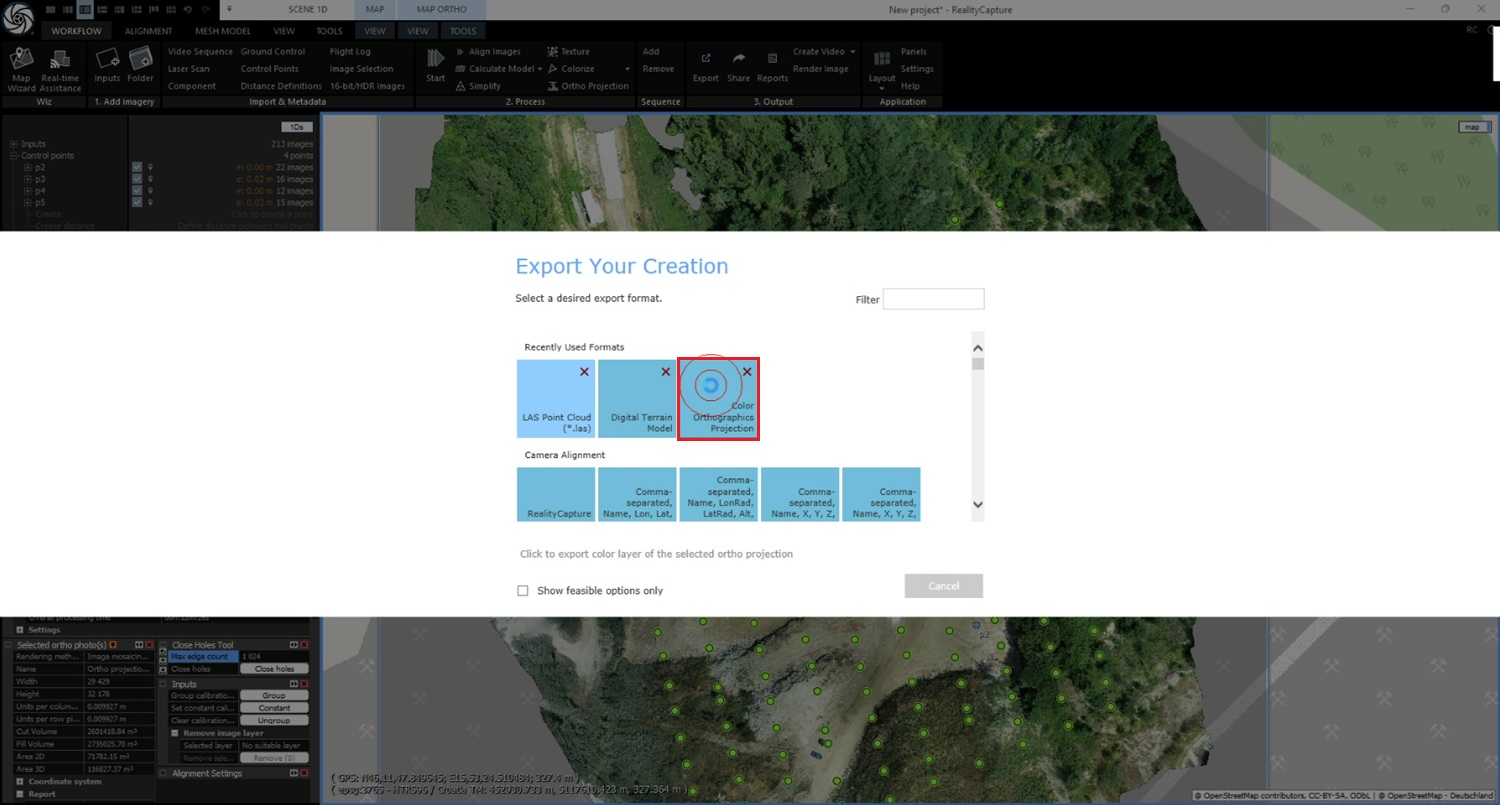
In this tutorial, we’ll show you step by step how to calculate the actual volume of soil or gravel using modern surveying tools: a non-RTK drone, anRTK kit to measure precise Ground Control Points (GCPs), and free software to build a georeferenced 3D model and compute the volume difference between two surveys (before and after the earthworks).
By following this process, you’ll be able to independently check your contractor’s quotation, ensure transparency, and make data-driven decisions. Even if you are new to photogrammetry or RTK surveying, the steps are practical and easy to replicate.
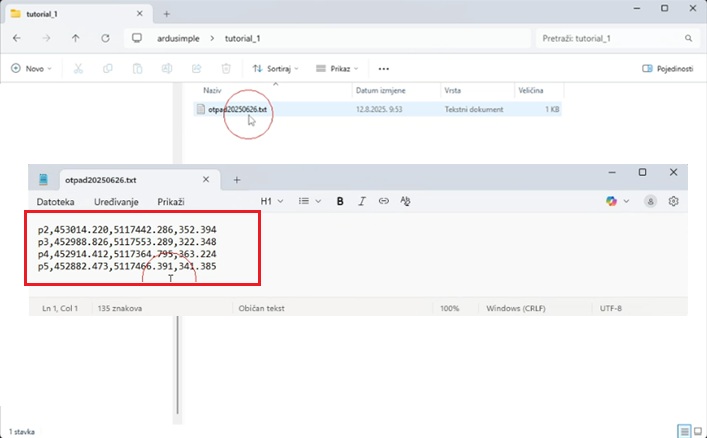
Note: This tutorial does not cover how to place GCPs on the ground, measure their precise coordinates with the RTK Calibrated Surveyor Kit, or capture drone images. These steps are already explained in our tutorial How to create accurate 3D photogrammetry maps using GCPs and a non-RTK drone (Steps 1–40). Please complete those steps first to obtain two image datasets (before and after the earthworks).
Required hardware:
- a laptop or computer
Required software:
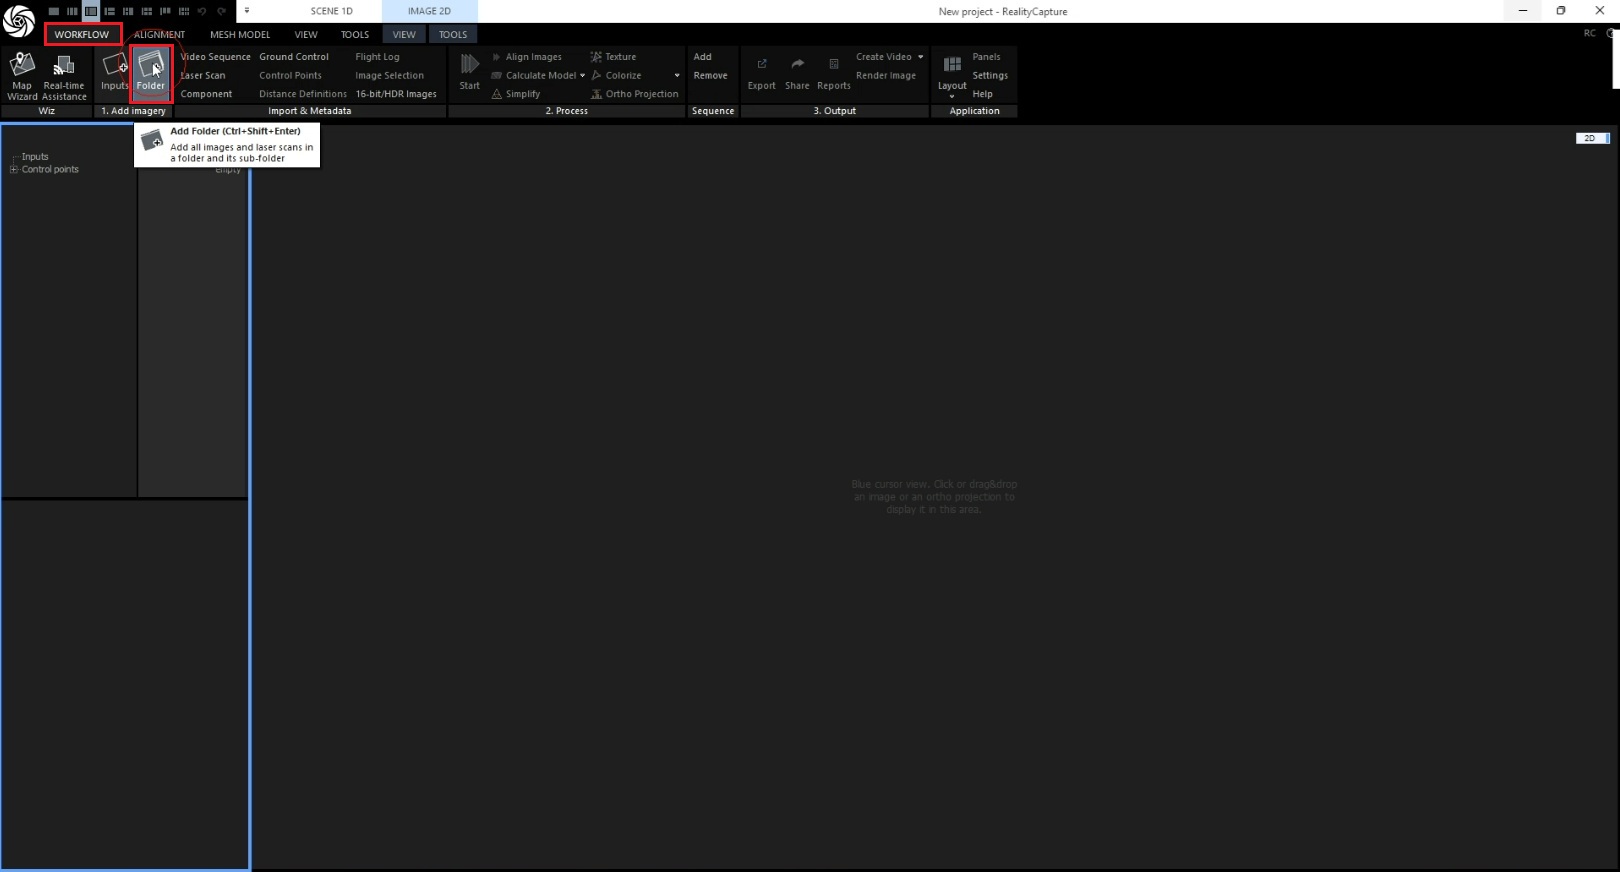
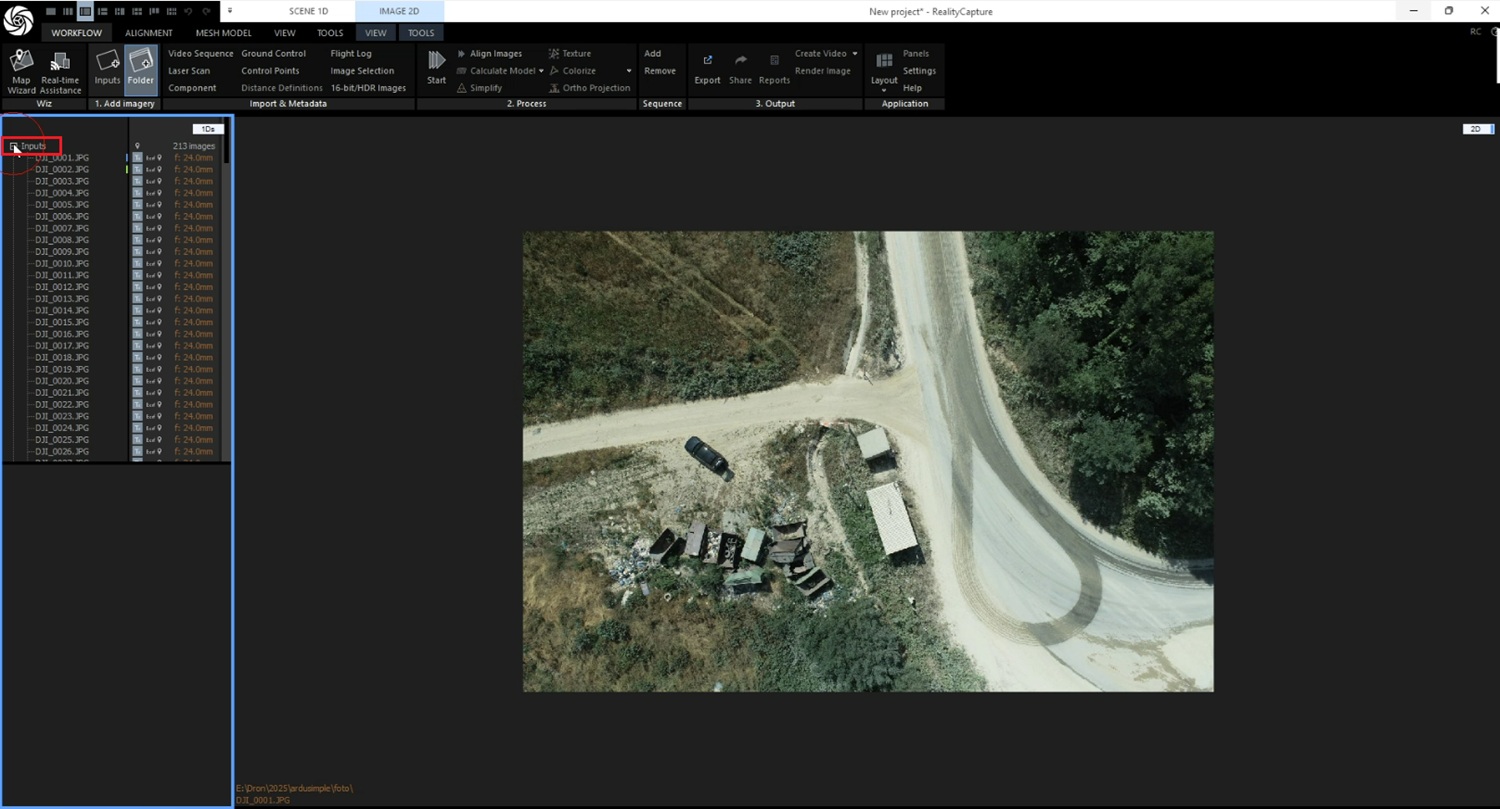
- RealityScan (build georeferenced 3D models)
- CloudCompare (calculate the volume difference)
How to measure soil and gravel volume changes during earthworks
Prepare your image data
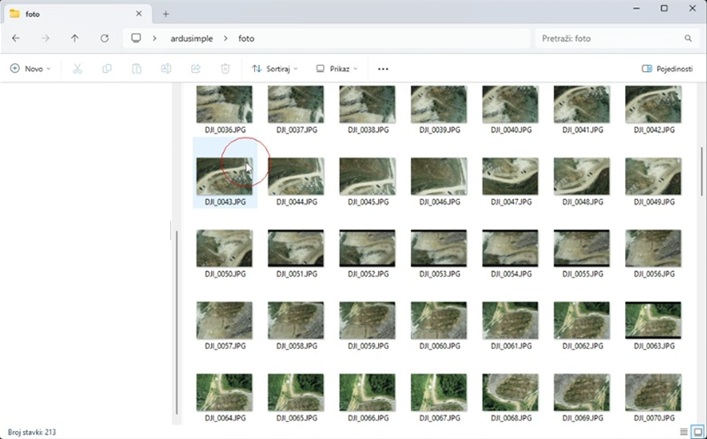
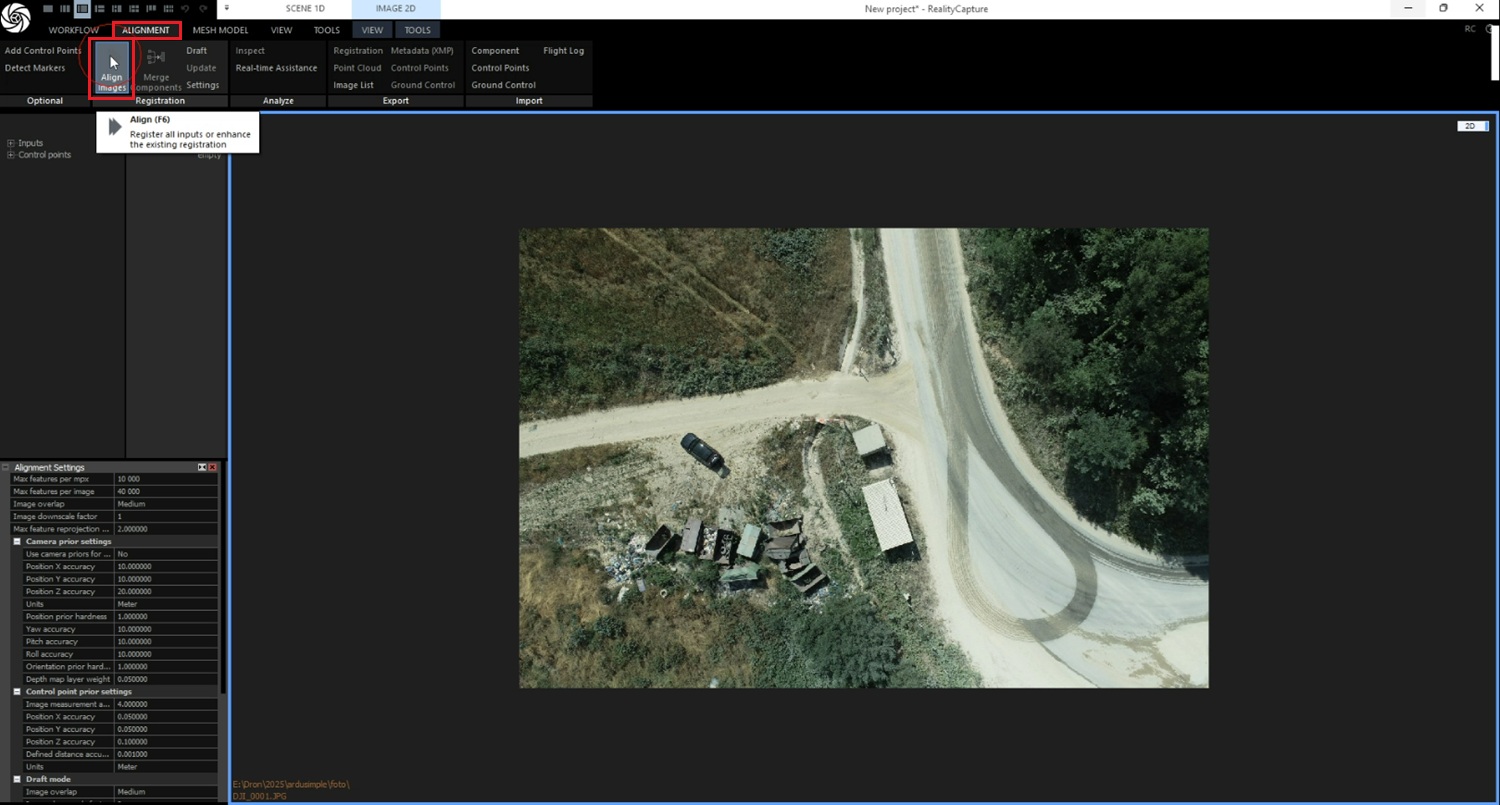
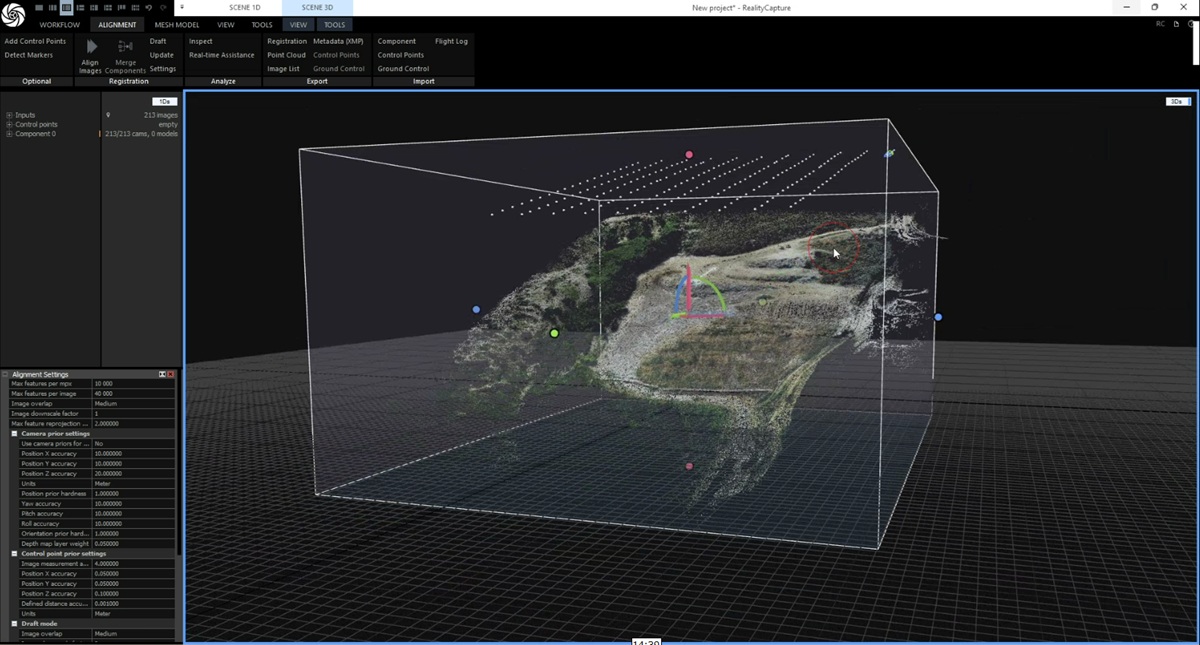
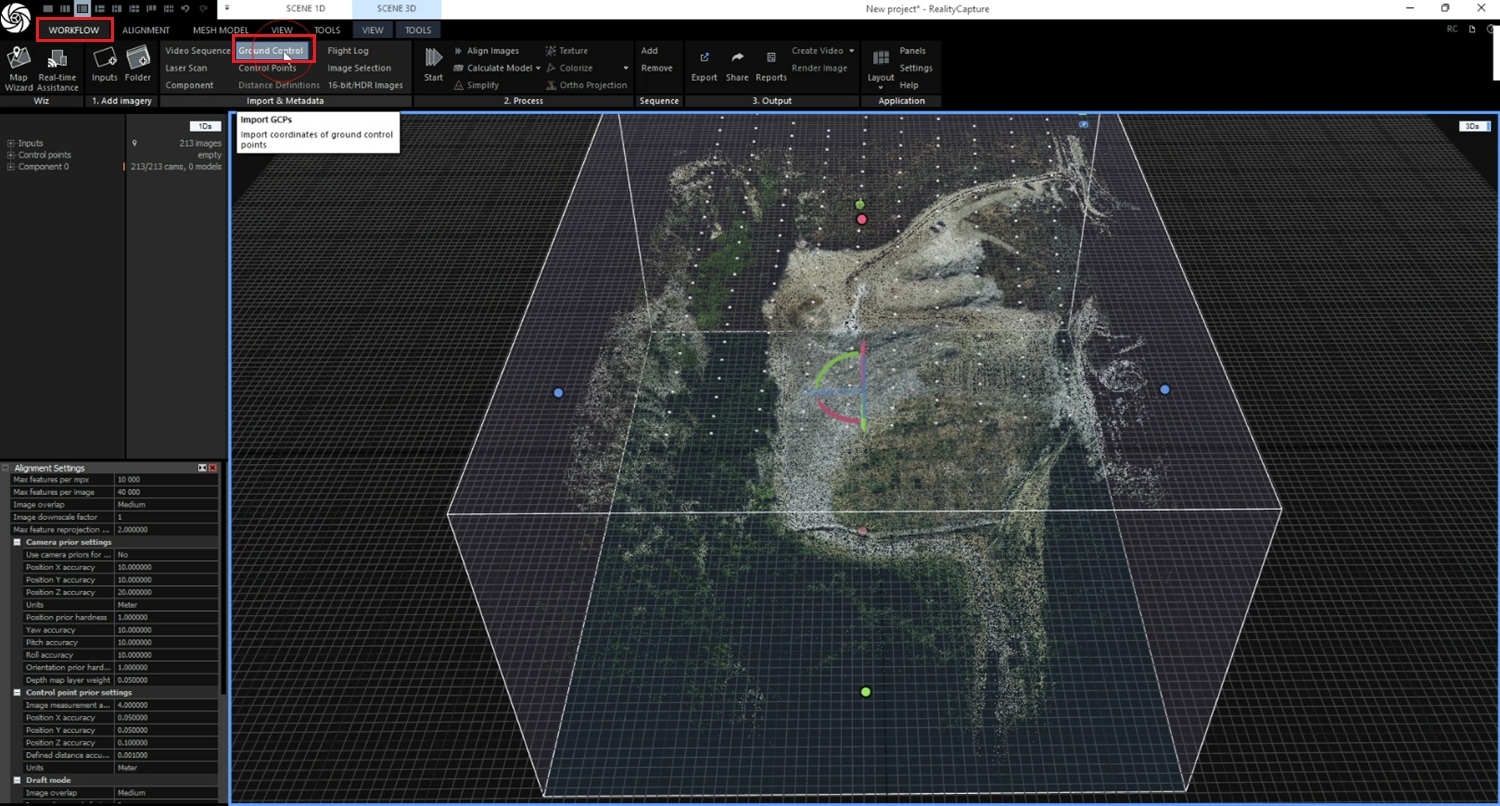
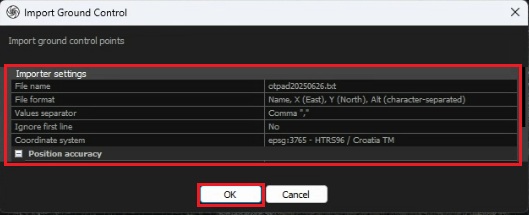
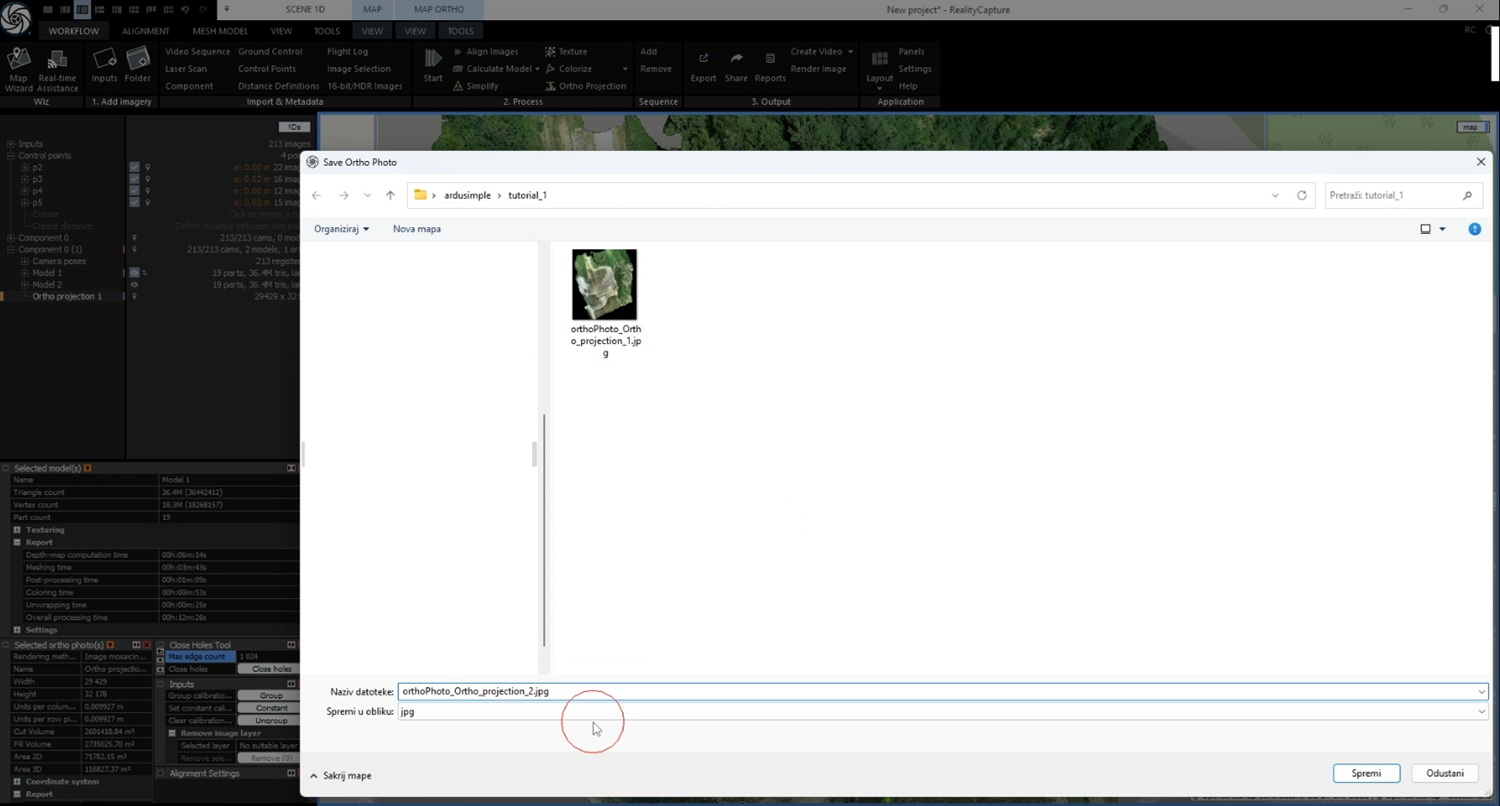
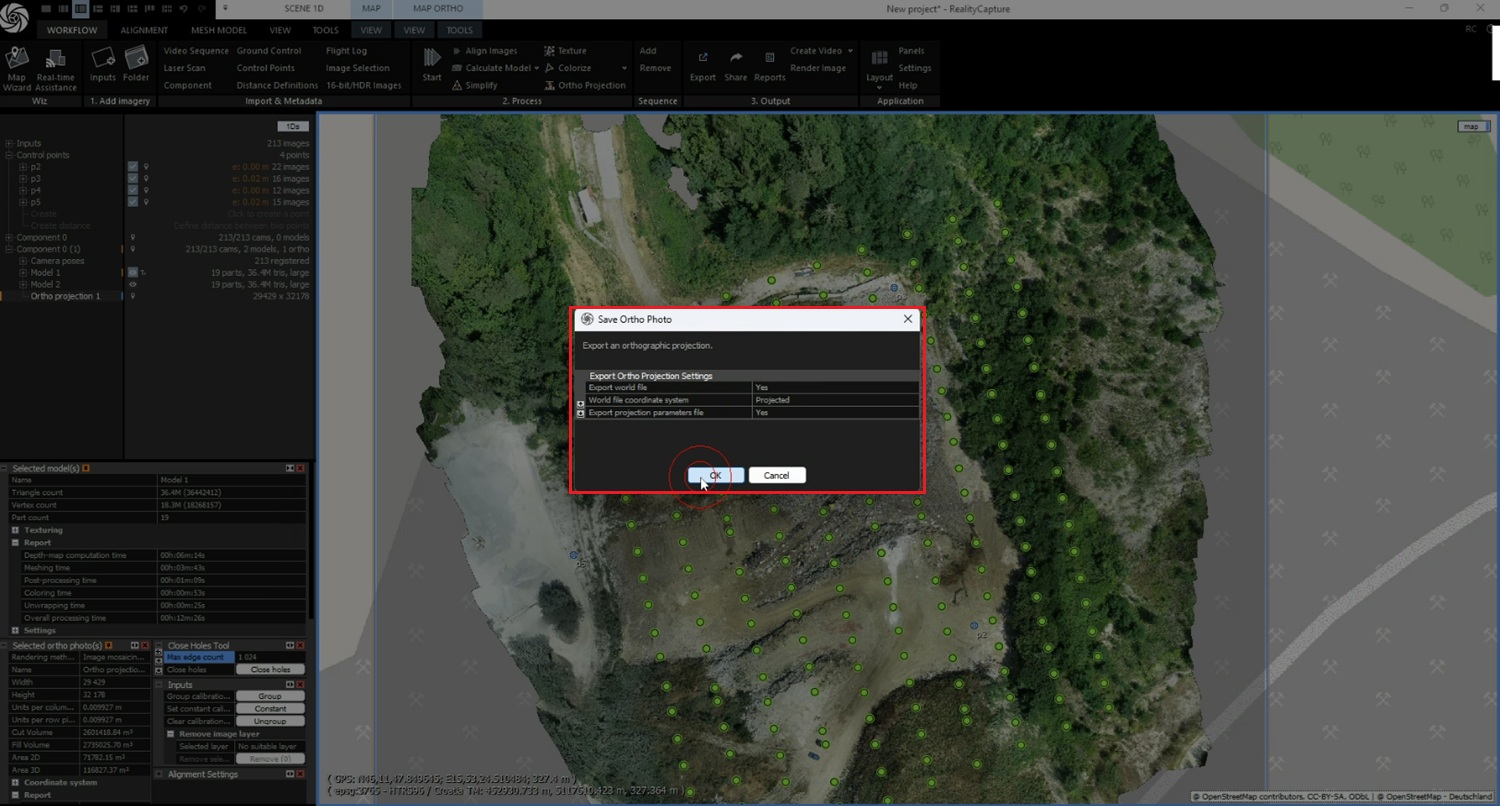
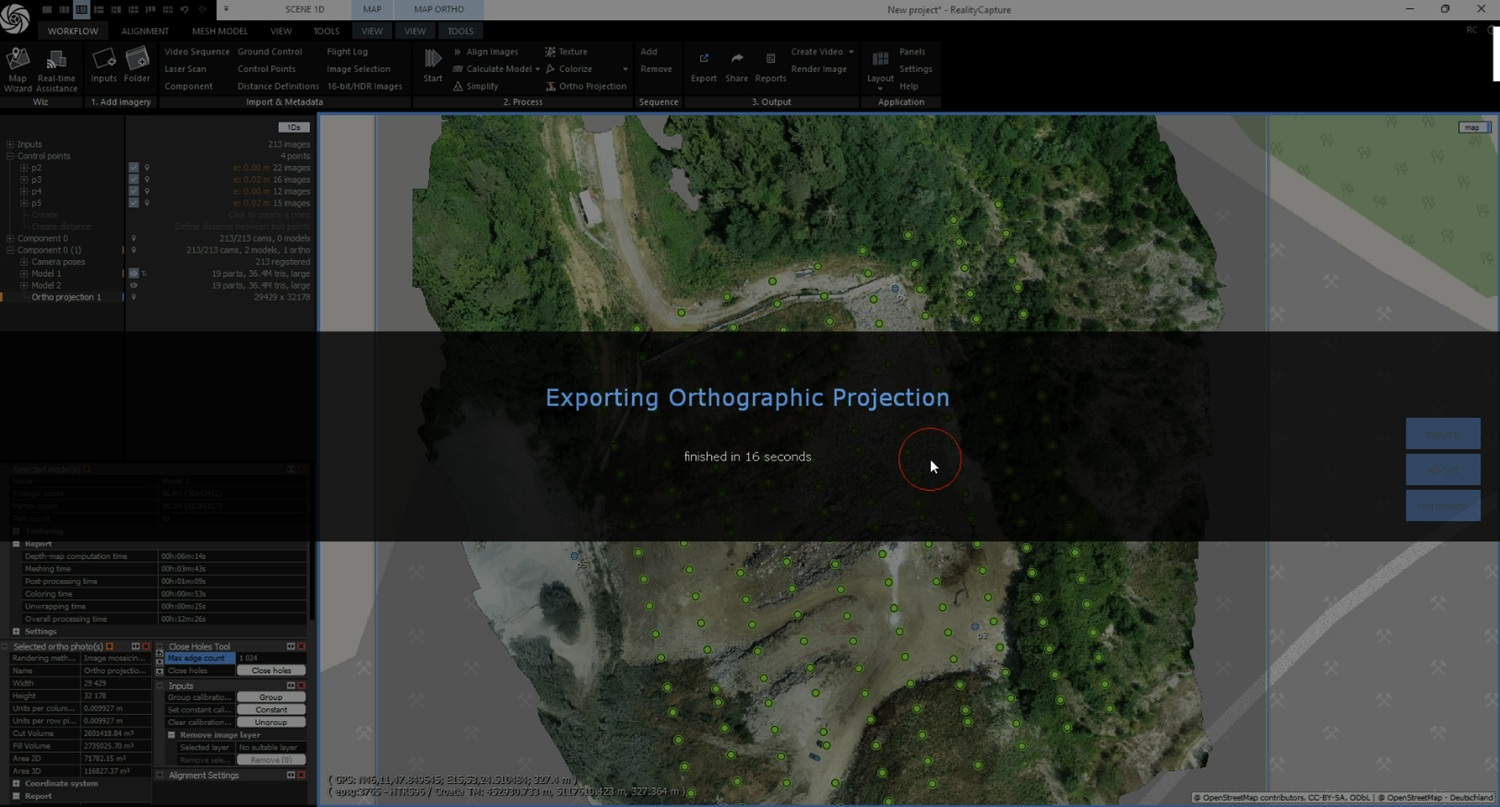
- After completing your first survey (before works) and returning to the office, download the photos from your drone’s SD card to your computer. Create a main project folder on your drive, then add a subfolder named foto. Copy all drone images into this folder and ensure they are saved in JPG format.
- Next, wait until the contractor has added or removed gravel and you can perform the second drone survey. Then repeat steps 1–43. Once complete, you will have the second model ready for comparison.
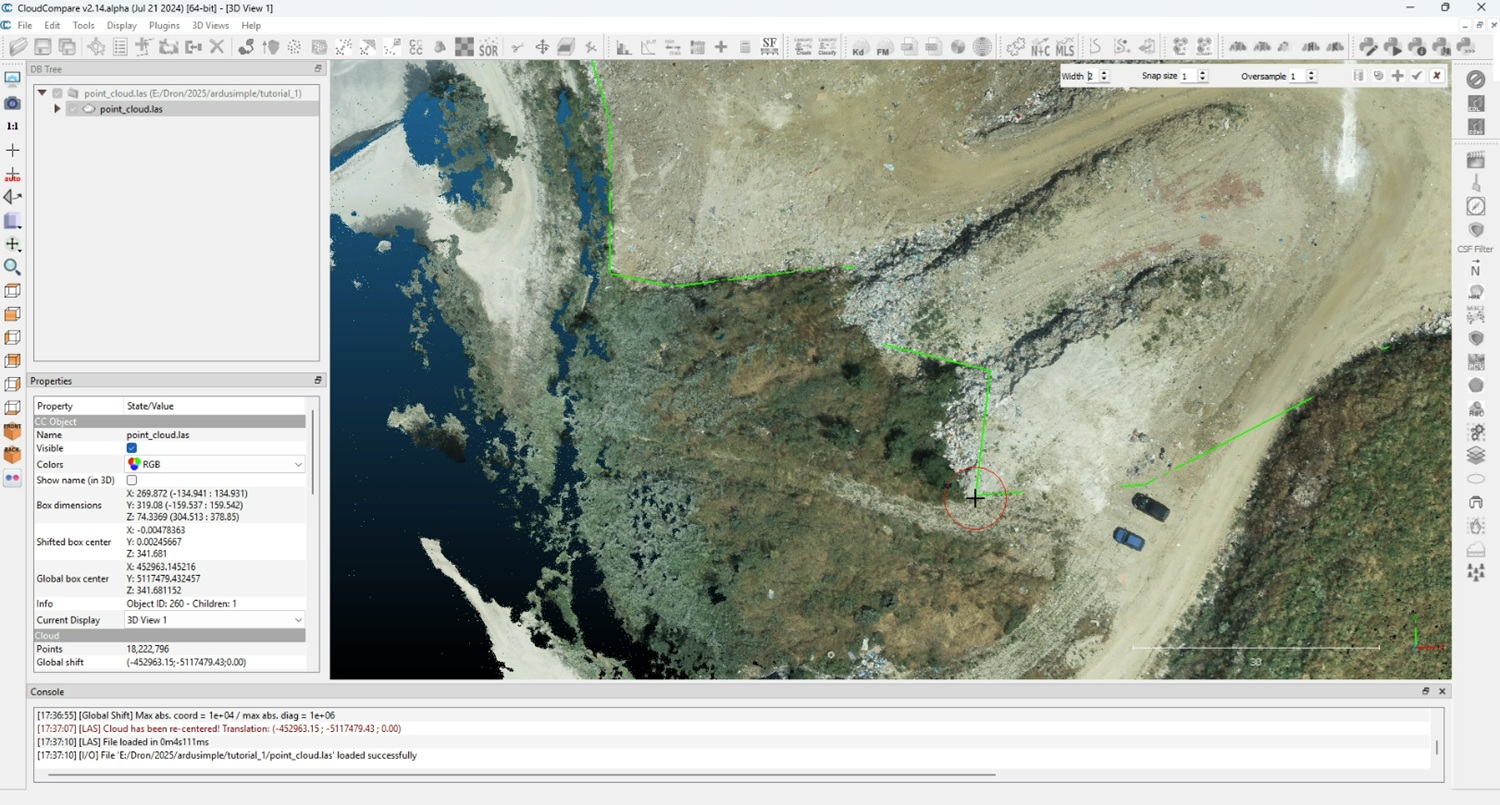
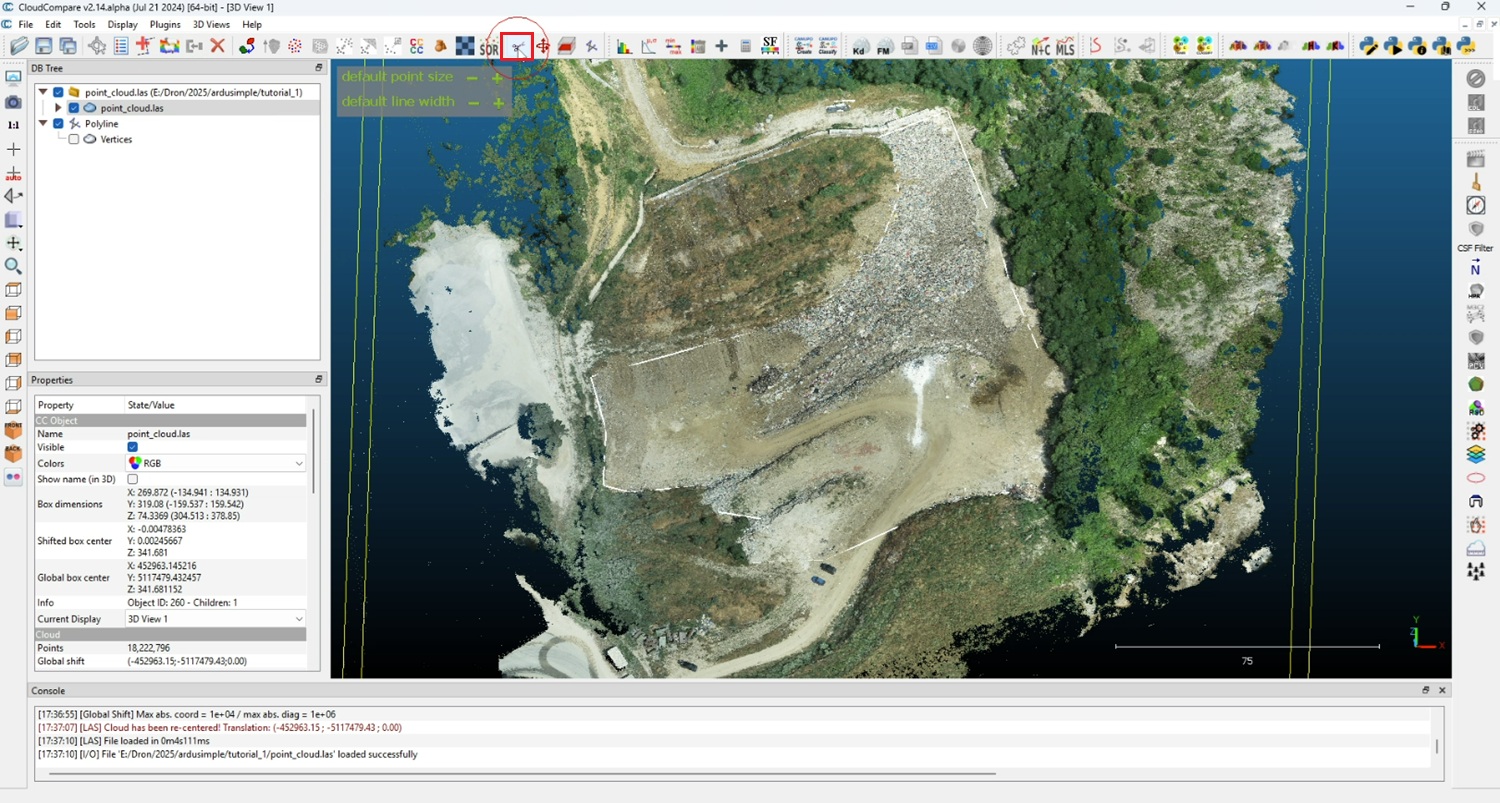
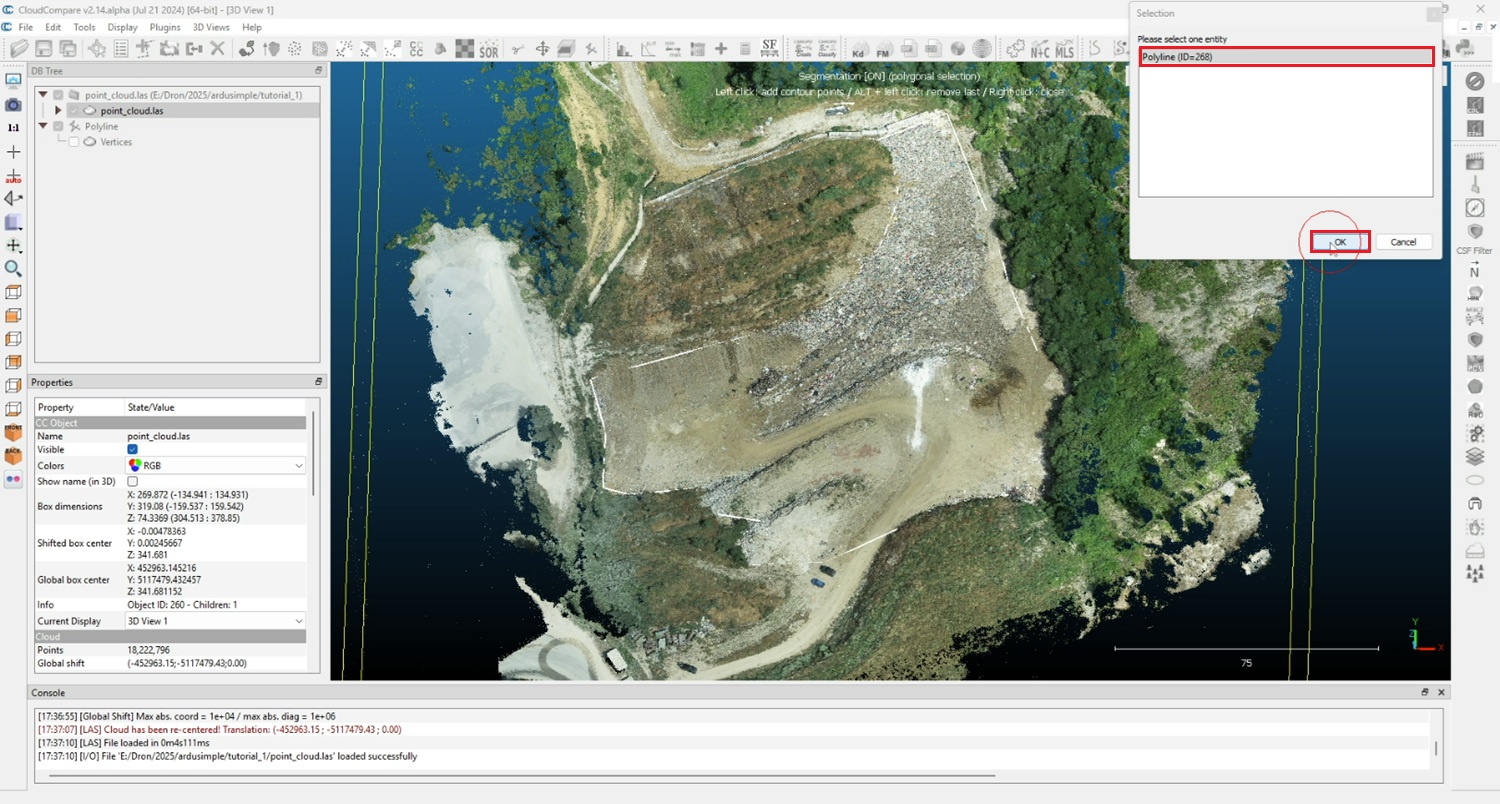
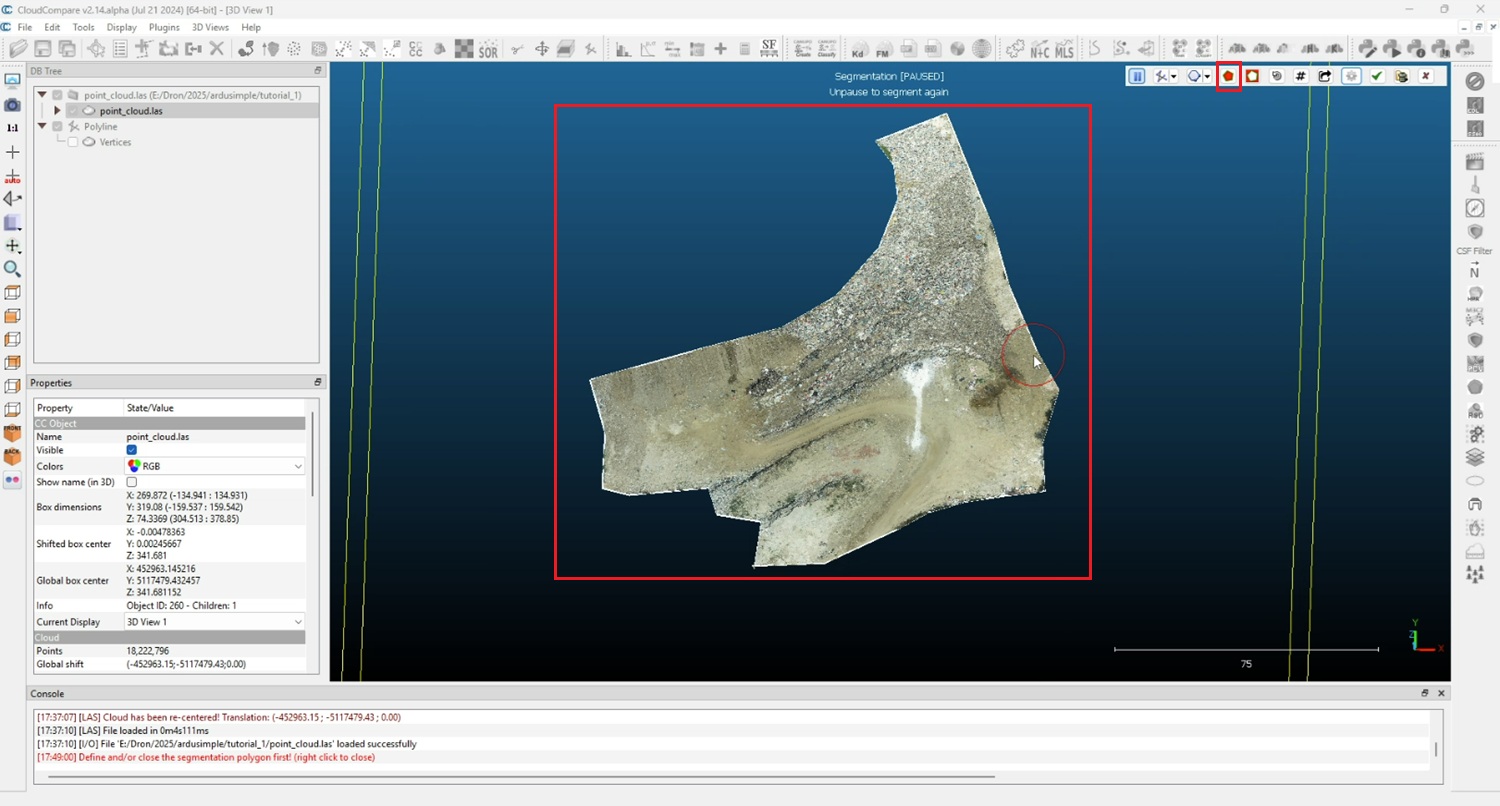
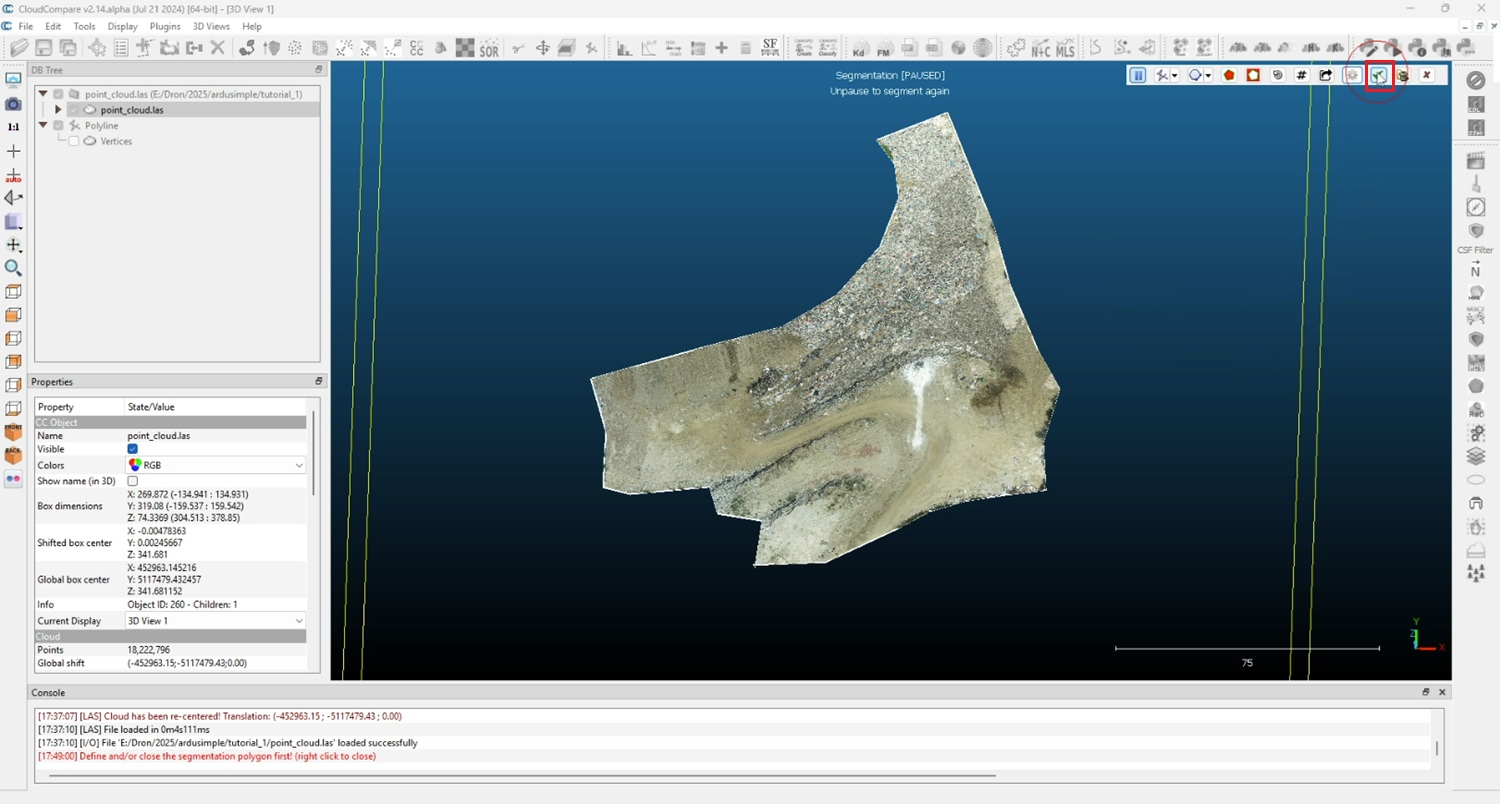
Create polyline and segments to define area of interest
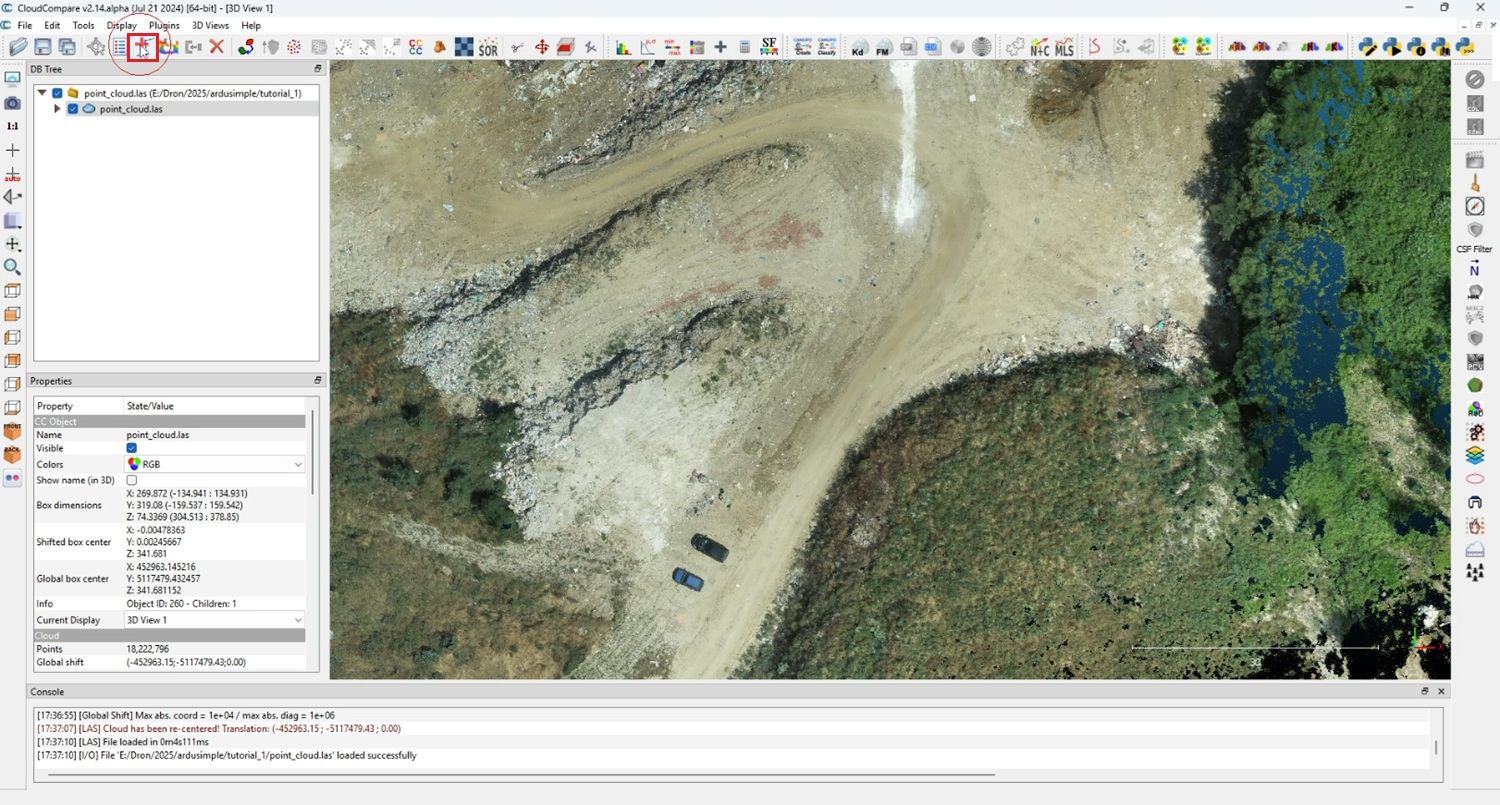
The polyline defines the boundary of the area where you want to calculate volume.
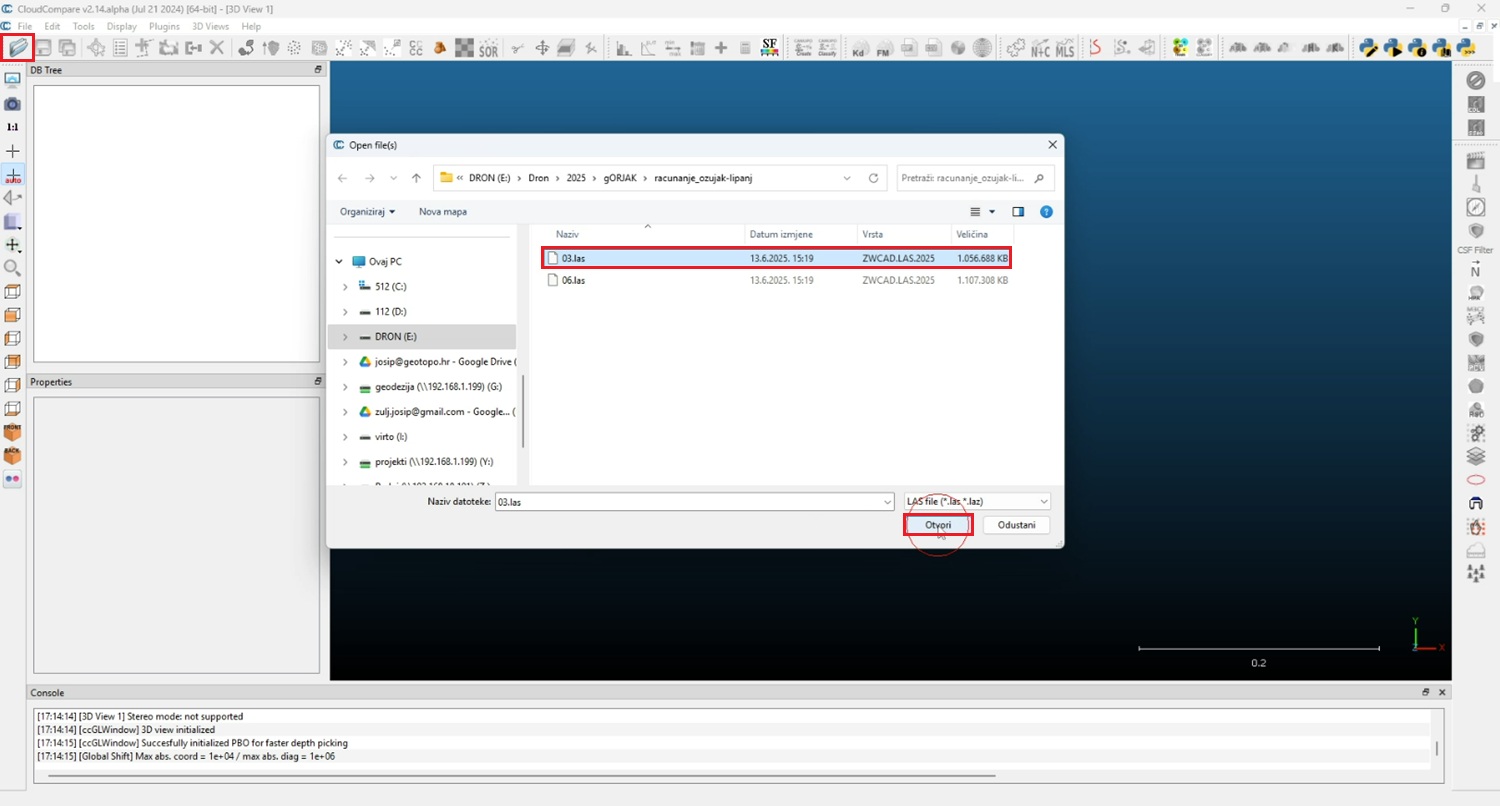
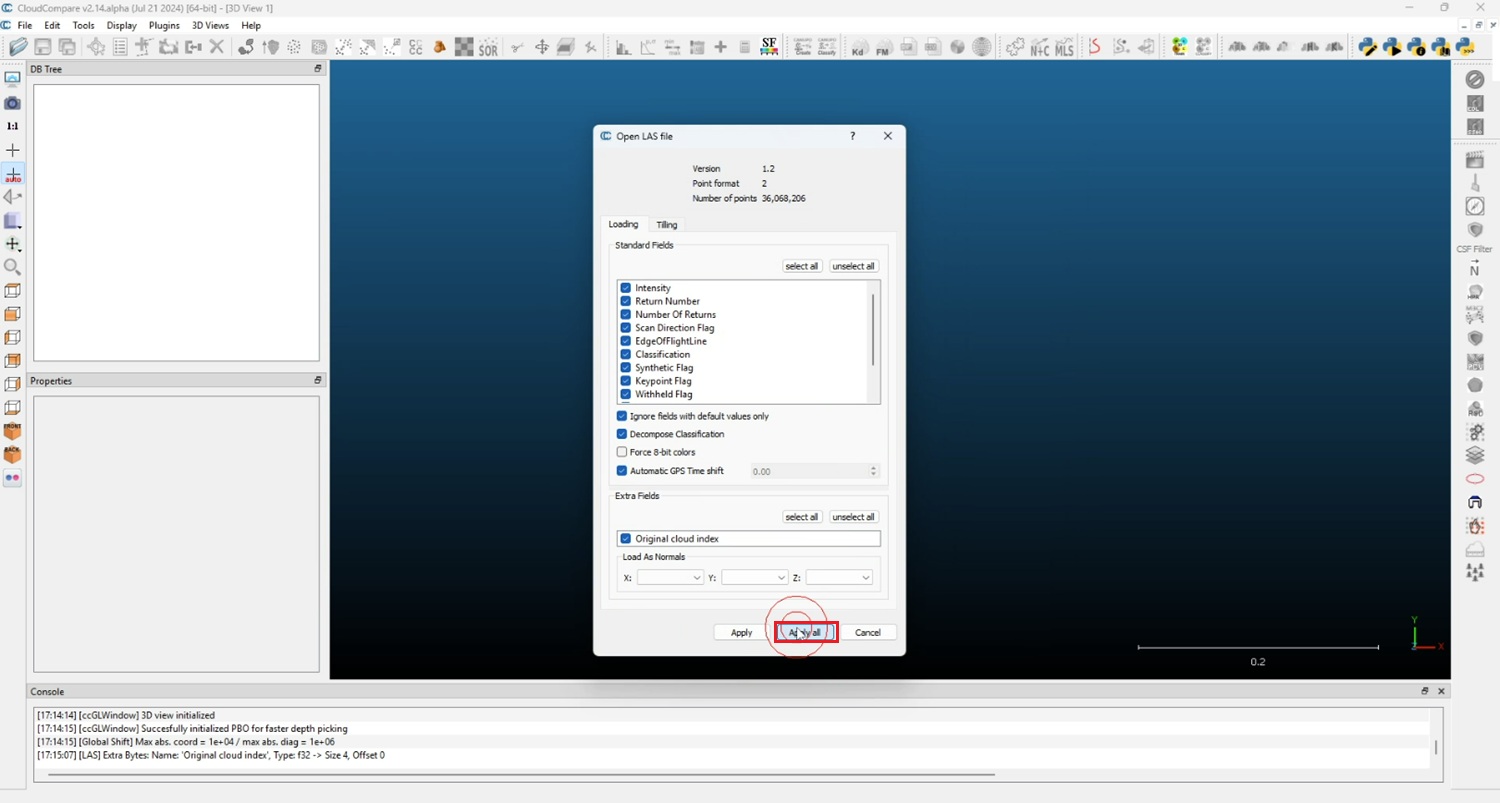
- Open CloudCompare.
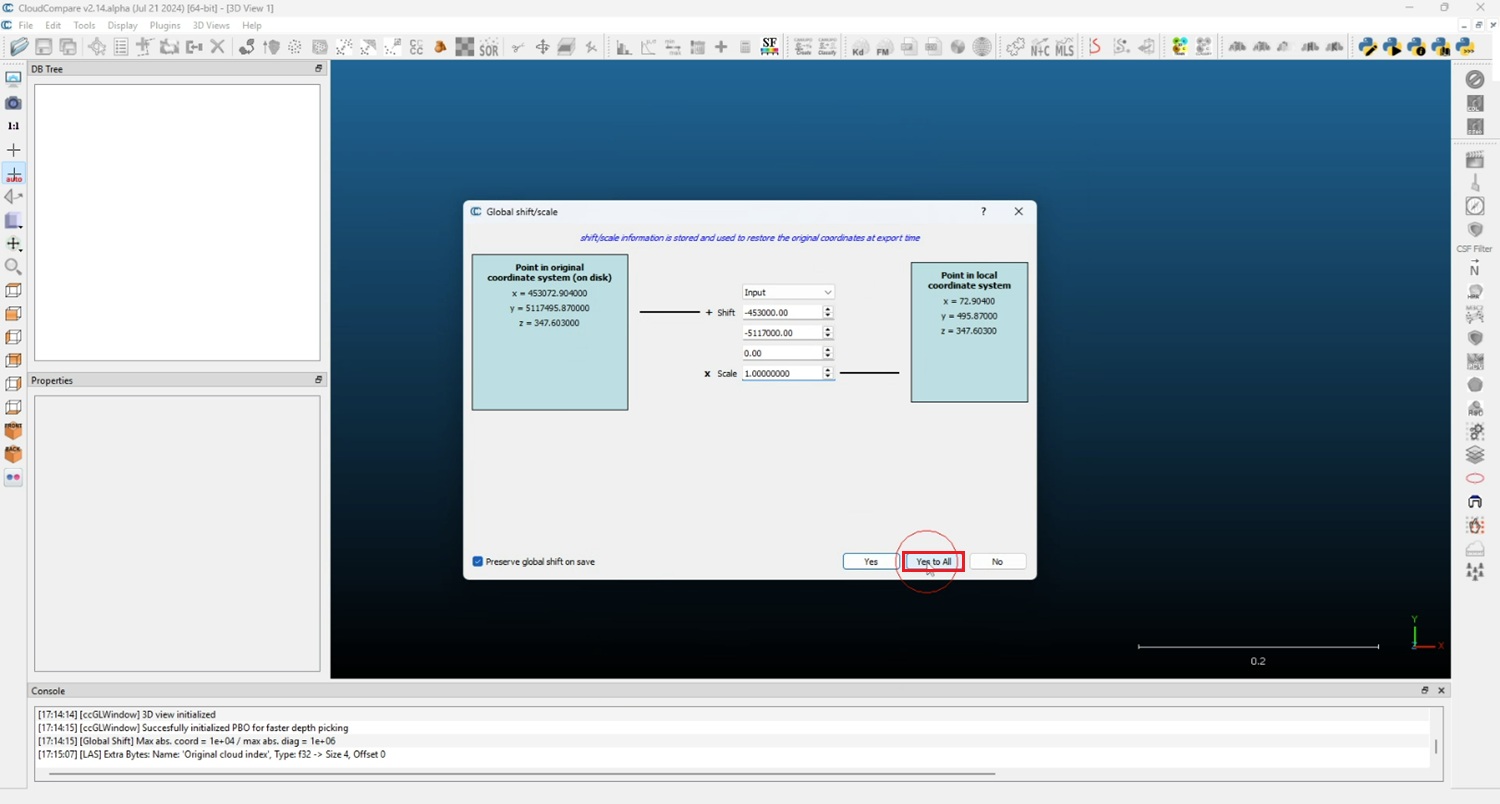
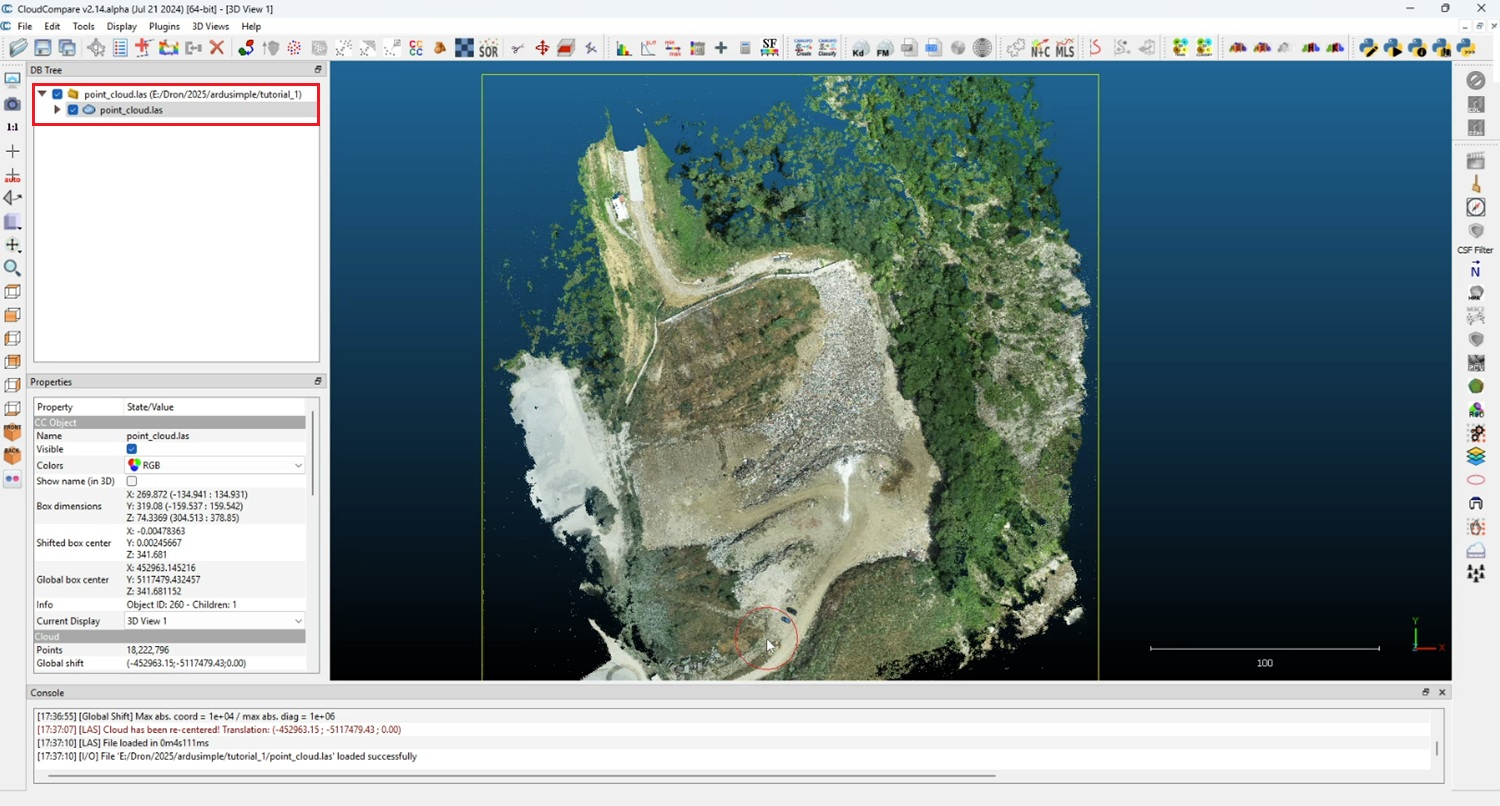
- Click Open and load the LAS model that makes it easiest to identify the boundaries of your area of interest (usually the model containing the volume).
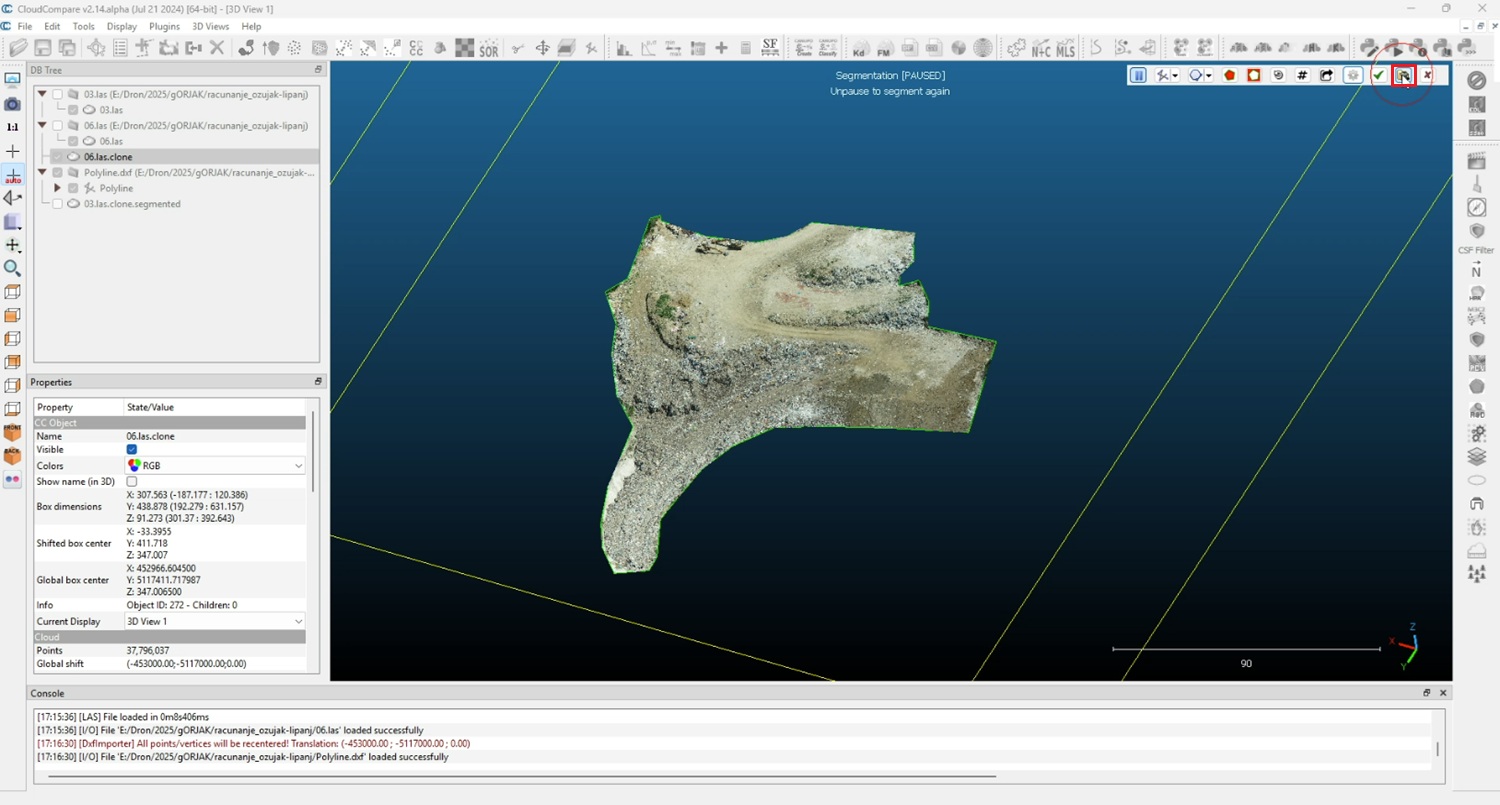
- Open second model by following the steps #46-#49.
- Create segment for the second model by following steps #52-#57.
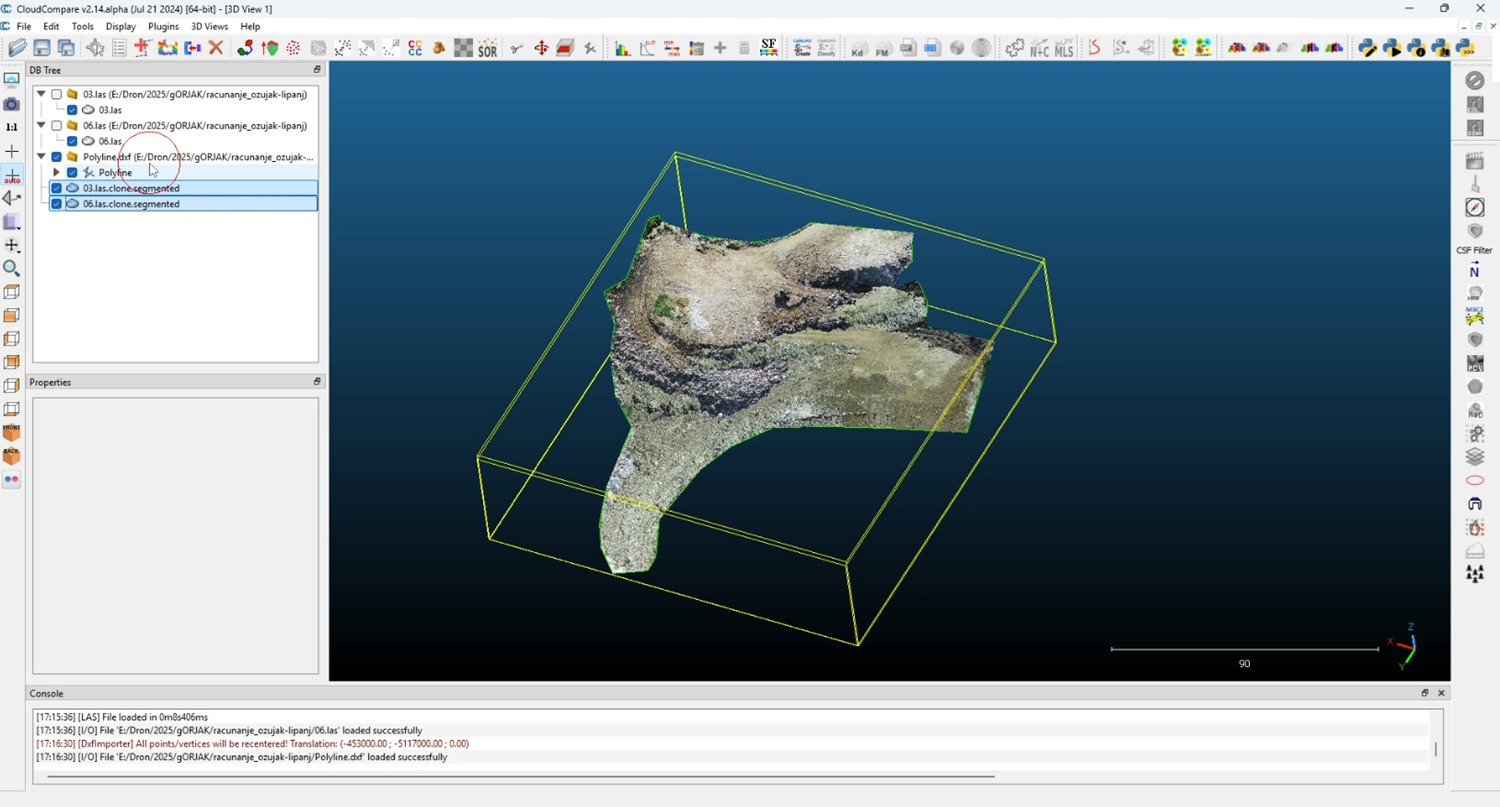
- Click on your polyline on DB Tree window. Click File->Save. Choose DXF in the format list, type the filename (e.g., Polyline.dxf) and click Save.
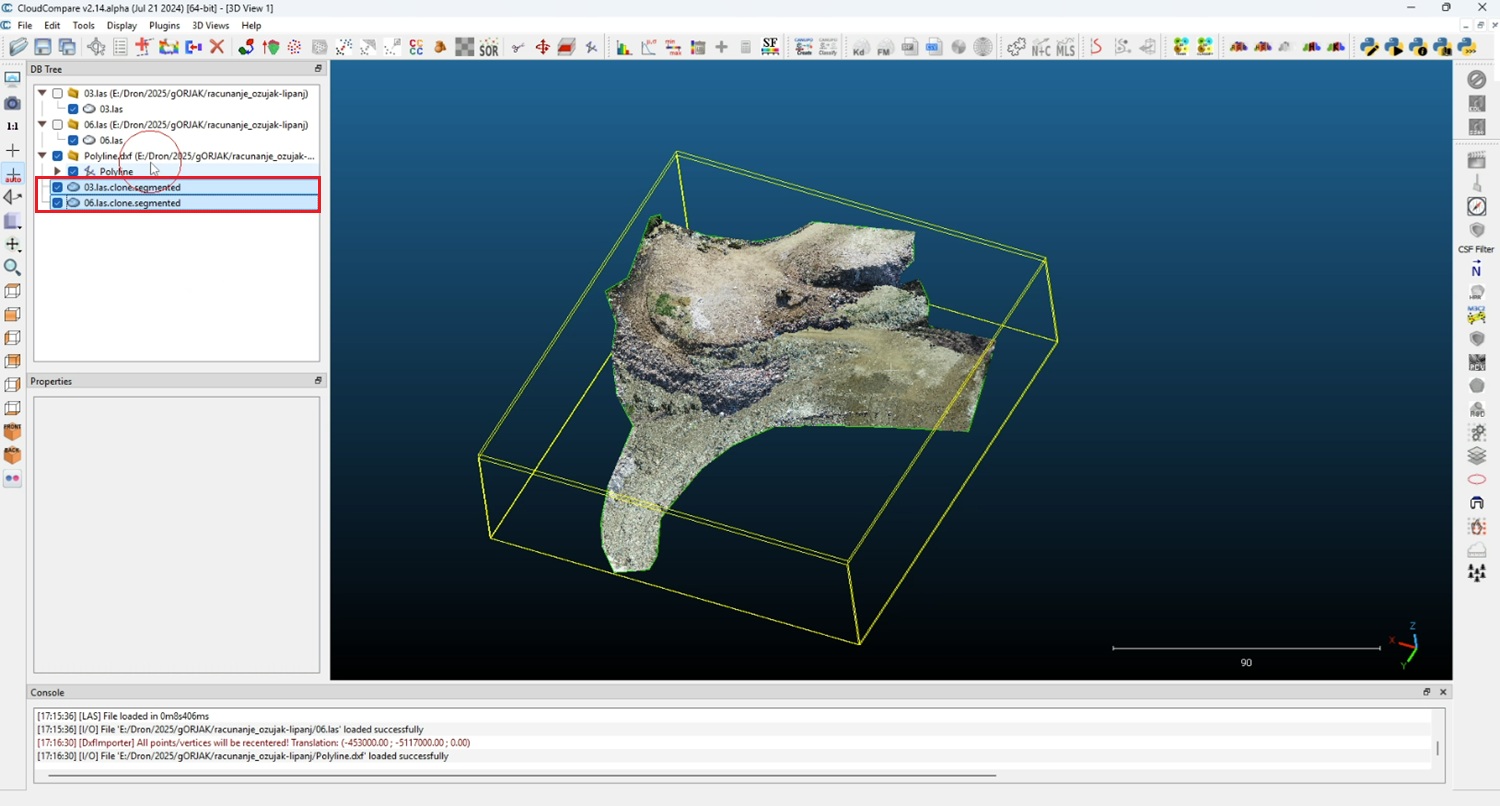
- Once finished you will have two surveyed segment ready for volume calculation.
If you want to follow this tutorial, we have all the products in stock and ready to be shipped:
 and
and 

